The Resident Evil 2 remake is one of the best games in the series, but it can be one of the toughest. One of the hardest parts of the game is simply keeping track of all the items in the game, and knowing what to carry and when to carry it, due to the limited inventory space Leon and Claire have. Fortunately you can increase these slots with Hip Pouches, and so you’ll want to know all Resident Evil 2 Hip Pouch locations.
You won’t get very far in the game without knowing how to increase inventory slots, and you certainly won’t be able to carry every gun, ammo for each, a couple of health packs, or every secondary weapon, and still have room for important items like keys. So where do you find these Hip Pouches? Are they difficult to get hold of? We’ll help you find every one in the Resident Evil 2 remake.
How to increase your inventory slots in Resident Evil 2 with Hip Pouches
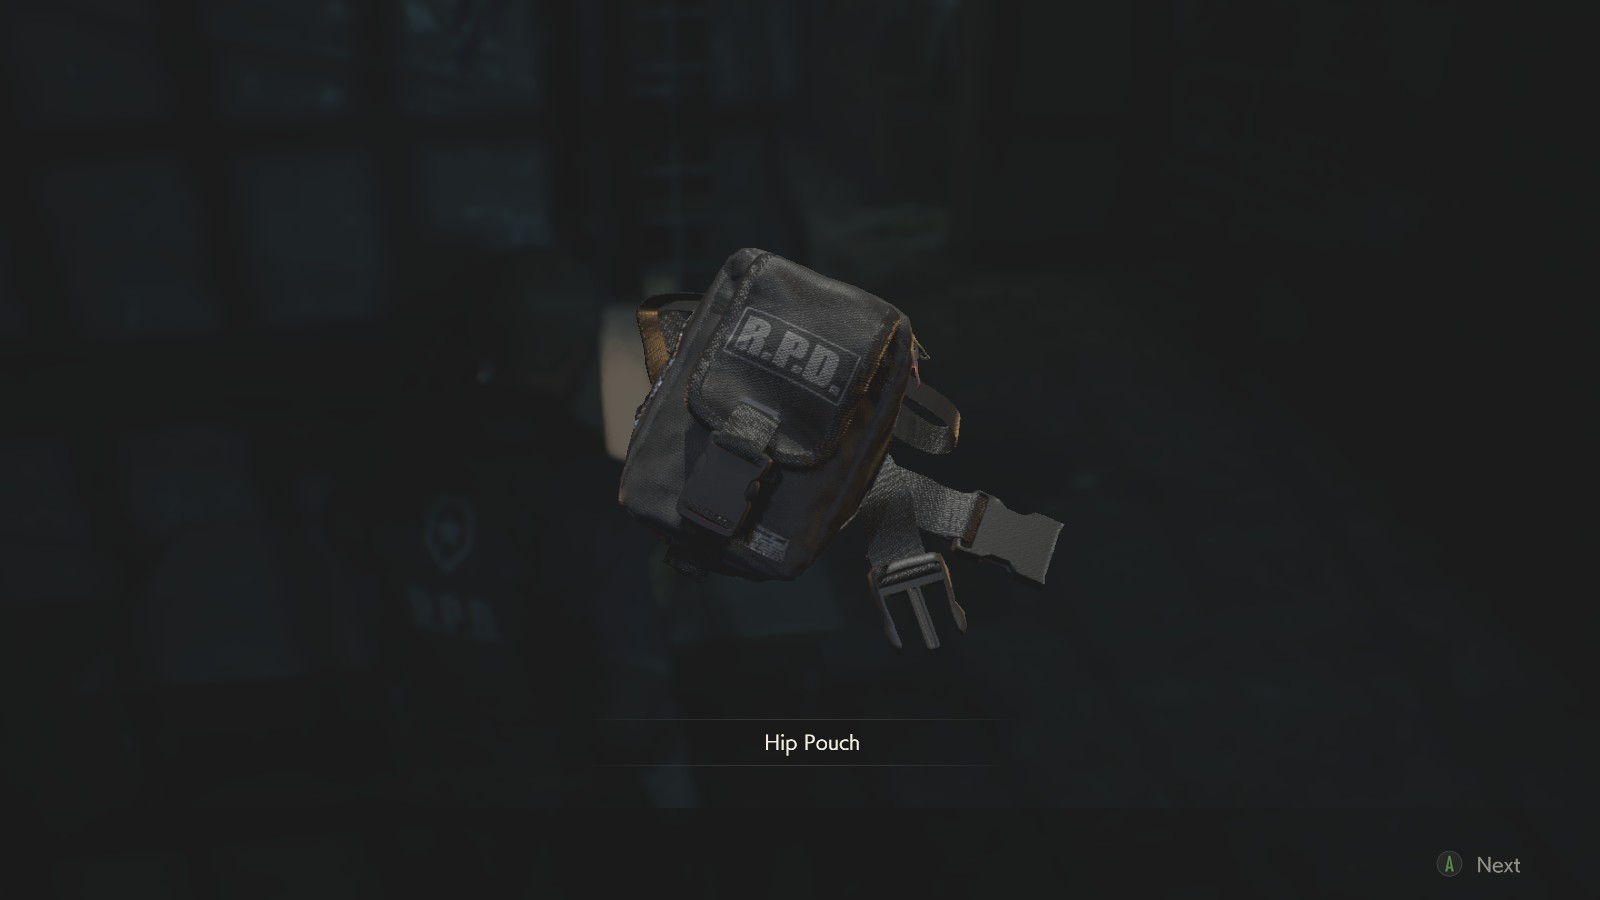
Hip Pouches are the most important item in the Resident Evil 2 remake, even more so than weapon upgrades. As both Leon and Claire you start off with limited inventory space, usually just eight inventory slots which fill up fast, and the only way to increase those inventory slots is by finding Hip Pouches. Each Hip Pouch adds two new slots to your inventory permanently, and there are only a limited number of these pouches in the game. Some are easily accessible, some are very hard to get. Let’s go find them all.
Resident Evil 2 Hip Pouch Locations – West Storage Room
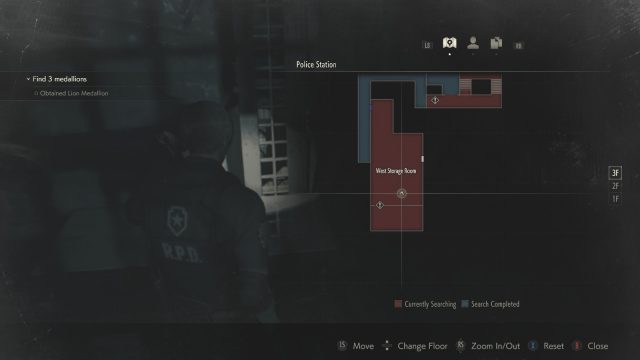
The easiest Hip Pouch to find in the Resident Evil 2 remake is right on the top floor of the Raccoon City Police Department headquarters, in the West Storage Room. If you made it up there in the One-Shot Demo you probably found the pouch, and its location hasn’t changed. Simply go into the room and make your way to the back (past the zombie hanging from the ceiling), and then on a table opposite the barred-off area is the Hip Pouch, next to a note about the nearby explosives. You can’t miss this one.
Resident Evil 2 Hip Pouch Locations – Operators Room
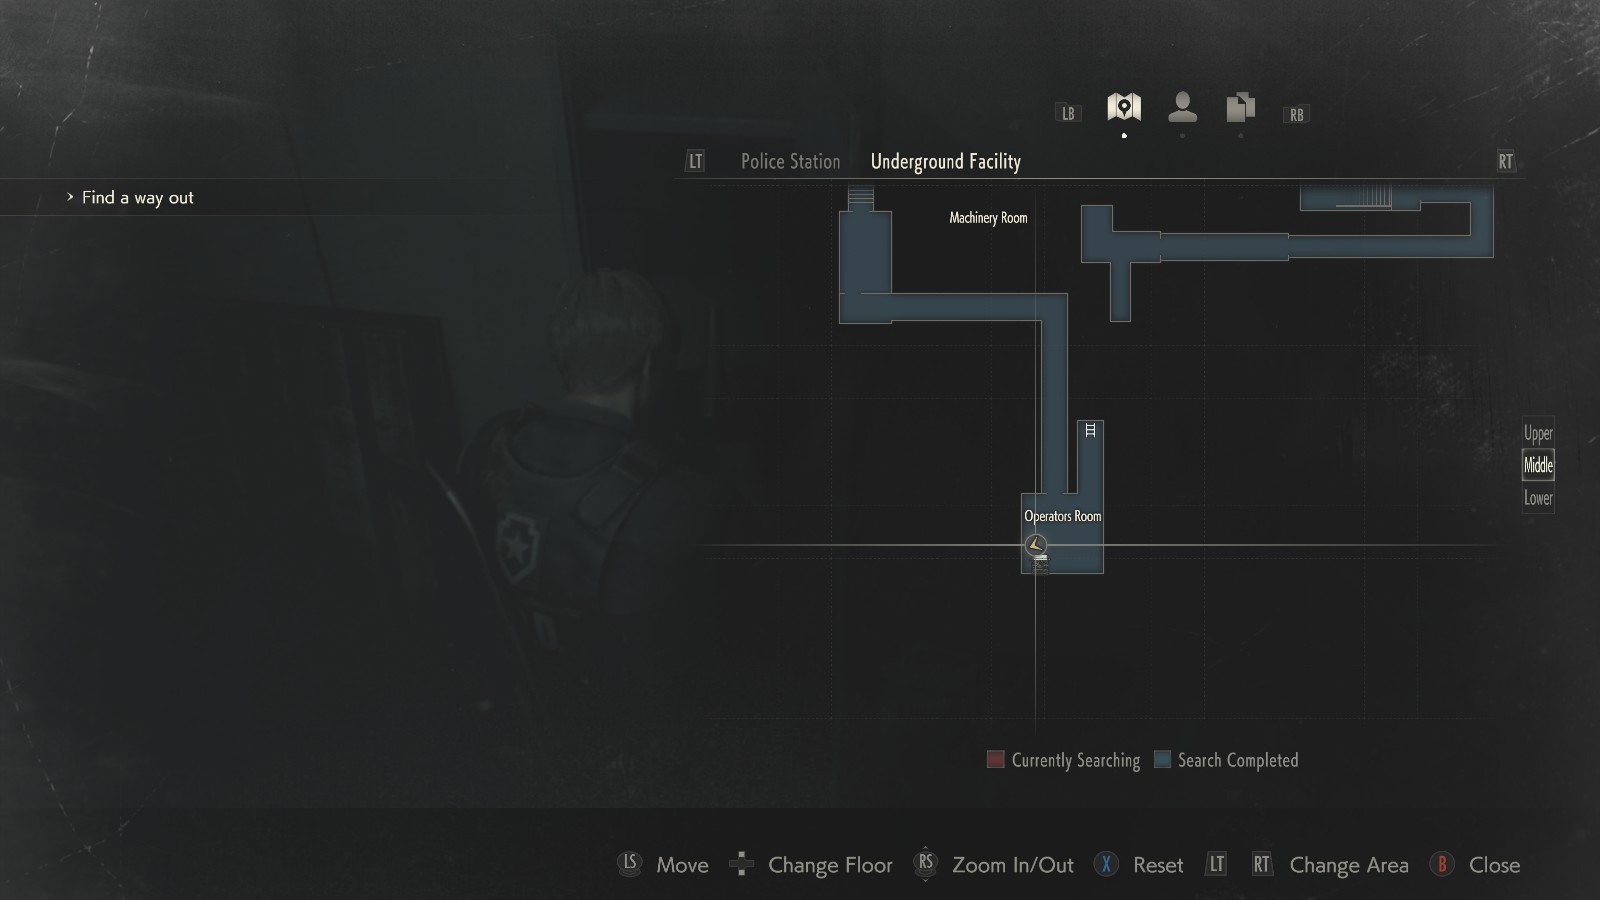
The second Hip Pouch in the game can be found in the Underground Facility, shortly after the boss fight with the G-Virus guy (we’ll leave off his name for anyone new to the game who doesn’t want a spoiler). The Operators Room is a little room with a few goodies, including a saving Typewriter. There’s a locker next to it. Open it, and you’ll find the Hip Pouch inside.
Resident Evil 2 Hip Pouch Locations – 3F Corridor Locker with Dial Lock
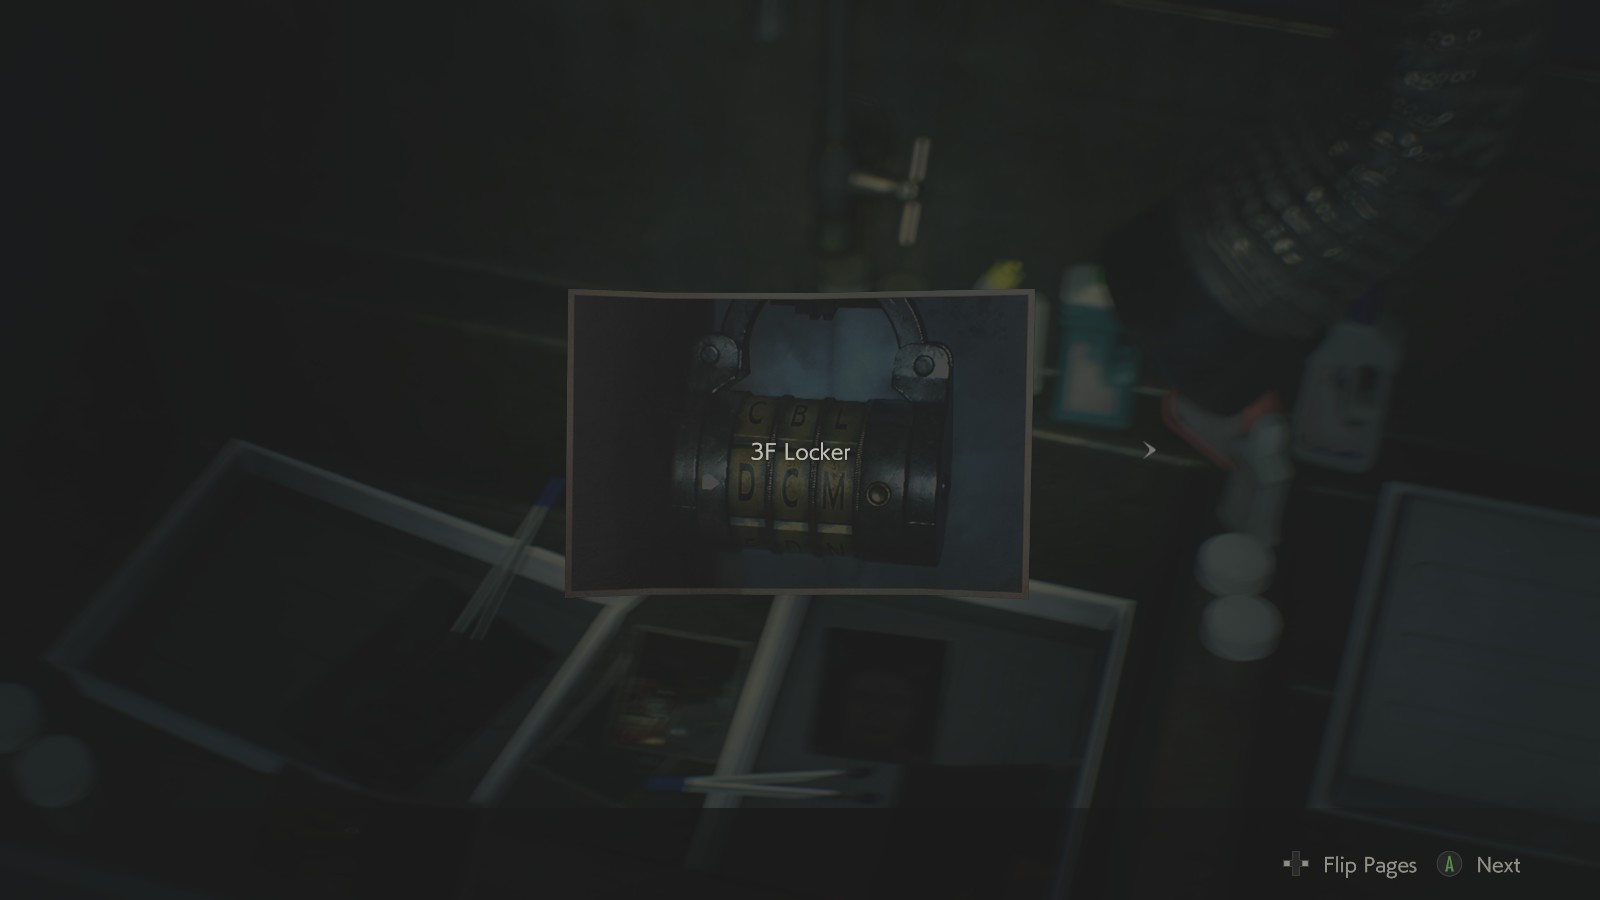
You don’t get this code until later if you’re playing normally, but what the heck, have a treat on us. You may remember a locker with a dial lock on the third floor of the police building, just before you got to the West Storage Room (it’s the exclamation mark on the map for that entry above). It was in the demo, but the combination’s been changed. Later on you pick up a roll of film which you can develop in the Dark Room and get the new combination lock. Or, cheat and just enter “DCM” as the code. You’ll get another Hip Pouch for your trouble.
Resident Evil 2 Hip Pouch Locations – Safety Deposit Room
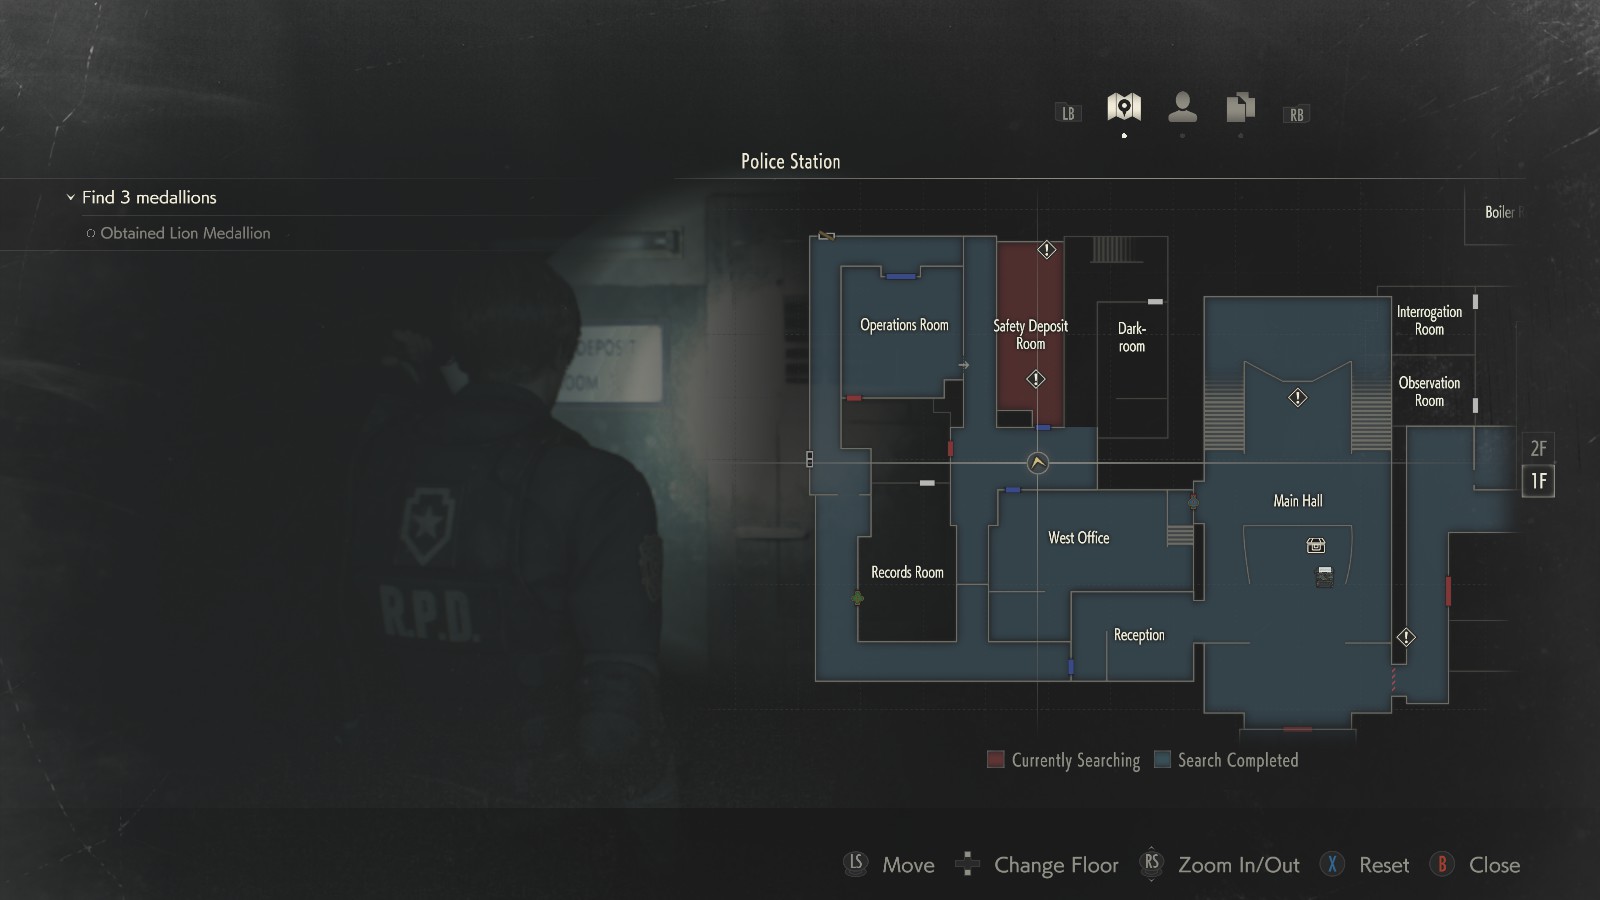
Despite being the first Hip Pouch in the game you can actually see, if you know where to look, it’s not one you can physically access until quite late in the game. It’s located in the Safety Deposit Room on the first floor of the police station, opposite the West Office door. You’ll see two rows of safety deposit boxes, all numbered with three digits, but when you try to open them you’ll discover that two crucial number keys have been removed: 2 and 3. Worse still, guess which locker the Hip Pouch is in? Yes, locker number 203. This means you’ll need to find both replacement keys before you can get it, and that’s a quest in and of itself.
The two replacement keys can be found in Portable Safes, separately around the police station. The first is quite easy. It’s in the Locker Room on the second floor, which you may have passed on the way to the third floor. There’s another Dial Lock here, but that’s not the one you’re after. The Portable Safe is just to the side, in a tool box. Examine the tool box and Leon/Claire will open it, revealing the Portable Safe. Note: the location of this item will change in the 2nd Story playthrough to the Observation Room.
The second Portable Safe can be found in the Linen Room on the second floor, just around the corner from the STARS office. You’ll need a key to enter the Linen Room. It’ll be the last one you find in the game, so don’t expect to get this particular Hip Pouch until you’re basically done with the police station. Once you’re in the Portable Safe will just be laying on the side.
Portable Safes are a bit frustrating, in that they’re a mini-puzzle game. Examine one to start the puzzle. The idea is, you can press any button you like to light up one of the circles, but then you have to light up the circle anti-clockwise to the one you’ve already lit, by pressing the corresponding button. It’s basically a case of trial and error, and we advise making notes of what button turns on which light. Once you’ve lit up the entire circle, the safe will open, and you’ll get one of the two replacement keys.
Head back down to the Safety Deposit Room and replace the two keys. We advise doing “3” first, as then you’ll be able to get locker 103 at least for some more ammo. Once you’ve replaced both buttons you can key in “203” and press Enter to open that locker, and finally get the fourth Hip Pouch.
Resident Evil 2 Hip Pouch Locations – Laboratory Nap Room

The final Hip Pouch in the Resident Evil 2 remake is located near the end of the game, in the Umbrella Laboratory area. As you enter the N.E.S.T. you’ll take the first door on your right, and you’ll first have to head through the zombie-infested Cafeteria and Kitchen to get to the Nap Room. The main item you need here is the security wristband attached to the zombie arm hanging out from one of the beds, and you’ll notice the shutters are all closed on the beds. You’ll also notice the panel on the wall, which will have a 3-4 letter code on it (for us it was “MUF”). Your goal is to use this breaker panel to turn on the electricity and open the shutters, but you’ll have to wait a while to do it.
Elsewhere in the Laboratory, after going past the overgrown Plant 43 you’ll have gone downstairs to an area with vending machines and another similar breaker panel. Beyond this is a staircase leading up to another room that’ll connect you to the reception area with the Typewriter in it. In this connecting storage room, attached to a similar-looking panel, is a small electrical gadget. You need to use this gadget on the breaker panels you find, including the one in the Nap Room. Head there now.
Examine the device and you’ll find another mini-puzzle. Choose the correct 3-4 letter code for the panel, e.g. MUF, and then you’ll see three waveforms. You control the bottom two. The goal of the puzzle is to make the two waves in the top screen match, by manipulating the bottom two. Once the waves in screen 1 match, exit out of the puzzle and use the device on the breaker panel in the nap room. If you’ve done it all correctly, the lights should go on in the room and the bed shutters should open. This will give you access to the last Hip Pouch! There’s also a zombie though, so kill that first…