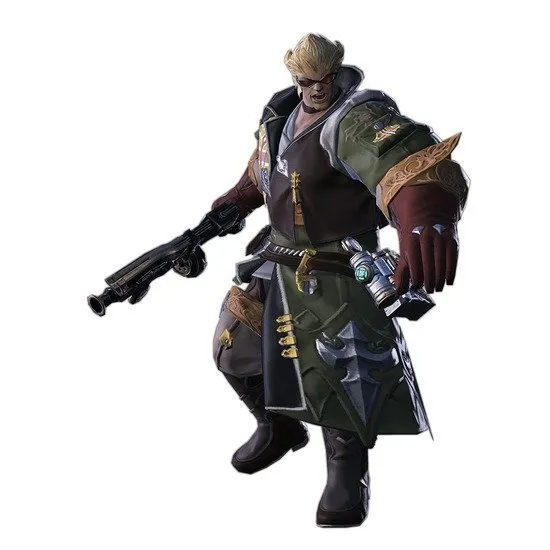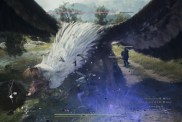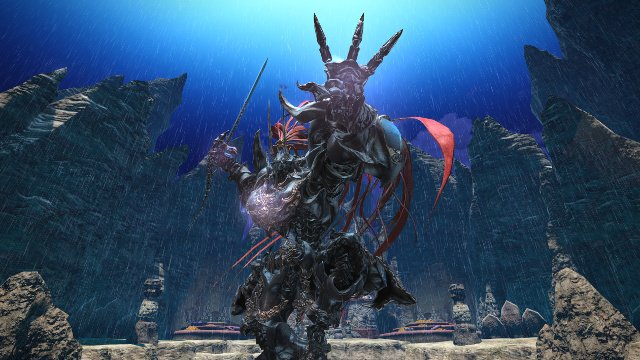
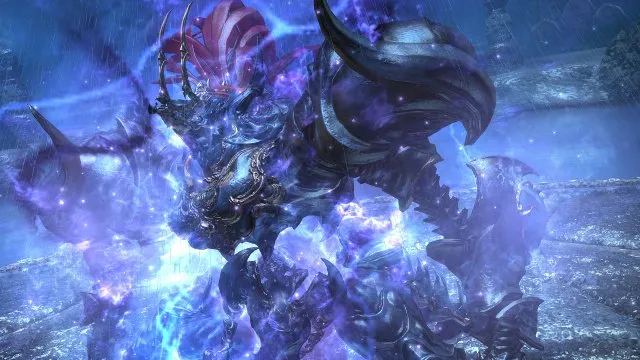
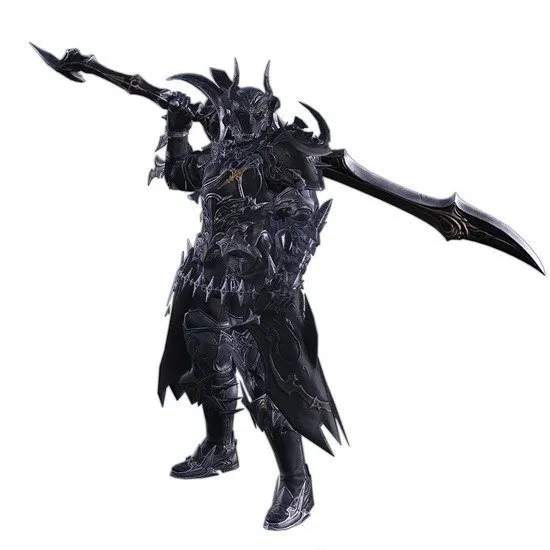
Here you are, working your way through all of the exciting new content that Final Fantasy XIV: Stormblood presents before you, and now you are faced with your very first trial in the expansion. The first trial of the expansion, Susano, is a towering Samurai-esque god of storms who’s ready to lay the smack down on you and your team of eight, but you don’t have to go this alone as we’ve got your back.
Through several playthroughs at E3, Early Access, and live, we’ve had the opportunity to perfect our strategy for facing this behemoth, so that you can have the best chance at overcoming him. Overall, Susano isn’t really that challenging of a trial but it requires knowing exactly what he does for a small number of key abilities, and what you are expected to do based on your role. Also, a quick note to every job to remember that sprinting no longer uses TP so spam that sucker during AoE attacks to get out (or in).
Before we jump into your specific duty as a tank, healer, or DPS, let’s go over the more finite details of what Susano will use during the fight. Like Ravana, he has a lot of health and defense, and for the most part, can easily turn the battle into a war of attrition. The E3 build we initially faced him on was geared with item lvl 270 sets and it was still possible to win, but you shouldn’t be in that situation at level 63 (or higher), as your gear should be much better than that by this point. Your team makeup should either be the normal two tanks, two healers, and four DPS, or you can substitute the off-tank for another DPS since it isn’t totally necessary for this fight. In fact, our first win against him was using this method.
First Phase
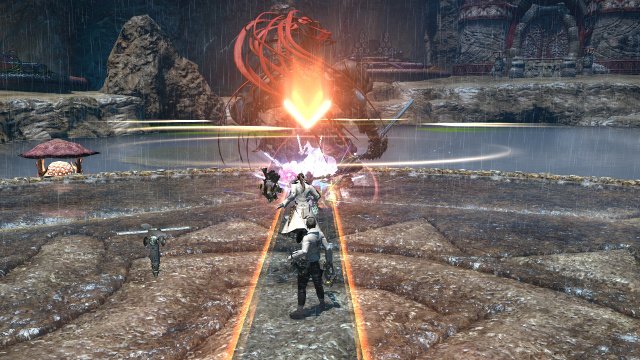
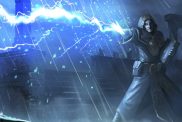
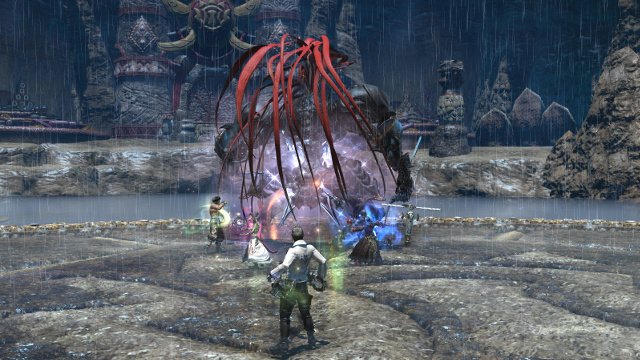
Susano has essentially three phases, with the first and third being very similar. Beginning with the first phase, he has about four major abilities that everyone will need to worry about and he cycles through them very frequently. He will throw down several water circle AoE’s across the map that will need to be avoided. Another AoE to watch out for are lasers (typically two to four) that come down. They can’t be destroyed, so they must be avoided, and shoot wide attacks that typically intersect on the most concentrated group of players.
Third, he marks a player for knockback and immediately after they are knocked away, they are marked again with a stack. This requires both the player marked to sprint back to the rest of the group and the rest of the group to remain vigilant at all times so you can stack on them. Lastly, he uses a new AoE that affects the entire arena except an extremely thin line directly behind and in front of him that is the only safe zone. This AoE is the most detrimental, causing upwards of 80%-90% of damage. Because of this attack and the stack ability, everyone except the main tank must remain directly behind him at all times.
In the case of one of the other AOE’s being used, simply run away to avoid and then immediately go back to being right behind as soon as the hit lands. Any combination of being hit by two of these four attacks in a row will kill you so avoid them at all costs. You should only see the new lane safe zone attack three times at the most in the first phase. If you’re doing really well, you’ll only see it two times but any more than three and your team simply isn’t doing enough damage.
Second Phase
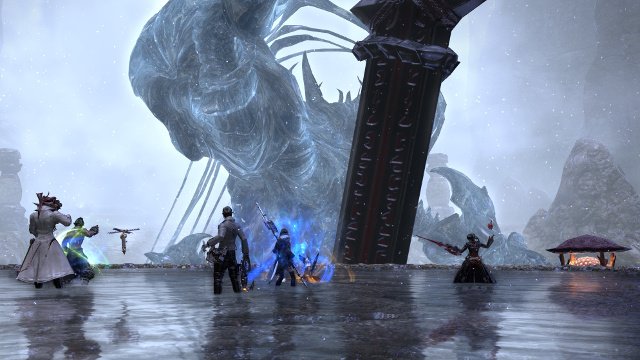
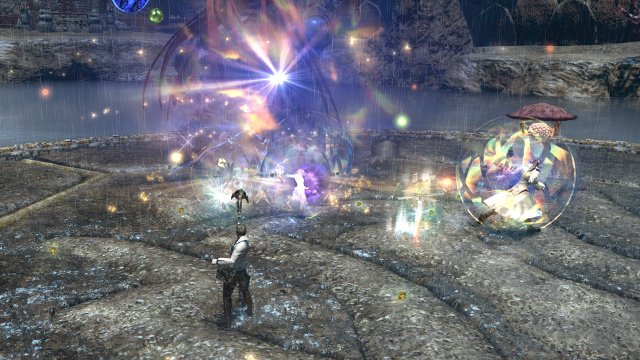
At around 60% health or so, Susano will leap up and have his more cinematic sequence, transitioning into the second phase of the fight. Here, the tank will enter into a brand new Active Time Maneuver (more on below in the tank section), while the rest of the group has a DPS check. Both of these must executed perfectly. If either one fails, you wipe.
He also releases three orbs on the left, right, and bottom center (where you spawn at the beginning) edges of the map. These must be run through and you will get major damage, but it will save your group in the end. He does all of these mechanics twice in a row, meaning Active Time Manuever, orbs/DPS check, then another ATM, and finally, one more DPS check/orbs. There are four possible wipes in this one phase, but once completed, he does his special and you move into the final phase of the match.
Final Phase
The final phase is mostly a retread of the first phase with just two extra additions. He utilizes the same four abilities one after another, but with a catch. As soon as the player with the knockback mark gets hit, Susano instantly goes into his major attack that only has the narrow safe zone at the same time as the knocked player gets stack. This requires both staying behind him in the safe zone and stacking on the marked player.
The other addition is a brand new ability that we like to call the “cup game.” Unlike Anna Kendrick, you aren’t going to miss this when it’s gone. Similar to Titan, Susano will briefly mark a player with an arrow that is then encased in rock and must be freed by everyone else. The catch is, there’s two other rocks that appear beside him that are fakes. Susano will then shift them around like a magician and you must attack the right one.
Attacking the wrong one will lead to some major damage to the group, so either marking the player right before they’re encased, communicating, or simply paying close attention is required. You should only encounter this mechanic twice at the most. Any more and your group’s damage is severely lacking. Simply avoid all these mechanics while attacking him and you will win this fight.
Tank
Main tank needs to turn Susano around like usual, while off-tank stays behind him alongside the rest of the group and focuses on dealing damage since there’s essentially no adds in this fight. Off-tank should be in damage stance, but also ready to get aggro in case the main tank dies. Main tank has a pretty simple job of making sure the team doesn’t get hit with his frontal attacks and stays alive. Susano’s attacks are rather strong, with some dealing upwards of 80% of your health. Only use your cooldown’s like Convalescence during the first and third phases. He does do some damage during the second phase but it is basically nothing.
While the first and third phases are simple enough for the main tank, the second phase is your make or break moment. In this instance, you are the star of the show. Susano will leap up after finishing off his first phase and a shining light will appear in the middle of the arena. You must quickly select it, as he will slam down with a massive sword that would make Sephiroth quake in his boots.
Selecting the light will then activate your solo Active Time Maneuver that goes on while the DPS check is also happening. Your goal is to button mash like you’ve never button mashed before to hold the sword back until the DPS win against it. After successfully defeating it, he instantly does it again so don’t take a break just yet, since you are the only person standing between it and a swift defeat. Off-tank should be the one to gain all three orbs as the damage will do the least amount of damage towards you.
Healer
The healer’s role in this fight is by far the most challenging, especially if you have players that are new or have significant lag due to the heavy damage all of Susano’s abilities do. Be ready to throw down AoE heals right after every stack. Like we mentioned above, this can be a war of attrition because of its length and you will most likely run out of MP or come very close (even Scholar). Therefore, it is essential that you refrain from doing DPS other than the occasional DOT.
There is some dead time especially if your group is good about dodging and we know you’re excited to show off your damage now that cleric stance is not necessary anymore, but your MP management is key. The only exception is during the DPS check in the second phase. That would be the only time DPS is necessary, as Susano does very little damage during the phase. The two healers should be the ones to get the orbs if there is no off-tank to do so.
Lastly, it is recommended that you communicate with your fellow healer beforehand. Things like who will revive first, who will focus on the tank because his health will constantly be dropping very fast, and such is important so you avoid sticky situations. Some of the new abilities can be greatly utilized here for the first time, such as the new Role Action all healers have access to called Rescue. In classic Mortal Kombat Scorpion-style, you can use this ability to carabiner pull the knocked away player towards you in time for the stack. If all else fails in the final phase, you can always use limit break three to bring everyone back.
DPS

Before we go any further, let us remind you that sprinting no longer uses TP. If you get nothing else from this section, remember that. This is an AoE-heavy fight and you will most definitely need sprint at some point. Avoiding those attacks and staying directly behind Susano should be priority during the first and third phases, as you want to lighten the load on your healers as much as possible, or else you can end up in a wipe in the final phase.
You should save your major cooldowns for the second phase. After the tank parries the massive sword, attack that baby with all you’ve got, while still prepared for the second one right after the first is defeated. A ranged caster or DPS should be the third person to get an orb if there is no off-tank. In the final phase, continue to avoid AoEs and remember to stack. Finally, keep an eye out for the arrow pointing downward on a player that indicates the cup game is about to start.
If you are the unfortunate victim, feel free to communicate to the group or mark yourself so they know. Also, do not use AoE limit break on all the rocks, as they will still do damage to your group. Save it, and your cooldown’s, for finishing off Susano.
The Most Popular FFXIV: Stormblood Jobs
-
The Most Popular FFXIV: Stormblood Jobs

-
1. Red Mage (15%)
-
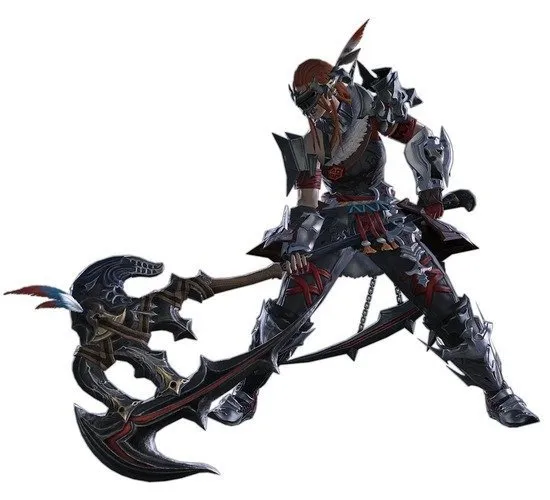
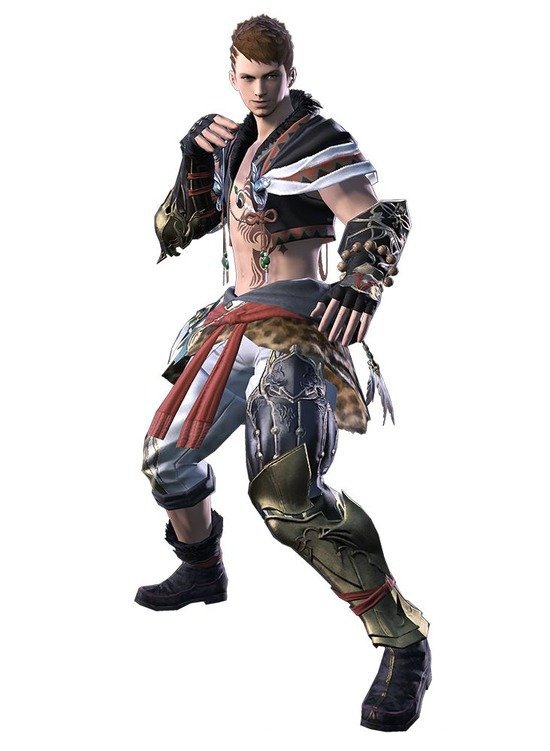
2. Samurai (15%)
-
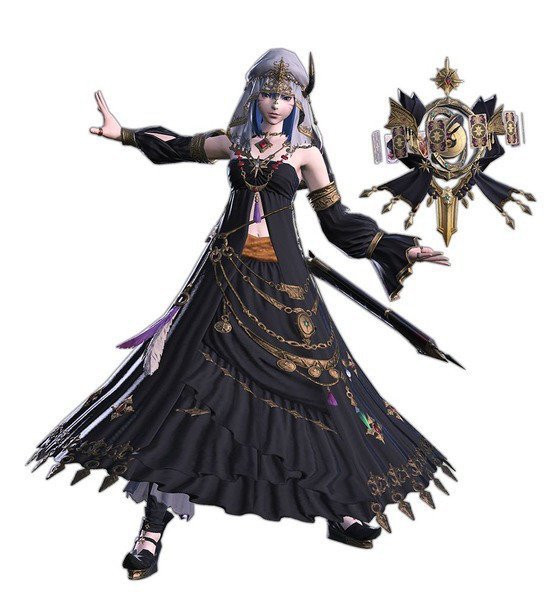
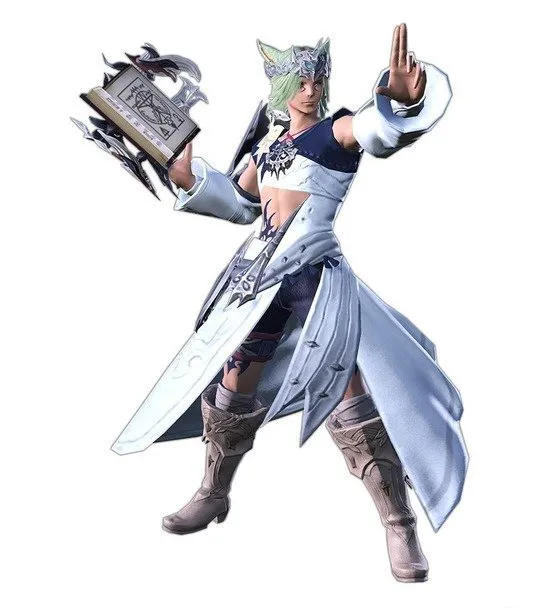
3. Astrologian (8%)
-
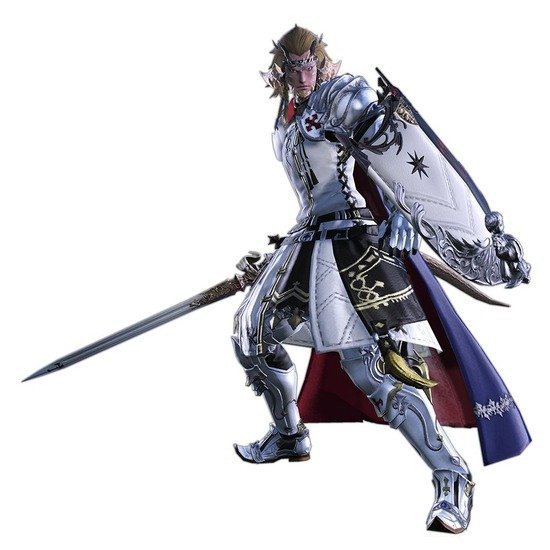
4. Paladin (8%)
-
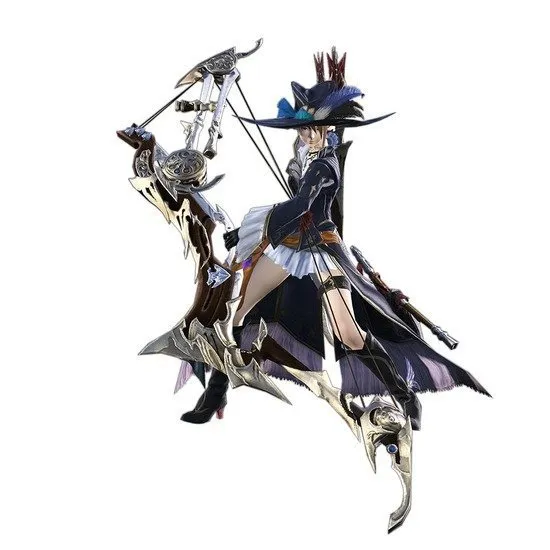
5. Bard (7%)
-
6. White Mage (6%)
-
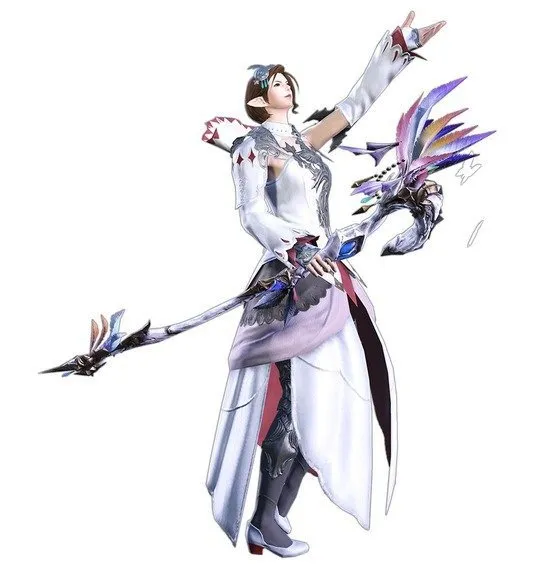
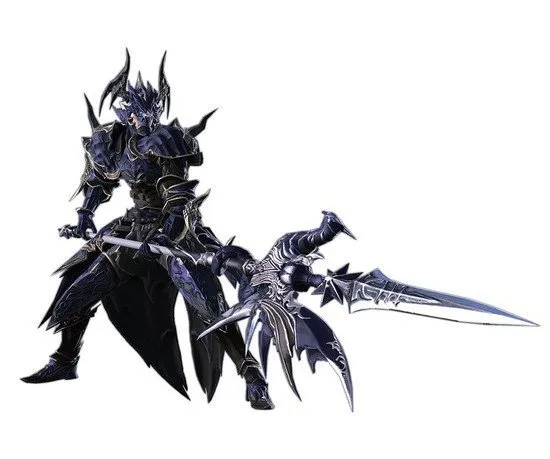
7. Dragoon (5%)
-
8. Warrior (5%)
-
9. Scholar (5%)
-
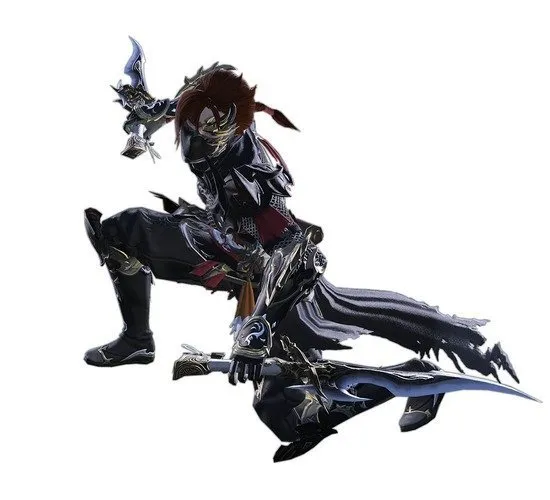
10. Dark Knight (5%)
-
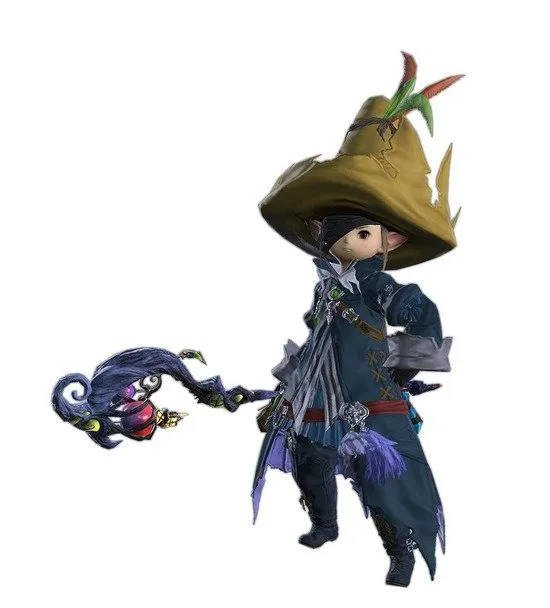
11. Black Mage (5%)
-
12. Summoner (5%)
-
13. Monk (4%)
-
14. Ninja (4%)
-
15. Machinist (3%)