The stock character images in Wasteland 3 are just fine, but custom portraits are where it’s at. Unfortunately, the default line-up probably doesn’t have the slash fanfic OC or anime girls you want to RP as, but there’s a quick and easy way to solve that problem.
How to use a custom character portrait in Wasteland 3

So, you want to play through the game as Yumeko Jabami from Kakegurui. You go to the trouble of making your perfect Yumeko in the character creator, only to find out that none of the default portraits capture her essence. Gambate friend, salvation is at hand.
The first step to this process is to install and launch Wasteland 3 for the first time. Fiddle around with the video settings and save them, then exit the game. This should create the folder we need for the next step of the process.
Head over to C:Users(username)DocumentsMy GamesWasteland 3 which contains your save files. In that directory, create a folder named “Custom Portraits.” This is where you’ll place your custom character portraits.
What are the custom character portrait image requirements for Wasteland 3?
You can’t throw any old picture of Yumeko in your custom portrait folder and expect it to work. Character portraits have strict requirements, and you’ll need to edit your desired image to fit them.
The image requirements for Wasteland 3 custom character portraits are:
- Must be 1:1 ratio image.
- 256 x 256 is recommended.
- Must be JPG or PNG.
Unfortunately, most images you find aren’t going to be a 1:1 ratio. I use Pixlr, a browser-based image editor for stuff like this.
To use Pixlr to edit your picture:
- Just head over to the website and click “Pixlr X” at the top of the page.
- Load your desired image from your computer or a URL using the menu on the left.
- Click on the Crop icon (third from the top on the left menu).
- Click on the “Select aspect” slider. It should default to 1:1.
- Hit “Apply” at the bottom when you’re happy.
- Select “Save” on the bottom right of the screen.
- In the pop-up, you can resize the image to 256 x 256.
- Click “Download” to save the image.
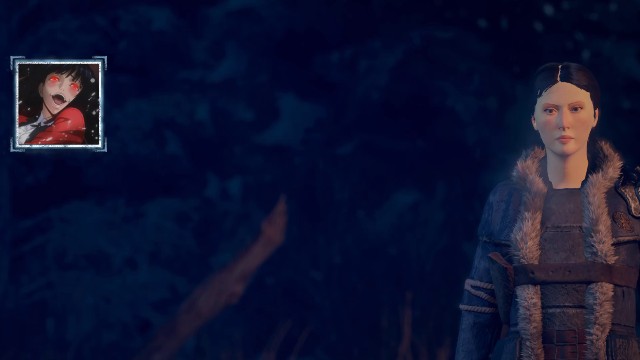
Now that you have your image, just place it into the Custom Portrait folder. When you load Wasteland 3, your custom portraits can be found alongside the character creator’s default images. Have fun!


