1) No, really… Save often.
This is common advice for any RPG, but this is especially vital for Dragon's Dogma.
While Dragon's Dogma is not as cruel a mistress as Dark Souls, it might as well be its stepsister. To make sure that all of your actions matter and to heighten the tension of combat, the game uses an auto-save system with only one slot per storage device.
The auto-save may trigger frequently during quest points, but it will tend to leave you out to dry while you're exploring the world on your own, and you don't want some unlucky break or fall off a cliff to erase ten minutes, let alone an hour, of discovery and looting. It's happened to me plenty of enough times due to my lack of caution, so I hope you learn from my mistakes.
That said, make sure to save in the right spots or you might end up caught in a situation you can't get yourself out of. One time, a chimera decided to swoop down, grab my character, and choose to open its talons while 500 feet in the air. It's rare to get yourself into this much trouble, but unless you have no choice, you don't want to use the “retry last checkpoint” and be forced to start again from your last respite at an inn or riftstone. Doing things over and losing items are never fun.
2) Be the turtle, not the hare.
Slow and steady wins the race, and nothing speaks to this more than the caution you'll need when traversing the world of Dragon's Dogma. If the enemies within an area or on a quest seem too difficult, especially during nighttime, it's better to tread carefully (while saving after every successful battle) or just to retreat altogether and come back when you and your party are more highly leveled. I usually choose the first option, because there's no reason why you can't retreat and cut your exploration short if things get dicey. It just depends on how challenging you wish the game to be.
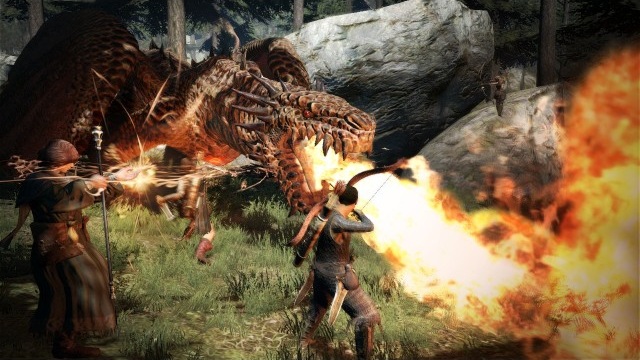
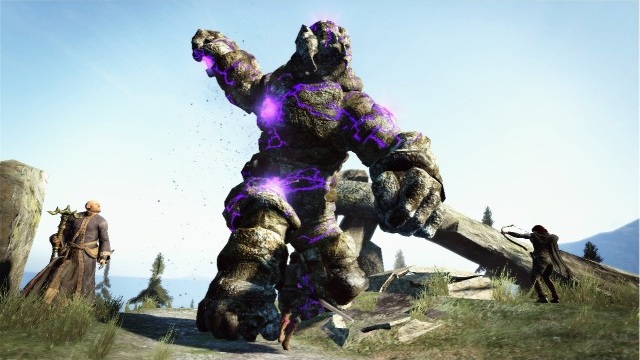
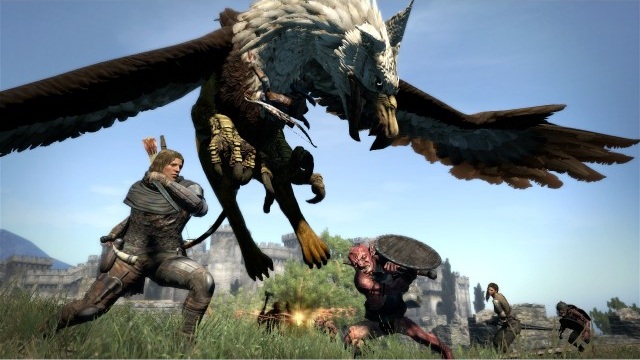
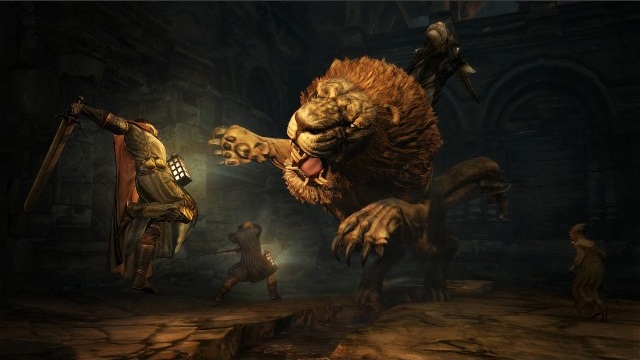
Again, Dragon's Dogma is not as punishing as Dark Souls, but given a few careless swipes that leave you open, you can easily end up eating the floor. When you're facing ogres, cyclops, griffins, chimeras, and anything more than fifty times your size, one hit can knock down one-third of your health. Most of the damage is recoverable through healing spells, but they take a while to cast and it can be a quick game over while you're waiting for them.
So if you see yourself getting down to about a quarter or a third of your total health, crunch on some Greenwarish immediately. Remember, you are far more important than your pawns, who can be revived if they ever fall in battle. Your pawns cannot revive you.
3) Explore every nook and cranny!
Approach every glowing object and every corner for the option to “gather” materials. Even the opening area of Casserdis has plenty of stores, boxes, and houses to raid. In particular, the herb and produce store sometimes has a Giant Coin Pouch for 10,000G hidden beneath one of the cabinets.
Every item is up for sale, even large fish that can be sometimes caught along the shore for 400G a pop. Need to get money faster? If you find some grapes or beast-steak in your travels, let it turn sour by leaving it in your inventory for a while and then sell them for 750/1500 G each. For some reason, moldy food can sell many times more than the original food.
Also, purchase or craft a pickaxe so that you can mine veins for various ores. Many higher-tier weapons and armor require these ores for enhancements.
Otherwise, there are plenty of treasure chests lying around in corners and rocky bluffs. Beyond that, there are herbs, plants, vases, and all manner of fodder up for grabs. After a couple of days, these treasure chests even respawn. If you're thorough, gold will be the least of your worries.
4) Make Gran Soren your primary goal.
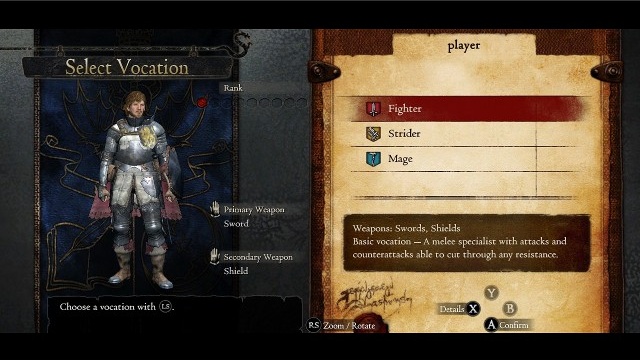
The game doesn't let you know this ahead of time: Gran Soren is not only the capital of Gransys, but also where you can change nearly everything about your character at the barber and the inn. This is already on top of the city's additional notice boards, item shop, and blacksmith. Beyond the initial three classes you can choose from (fighter, strider, and mage), reaching Gran Soren from the starting city of Cassardis will net you six additional options, split into three advanced classes (Warrior, Ranger, Sorcerer) and three hybrid classes (Mystic Knight, Asssassin, Magic Archer).
The advanced classes are essentially more specialized forms of the starting three classes while the hybrid classes combine two of starting classes for a more balanced character. I tend to lean toward the Mystic Knight for knockdown melee against smaller foes and long-ranged magical power against larger foes. But every vocation is powerful in its own right.
That said, you need discipline, earned by defeating enemies, to switch vocations. So remember to save some discipline points for your target class before switching over at the inn in Gran Soren.
5) How do I get to Gran Soren, anyway?
Dragon's Dogma isn't exactly forthcoming when it comes to where you're supposed to go at times. The cut-scenes try to direct you where to schlep your party, but there are so many side quests that it can be difficult to track.
Without spoiling much, the idea is to switch back and forth between the encampment and Cassardis and not to get distracted. The quest involving Quina is worth doing if you can get past all the damn armed bandits, but don't get too sidetracked. Eventually, you'll need to talk to a female soldier in the encampment to initiate the quest to Gran Soren.
But remember not to forget about the quest with Quina; the trek back to Cassardis is long, but you should do it before it's cancelled by accepting the main quest missions that are initiated in the front of the castle gate in Gran Soren.
Click below for Page 2.
6) Craft healing items, as soon as you can with the following combinations.
Greenwarish + Sweet Pollen = Potent Greenwarish
Harspud Juice + Large Nut = Balmy Perfume
Harspud Milk + Small Nut = Cloudwine
Potent Greewarish + Cloudwine = Matured Greenwarish
Harspud Sauce + Large Nut = Balmy Incense (improved variation of Balmy Perfume)
When you reach Gran Soren, crafting Potent Greenwarish won't be necessary since they can be purchased inexpensively. But until then, Potent Greenwarish is a much improved health restoration item than the regular old Greenwarish. Crafting Cloudwine isn't laborious either, since Harspud Milk and Small Nuts are rather common drops, so always be on the lookout to craft Matured Greenwarish. In fact, you should be able to scrounge all the items you need for Matured Greenwarish within the opening town of Cassardis.
You might be wondering why Balmy items, which heal the entire party, are important at all since you can always revive pawns. The trouble is that whenever you or your pawns are hit, their maximum HP lowers and cannot be recovered unless you rest at an inn… or have a Balmy item. (Still not sure why you can't why you can't just order your pawn to eat some Greenwarish.)
Having to walk all the way back to a town inn (or worse, use an extremely expensive Ferrystone) just to heal is a tremendous hassle, so Balmy items are the best way to recover your party. This is particularly essential if you're on a lengthy quest or in a fight against a boss or mini-boss, as you don't want to waste any extra time in battle having to revive your pawns because their maximum health is drained. As such, I recommend giving your main pawn some curatives as well, particularly some Balmy items for good measure.
7) Focus on augments and stunning/knockdown abilities.
When you first have the option of learning new abilities at an inn or rest stop, first look at those that round out your offenses. You can only take six offensive abilities at a time, so always look at attacks that stun or knockdown enemies like Tusk Toss, Compass Slash, and Comestion. Anything that leaves enemies writhing on the floor or helpless in the air is a fantastic attack that sets up some free shots.
Knockdown attacks won't work on bosses as much, but many of them can be knocked down by grabbing onto their legs or other weak spots. Of course, let go of the boss if they try to throw you off to prevent a lot of damage; besides, you need to recover your stamina.
Beyond the six offensive abilities, however, augments are your next best bet mainly for their cross-class compatability. Any augments you earn in one vocation can be used in another. Some notable augments are Sinew (max weight, Fighter), Fortitude (reduced damage, Mystic Knight), Bastion (reduced damage, Warrior), Awareness (reduced magical damage, Sorcerer), and Regeneration (HP regen, Magic Archer).
All of these augments except for Regeneration are accessible at the early ranks of each vocation, so you can easily switch to another vocation, obtain the augment, and switch back. This also means, if the game's replay value isn't already incredible, that after you've maxed out the skills and abilities of one vocation, there's plenty to learn in others.
8) Enhance weapons; armor, minimally.
The first time you can upgrade equipment is the peddler at the encampment, but if you happen to miss him, you can do so at the blacksmith in Gran Soren. While you'll be rotating weapons and armor on a regular basis throughout your journey, the added strength of an enhanced weapon is well worth the expense, up to the third level if you have the necessary items.
The cost of getting one additional strength or defense point by enhancement is much cheaper than buying equipment with better stats… though you'll likely buy them anyway. For that reason, armor should be enhanced to at least the first level because it's extremely cost-effective, but since there are so many pieces of armor, it's not usually to your long-term benefit to upgrade any pieces to the third level unless you plan on sticking with them.
That is, you'll have to weigh whether the expense of gold and items is worth the upgrade; you don't want to waste too much coin on something that's going to replaced anyway. Also, once you gain access to the next tier of equipment, the asking price for better weapons and armor jumps exponentially. You'll need as much coin as you can muster.
9) Keep weight as low as possible.
Your weight capacity, determined by the weight of your character, affects the walking speed of your character. Sure, this leads to more travel time, but it also means that you're slower when reaching enemies and aiding pawns who are down.
While lightweight characters have much better stamina regeneration, they don't have the strength to carry a heavy load. To be exact, small characters can cary 40kg, medium characters can carry 65kg, and large characters can carry up to 100kg. Moreover, encumbrance works on a sliding scale, slowing you down as your load increases, so maintaining your agility means keeping yourself as light as possible at all times.
This means handing items over to your main pawn whenever you feel your load is becoming heavier than you want. Also don't worry about giving items to your hired pawns, as whenever they leave your party, any items they've grabbed on your behalf will be immediately transferred to your warehouse. That said, whenever you stop by an inn, go ahead and deposit materials, weapons, and excess curatives (the hardest of all items to let go) into your storage.
10) Keep a well-balanced party, two mages recommended.
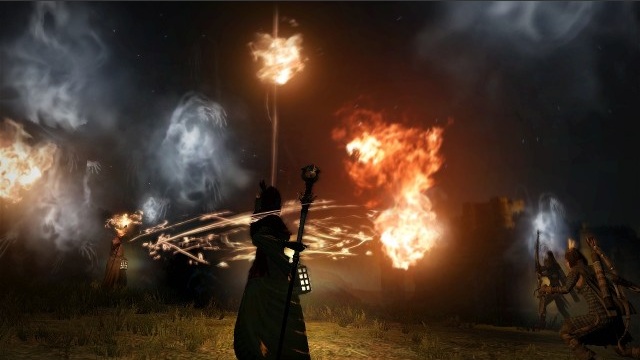
As any fantasy RPG with a party system, it's beneficial to have a balanced party with warriors, rogues, and mages. A healing mage is a must, which will likely be the role of a pawn since it's not the most active nor the wisest role for the player. The second party member should be either a fighter of some variety to take the attention off the mages or a mage focused on long-range firepower (Comestion is particularly nasty, Halidom cures debilitation, and Anodyne heals HP).
The third party member is up to your discretion (everything is, really). I don't particularly think rogues are necessary, since their attacks don't normally stun, their hit points are lower than fighters, and their long-range attacks usually can't compare to a mage's. A rogue is really meant to be a class controlled by the player anyway, with the ability to aim at weak sections of a boss and inflict a high dps (damage per second). Controlled by the AI, the rogue is not nearly as powerful.
That said, there's little reason why you need to stick with a set party. Your two hired pawns can change at any time and the vocation of your main pawn can be changed as well, though it's better to keep your main pawn sticking to one build. That will make sure that your main pawn is chosen by others, which will get you the most rift crystals.
(On that note, shameless plug: If you're in need of an awesome warrior, my Gamertag is Draqq.)
***Bonus Tip: Don't take the escort missions in Gran Soren's inn until you're absolutely sure. You can also cancel them at the board if you find them out of your league.