Fall of Oriath has unlocked a lot of new content for Path of Exile. While you might have been familiar with where to go and what to do before, you may be confused this time around.
In this walkthrough we’ll quickly go over the major things you need to do to progress through Acts 5 to 8.
Thanks to arianmsani for contributing this guide.
Act 5
- Access Act 5 thru the right side of Oyun/Dialla.
- Progress thru the Ascent, cross the valley thru the bridge in the center.
- There’s a short narrow alley in the top right(?) corner to access the upper part of the map.
- Click on the device and enter the Slave Pens.
- *Zone goes clockwise,through the bottom part of the map.
- Progress thru the zone, kill the Overseer Krow. A ladder will drop nearby Overseer on the well-lit wall.
- Go into town and turn in the quest for a rare ring.
- Go into the Control Blocks. Search for ‘Experimental Supplies-Miasmeter’ in the zone for 1 passive skill point. (top left part)
- Kill Justicar Casticus(top right of the map) for Eyes of Zeal, pick that up and head up to find the mechanical doors leading to Oriath Square.
- Grab Oriath Square waypoint and port back to town.
- Take your passive skill point from Vilenta, Quicksilver/Stibnite flask from Lani.
- Waypoint to Oriath Square.
- Progress thru O.Square (Hug the left wall) to Templar Courts(hug the left wall/clockwise) to Chamber of Innocence(Go thru the zone counter-clockwise).
- Kill Innocence.
- After killing him, exit thru the right door and talk to Bannon.
- Quest reward is a Threshold jewel.
- Enter the Torched Courts and progress thru the zone.(Hug the right wall/counter-clockwise)
- Enter the Ruined Square, head up to go to the Ossuary.
- Grab the Sign of Purity in the Ossuary.
- Head back to Ruined Square.
- -The Cathedral rooftops is located on the left in a straight path, if you hug the top wall you’ll eventually reach it.
- Don’t access it yet though, there’s a skillpoint quest nearby in the reliquary.
- continue going into the Southern part of Ruined Square until you reach the Reliquary.
- *Utula (side quest) can be skipped unless you need
- -Poachers Aim/Warlords Reach/Assassins Haste unique jewel reward, he’s near the bottom middle of the Ruined Square if you want to kill him.
Also Read: Top 3 Best Builds in Path of Exile: Fall of Oriath (v3.0)
- Enter the Reliquary. Collect all the artifacts, in each of the corners of the map.
- Waypoint back to town and turn it in for 1 skillpoint + 2 respec points.
- Now it’s time to kill Kitava.
- Make sure you’ve done all your required quests/normal Lab.(-30% Res penalty kicks in after killing him.)
- Waypoint back to Ruined Square and make your way to the Cathedral Rooftops.
- Make your way straight thru to the end of the zone and enter his arena.
- Place the Sign of Purity to activate the boss fight. Good luck.
Act 6
- Talk to Lilly Roth to sail back to Wraeclast.
- Go down and full clear the Twilight Strand.
- Talk to Lilly for 2 respec points and to access ALL skillgems in the game.
- Enter The Coast, grab the waypoint. (Skip it if you are res capped / don’t need stats) Go down to Tidal Island, grab the Manuscript and turn it in for a rare belt/amulet.
- Enter Mud Flats.
- Hug the bottom part of the zone and kill the unique Kaom Sister.
- Pick up the Eye of Conquest and look for Nessa;where Submerged Passage used to be.
- Hug the left wall and enter the Karui Fortress.
- Go up and kill Tukohama in the arena.
- Exit thru the opposite end and enter the Ridge up north.
- Waypoint back to town and get 1 passive skill point from Tarkleigh.
- Waypoint to Ridge and progress thru the zone.
- Enter Lower Prison.
- *There’s a Cruel Lab trial in this zone.
- Make your way thru Lower Prison and enter Shavronne’s Tower.
- Enter Prison Rooftop and Kill Mega-Brutus.(Tarkleigh reward: Rare 4linked helm)
- Exit thru the Warden’s Chamber below.
- Enter Prisoner’s Gate (skillpoint quest+ Pantheon power from killing Aberraths in this zone. Skip for now, come back later.)
- Go straight thru to the end of the road to access Western Forest.
- Follow the road once again in Western Forest and enter Riverways.
- *Wetlands side area in Riverways (another skillpoint quest+pantheon from killing Puppet Mistress. Skip for now, come back later)
- Follow the road once again in Riverways until you hit the end, then go top right into Southern Forest.
- Make your way thru Southern Forest, enter Cavern of Anger.
- Pick up the Black Flag from the chest, and then make your way thru the zone.
- Enter the Beacon. Activate the two fuel carts and light the Beacon.
- Click the Beacon again to burn the flag.
- Talk to Weylam Roth in the shore behind and sail to the Brine King’s Reef.
- Hug the bottom right shore and enter the Brine King’s arena.
- Kill the Brine King.
- Talk to Weylam Roth, and then sail to Act 7.
Act 7
- Enter Broken Bridge.
- Locate the Dirty Lockbox for quest item in one of the broken castle ruins.(quest reward: Pick Basalt/Diamond/Jade/Quartz/Granite Flask)
- Follow the end of the road and enter Crossroads.
- Tag the Crossroads waypoint, head down into Fellshrine Ruins>Fellshrine Crypt.
- *Cruel Lab trial in this zone.
- Find Container of Sins in Fellshrine Crypt and pick up Maligaro’s Map. Portal out.
- Waypoint back to Crossroads and head north into Chamber of Sins. *You can’t go down to Sins lv 2 yet.
- Find Silk in Chamber of Sins, talk to him and put Maligaro’s Map into the map device.
- Find and Kill Maligaro. He drops the Black Venom.
- Port out of map and give it to Silk to receive the Obsidian Key.
- Port back to town and talk to Helena to receive 4L rare boot quest reward.
- Now, make your way to Chamber of Sins Lv 2.
- *There’s a cruel lab trial at the south of the zone.
- Then, make your way up to where Fidelitas usually is, and head into the blank alley space.
- Access the Den thru the secret passage.
- Make your way thru the Den and enter Ashen Fields.
- Head bottom left into Greust’s arena. Kill him and use the north exit to Enter Northern Forest.
- Port back to town to grab a passive skillpoint from Eramir. Talk to Helena to receive Greust’s necklace.
- Waypoint to Northern Forest and head up to place the necklace into the Shrine.(reward: rare amulet)
- Head south of the Shrine, and hug the left wall.
- Enter Dread Thicket
- Find all the fireflies in this zone.(Skillpoint+pantheon power in this zone, but skip it for now, come back later)
- Get out of this zone and progress to The Causeway.
- Make your way thru this zone, and pick up Kishara’s star from the Lockbox near the end of the zone.(1 passive point+2respec points)
- Enter Vaal City.
- Find Yeena in the center of the map and unlock the Temple of Decay.
- Progress all the way down thru the zones and enter the arena.
- Kill Arakaali.
- Enter Sarn Ramparts, into Act 8
Act 8
- Same layout as Ramparts map, except no bosses; Enter the town.
- Enter the Toxic Conduits and make your way thru the zone (bottom right-ish?).
- Enter Doedre’s Cesspool (bottom right again?).
- Kill Doedre.
- Exit the arena thru the sewer outlet. Waypoint back to town to turn in quest reward(rare 2stone ring/unset ring)
- At Toxic Conduits, there’s a split path now. Lunaris on the left, Solaris on the right.
- Do Solaris first.
- Head right to enter The Quay.
- *In the Quay map, there are multiple outward extensions of planks.
- *We need to find the Sealed Casket around 1/3 of the way into the map.
- *Give the quest item to Clarissa who is hidden in a side arena 2/3 of the way into the map.
- Kill zombies (1 skillpoint 2 respec points).
- Progress thru the zone and enter The Grain Gate >>> similar to Warehouse District (follow the dead bodies)

- Find and kill the Gemling Legionnaires pack- quest reward for 1 passive skill point
- Keep progressing and enter The Imperial Fields.
- Hug the right wall and enter Solaris Temple.
- Progress thru the zone (identical layout as A3 Solaris)
- Kill Dawn and pick up the Sun Orb.
- Waypoint back to Toxic Conduits and head left to the Grand Promenade.
- Hug the upper left wall at the start of the zone. Layout identical to Promenade map.
- Enter the Bath House. Head top right to kill Hector Titicius for Wings of Vastiri side quest. (reward = Conqueror’s unique jewel)
- Head into far right corner of the map and enter Ebony Barracks.
- *Merciless Lab trial in this zone.
- *High Gardens is also in the top left of this map, Yugul skillpoint+Pantheon Power (skip if you’re undergeared/underleveled)
- Head north up the stairs and Enter Lunaris Temple.
- Progress thru the zone (identical layout as A3 Lunaris, just nicer colours)
- Kill Dusk and pick up the Moon Orb.
- Head to Ebony Barracks, head south into Harbour Bridge.
- Head to the middle of the zone, enter the arena.
- Kill Lunaris and Solaris.
- Continue to Act 9 (to be continued).
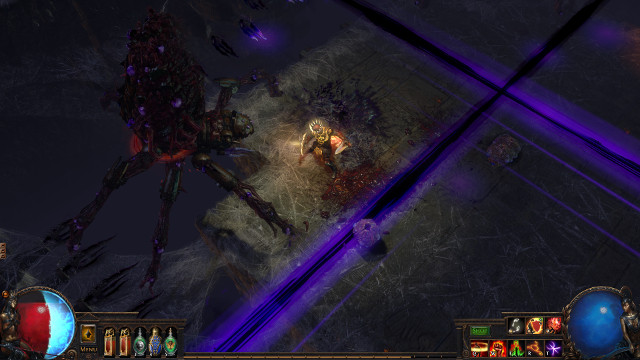
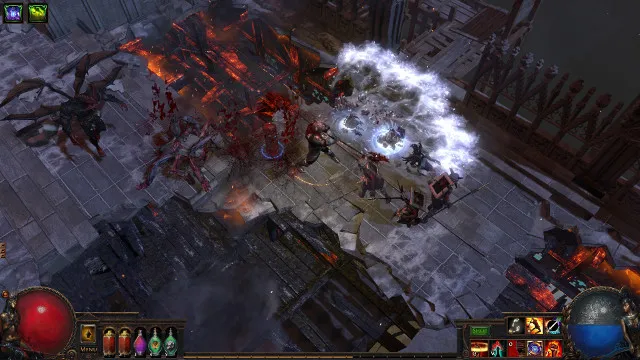
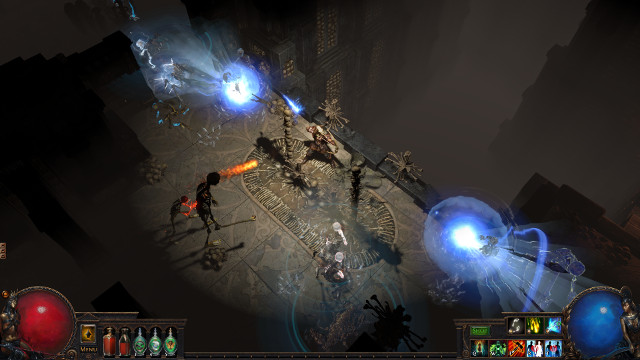
Path of Exile: Fall of Oriath Gallery
-
Path of Exile: Fall of Oriath Screenshot Gallery
-
Arakaali
-
Cathedral Roof
-
Ossuary
-
Battle #1
-
Battle #2
-
Reef
-
Sanctum
-
Shavronne

-
Ship
-
Torched Courts