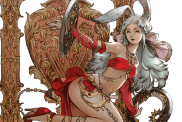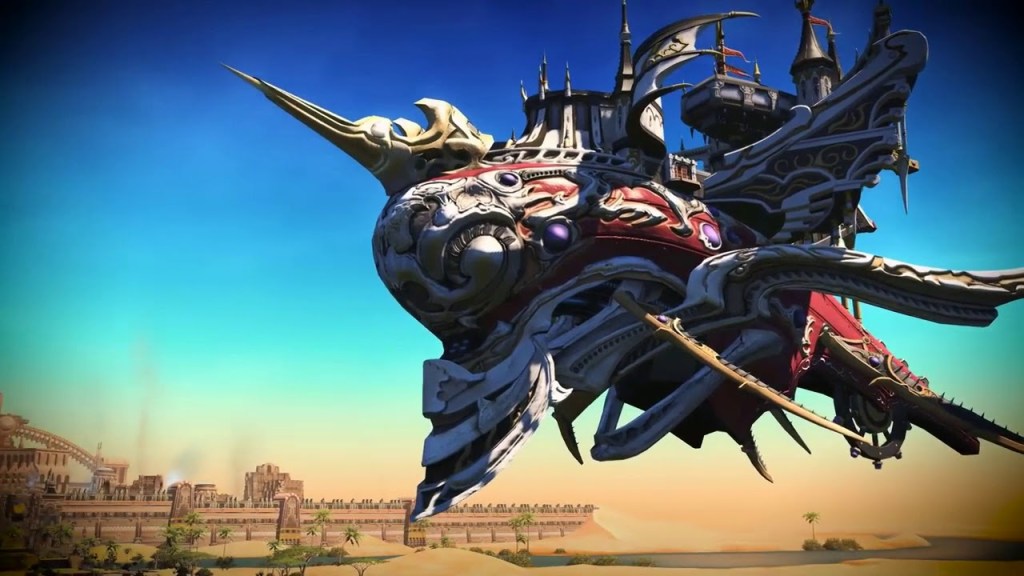
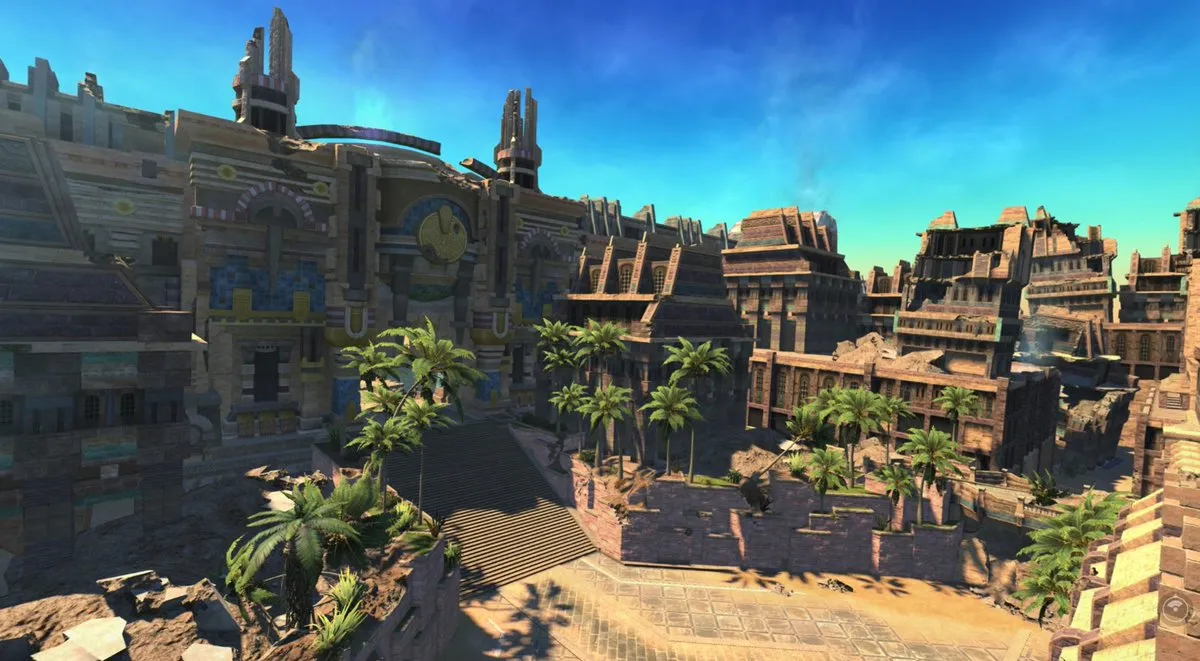
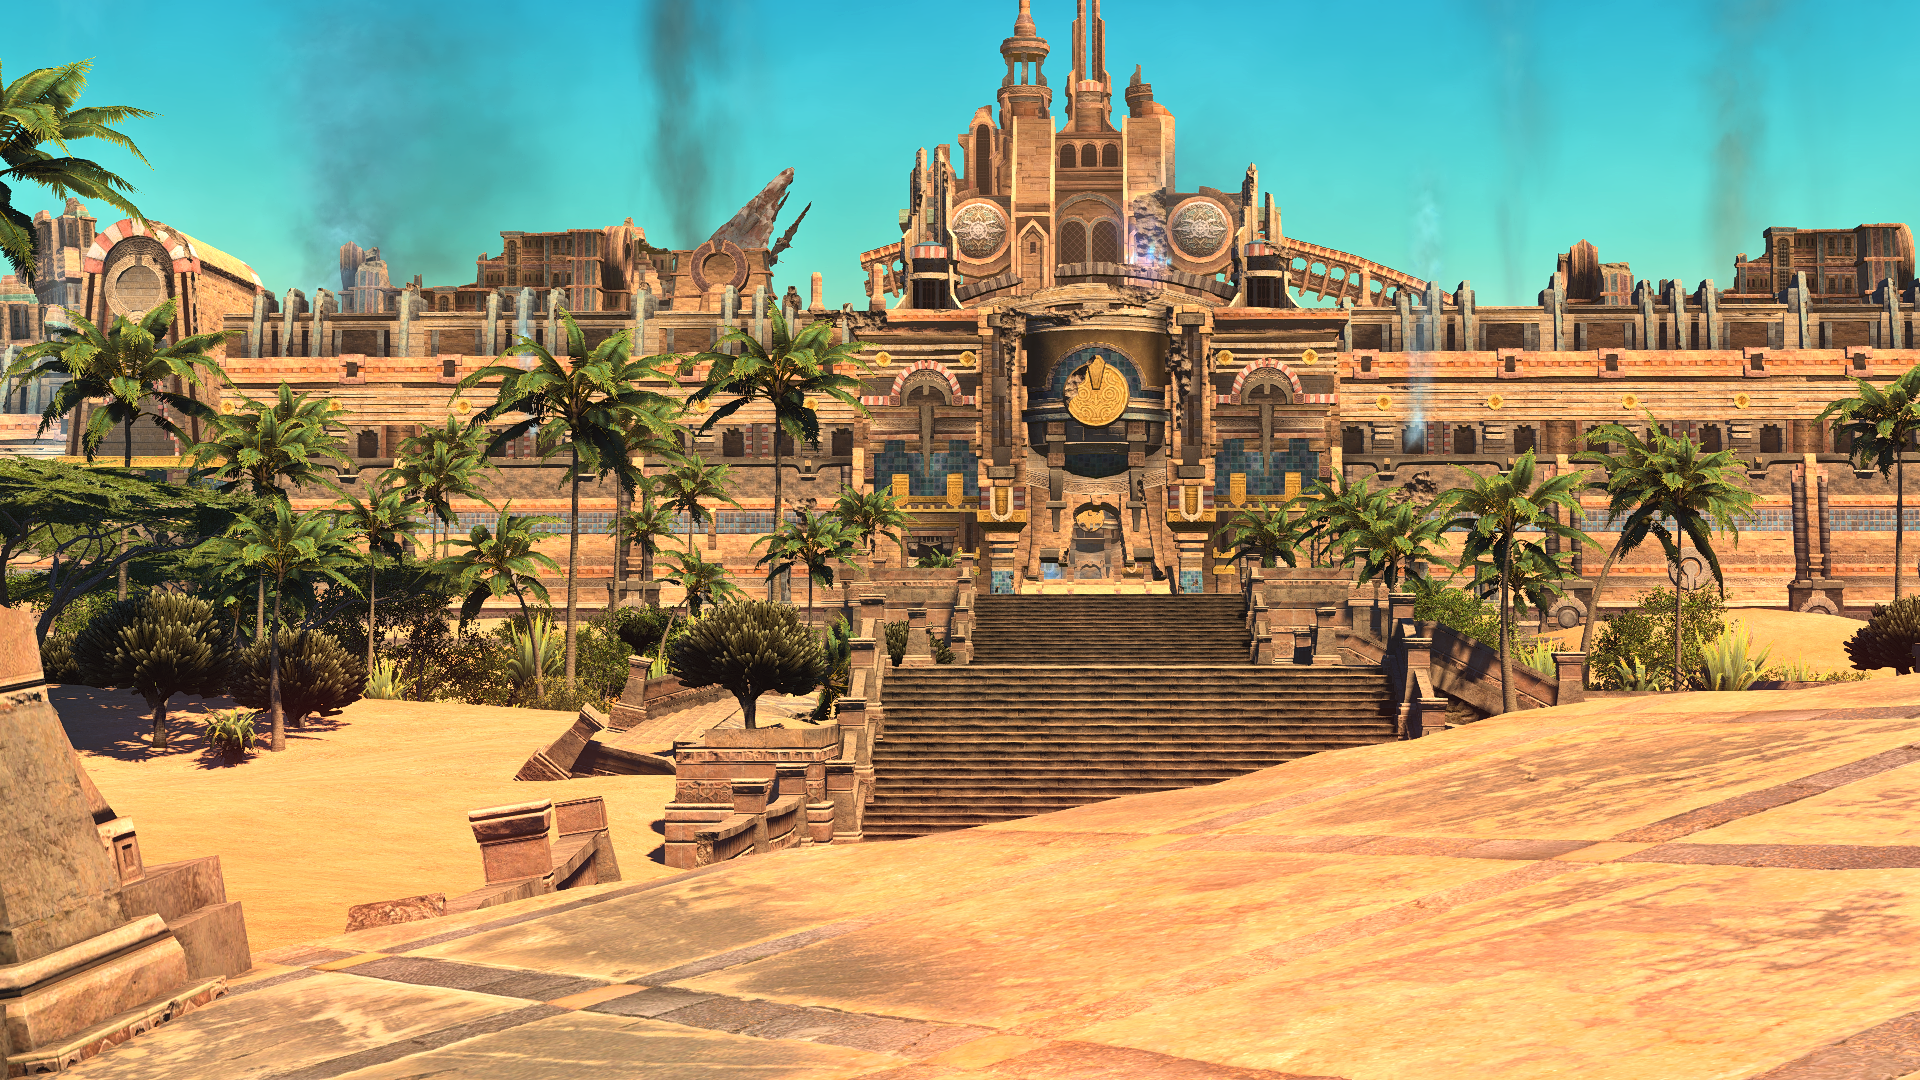
Every great MMO needs challenging endgame content to keep the servers running. Final Fantasy XIV has consistently released new endgame dungeons and quests to bring back lapsed players who cancelled their subscription. With the release of patch 4.1 in Stormblood, Final Fantasy XIV added a brand spankin’ new 24-player raid: The Royal City of Rabanastre.
The first part in the Return to Ivalice series of 24-player raids, The Royal City of Rabanastre is meant as next major endgame raid to defeat once you’ve already completed the eight-player Omega and new four-player dungeons in Stormblood.
We’ve already went over how to unlock the raid and what you need to access it. You can check that out here, but just remember that you need an average item level of 305 or higher to play through the massive Rabanastre raid. Without further ado, let’s get started with our complete guide to Return to Ivalice: The Royal City of Rabanastre.
Also: Final Fantasy XIV Stormblood: A Complete Guide to Shinryu Extreme
Return to Ivalice: Rabanastre – Mateus Boss Fight
With a total of nine objectives to complete and a two hour time limit to do it, Rabanastre is a massive 24-player raid comprised of three alliances. As the adds in-between the several bosses are more of an annoyance than anything else, we will focus primarily on the four main fights you will encounter.
Beginning with Mateus, you might remember this guy as a classic recurring boss from other entries, including Final Fantasy XII that Rabanastre is based on. Place down your three alliance markers west (A), north (B), and east (C) for adds later and let’s get to fighting.
Phase One: Main tank (typically Alliance B) should pull Mateus, while everyone immediately goes after the ice adds. Adds are your primary focus in this fight, so remember that. The adds have AOE’s and explode, so be careful as you take them down. When Mateus begins casting Unbind, everyone should move to their designated marker and defeat the Aqua Spheres that appear.
While in this portion of the fight, avoid the ice skating rink of death. They are the multiple spirals of ice that another add Elsa will not let go of. Standing on these will freeze you and result in your swift death. Meanwhile, collect the blue orbs that appear or else they will spawn even more adds. Once you’ve collected the orbs, quickly run to the water that spurs up to remove the debuff the orbs give.
As for the water pillars themselves, make sure that three players stand in every pillar for them to disappear before Elsa uses her special Disney powers to freeze them. If they do turn into Blizzard III, take them out fast or risk wiping. Get to a safe area and, healers, get ready for a major attack.
Phase Two: Kill the toad adds swiftly to unlock air pockets. Everyone will be gradually gaining stacks of a debuff up to 10 max. At 10, it will instantly kill you. Remove the debuff by going into the air pockets. Avoid chained orbs from getting to air pockets so they don’t close. Mateus will then use his ultimate attack, so get close, hold hands, and healers prepare accordingly.
Continue to avoid AOE’s and move towards your designated alliance marker. Take out Azure Guards when they spawn there. Tanks, make sure to keep the guards far away from each other and each alliance should deal with theirs. Finish the guards before Mateus completely charges up his bar or wipe. Mateus will repeat this phase until you beat him.
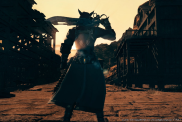
Return to Ivalice: Rabanastre – Hashmal Boss Fight
For this fight, it is also important to remember your markers. Unlike Mateus, the usual marks work: west (A), south (B), and east (C). Hashmal begins with harsh AOE’s like Quake IV and Jagged Edge. This is a healer check fight, so everyone should pay close attention to the mechanics. When he spawns the first control tower, get behind it. After falling (avoid it landing on you, of course), Hashmal will appear on the edge of arena and begin casting Extreme Edge.
One half of the arena is safe and the other is death. Simply look at the hand on your side of him. If it is on fire, then you are in the death zone and need to run north or south accordingly. If his hand is clear, you are in the clear area. Avoid hammer and tank be prepared for tank buster.
Afterwards, he will summon a command tower in the middle. Avoid its AOE and start immediately running to your alliance marker. Stack when necessary while taking out the Sand Sphere quickly or wipe. Then begin attacking the command tower and destroy it or also wipe. Healers get ready to heal his major attack.
He will once again do a set of control towers along with Jagged Edge, then he will do another Extreme Edge. Remember to be on the safe side. Healers, get ready for raid-wide Quake IV and Rock Cutter tank buster. Dodge the Earth Hammers and two Golem adds will appear. Off-tanks should aggro them, while taking them out quickly.
While that is happening, Hashmal will use Rock Cutter tank buster again so keep an eye on the main tank in addition to the off-tanks. After beating the Golems, he will use Quake IV once more and then Submission Tower. Everyone needs to move to their markers before he finishes. Stack together with your party and take out Sand Spheres.
Once finished, he will use Extreme Edge again. Find the safe side and get there. Next, if you receive an AOE marker, spread out like usual and avoid overlapping. From here, he repeats the skills you’ve already seen. You should be able to defeat him before he summons the two Golems again.
Return to Ivalice: Rabanastre – Rofocale
Phase One: Mark like Mateus, where it’s west, north, and east. Rofocale will begin the fight with Crush Helm. This is a debuff for the main tank. Healers should remove it when the debuff stacks to four. If you are targeted by the Chariot, you need to get close to the Rofocale. After Chariot, he will use Cry of Victory. Everyone will need to be behind him for the attack.
Continue to avoid AOE’s and pay close attention for when he casts Trample. The safe area for it will be either behind or in front of him. Find it and go there immediately. He will clone himself and you need to run either the first clone or the final clone, as they have the only safe zones for the next attack.
At around half health, he will move to the middle. At this point, you need to run to your designated marker and kill the demon add there. Remain inside your marker’s cage to avoid Rofocale’s charge attacks. Tanks should aggro the demon’s AOE’s to face the middle and away from the party. When you defeat the demons, stay close and healers get ready for Heavenly Subjugation.
Phase Two: Avoid all AOE’s, especially blue ones. He will do Chariot and Cry of War, followed by Trample, and then Chariot/Cry of War again. Same mechanics as before for those. Purple pulsing lines will appear soon after and everyone should run to the farthest point of the arena. He will continue using familiar mechanics like blue AOE’s, Crush Weapon, and a new AOE in the middle of the arena.
Keep avoiding these, his clones, and the pulsing purple impact attack. He will then turn the room dark and you need to interact with the dark circles on the ground. After this, he will continue familiar combinations of already seen abilities. Keep going through same mechanics until you take Rofocale down.
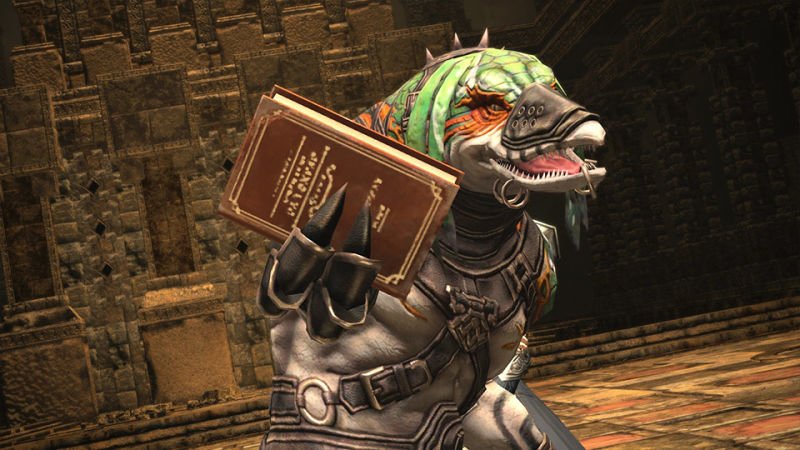
Return to Ivalice: Rabanastre – Argath Thadalfus
For this final, pretty simple boss, there are no alliance markers needed. Here are his skills in roughly the usual order he does them:
Crippling Blow- tank buster
Crush Weapon- tank buster
Soulfix- melee range AOE. Avoid it and its debuff
Unnerved- avoid getting stack three of this debuff or you will turn into a chicken for a bit
Fire IV- raid-wide ability
Embrace- blue AOE that binds you
Voice of the Gods- if you have an angel marker, obey. If it’s demon, don’t obey
Divine Commandment- you need to either look away, move, or stay still depending on your marker
Unrelenting- avoid these frontal cone AOE’s
Judgement Blade- square AOE’s will appear and two players will be marked with swords. If you are marked, move to outer edges
Coldblood- purple pulsing damage. Move away accordingly
Royal Blood- summons Shades. If you are chained to them, run away and spread them out. Everyone else, kill them quickly
Emptiness- quickly defeat Shards of Emptiness or you will wipe when he uses ultimate
Zombie- after his ultimate, purple ooze will appear. Avoid these or you will turn into a zombie and attack allies before dying
Gnawing Dread- roulette pointer will begin while another Coldblood happens. The pointer stops while you move and starts when you stop moving. Use it to navigate correctly away from AOE’s and Coldblood
Trepidation- he will summon a meteor that falls down pretty slowly. Get inside the circle to avoid the arena-wide impact. Keep going through these mechanics until you defeat him and win Rabanastre. Congratulations!