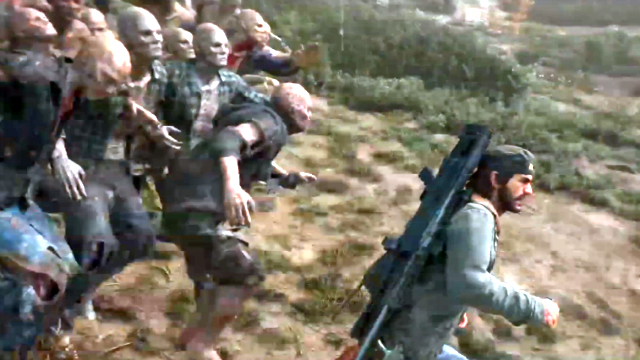
Killing hordes in Days Gone are one of the optional side quests you can take on when roaming the Oregon wilds. Beating the masses of Freakers is the most laborious task you’ll face in the game. Furthermore, even finding hordes in Days Gone can be tough since they’re not marked on the map, unlike almost every other side mission.
Below we’ll show you how to find hordes in Days Gone and how to beat them. Each one is a massive undertaking, so make sure to follow the tips below to prepare yourself for success.
Minor Days Gone spoilers below.
How to prepare to take on a horde in Days Gone
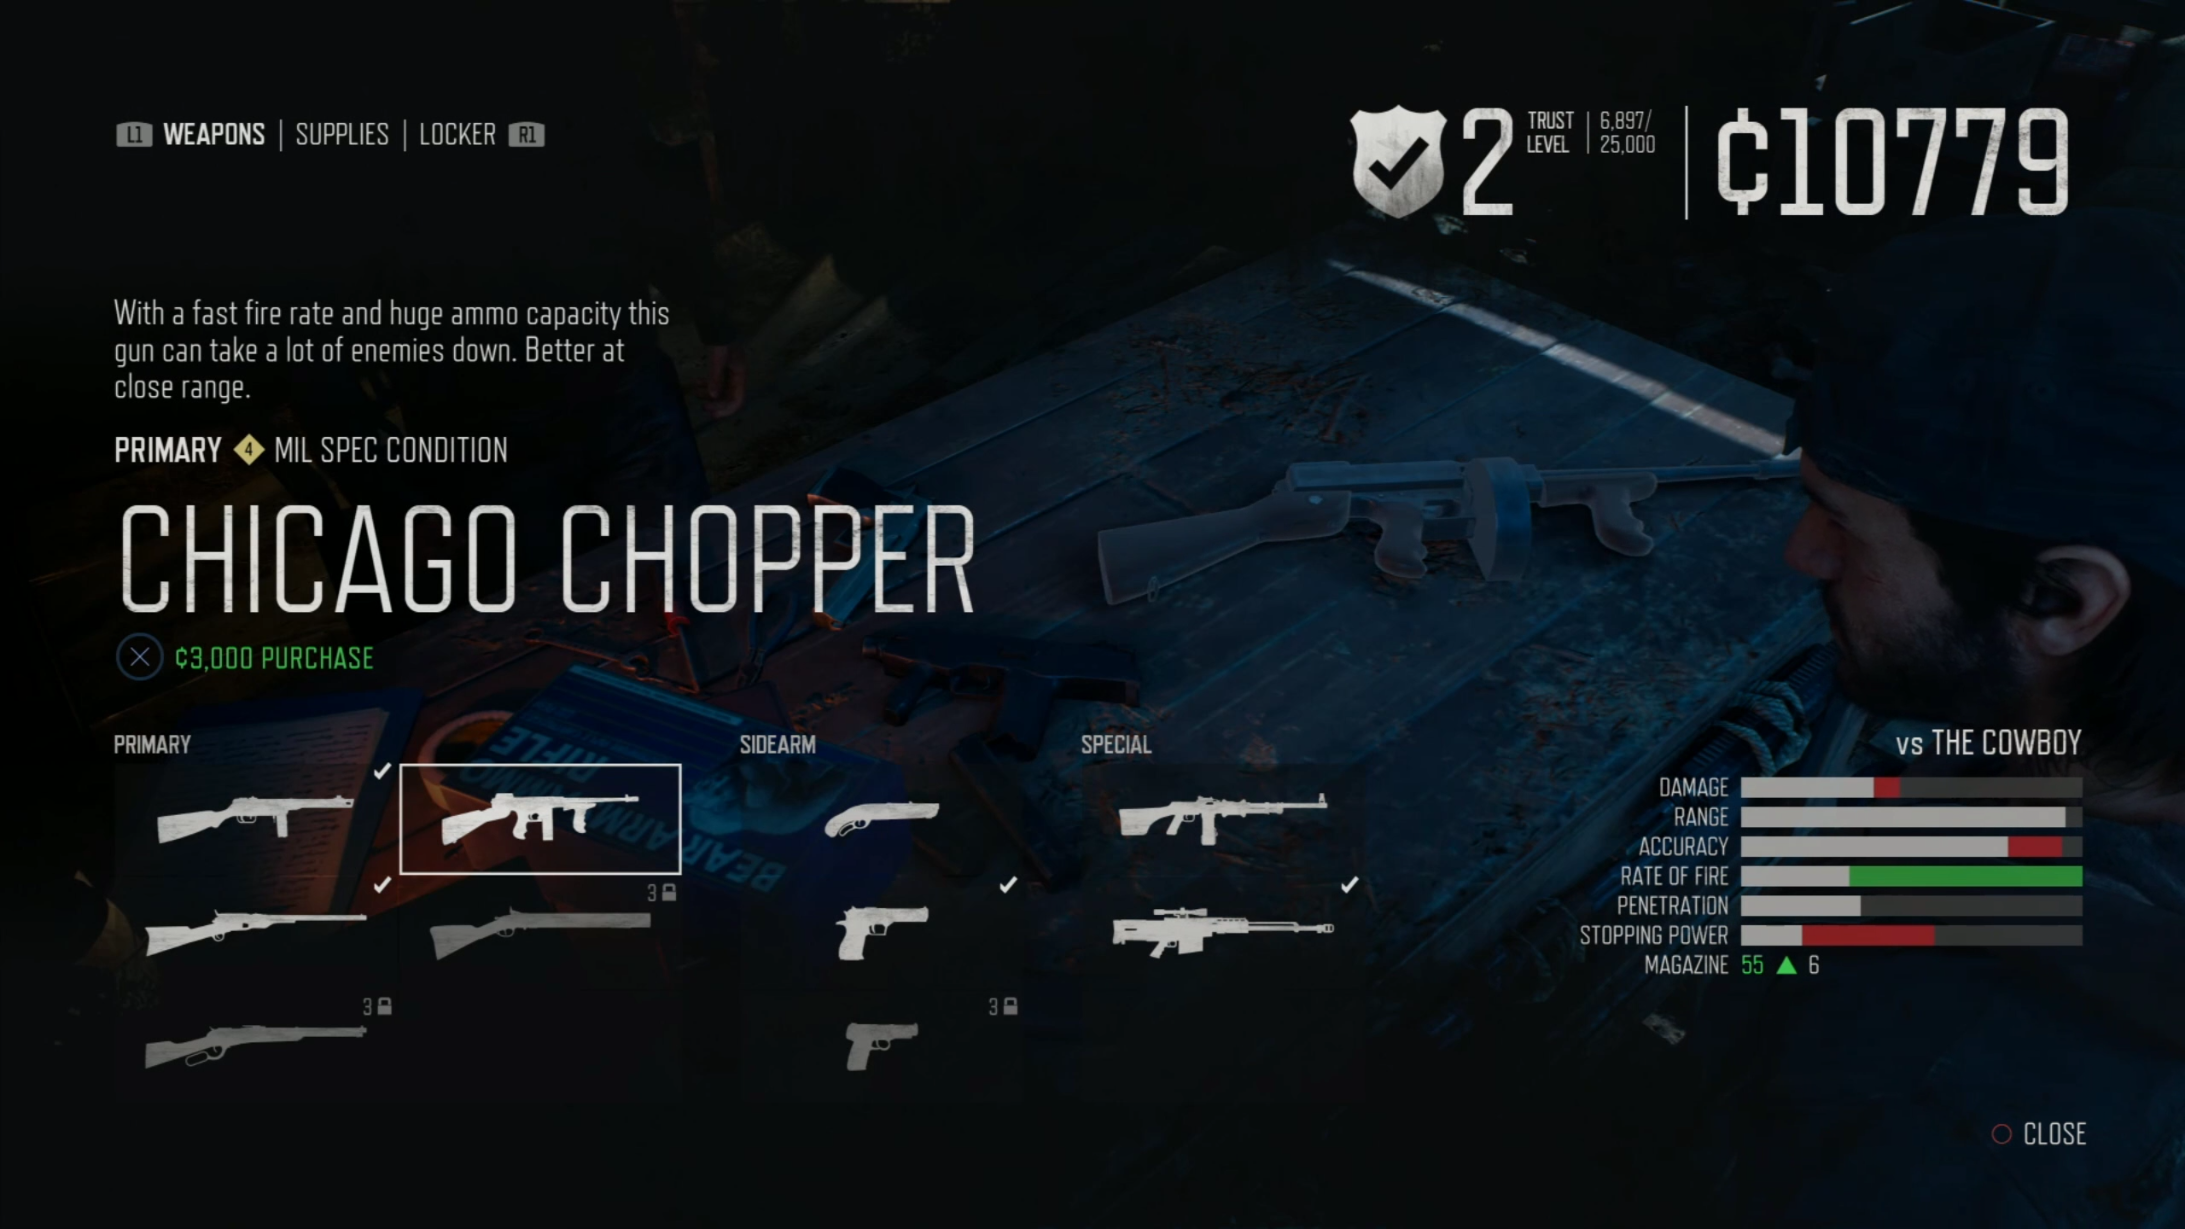
Before you start trying to find a horde, you need to make sure you’re prepared to take it on first. You should choose high-powered weapons that give you the flexibility to fight up close and at range. You’re going to need to stay mobile when taking on a horde, and your weapons loadout should allow you to be effective no matter what situation you get yourself into.
You should also make sure you have the Up the Ante Ranged Skill. This tier 5 skill allows you to carry more ammo, which you’ll definitely need to take on a horde. You should also pick up the tier 4 Survival Skill Carry That Weight. Carry That Weight allows you to carry double the components, traps, and throwables, so that’s twice the Molotov Cocktails, Pipe Bombs, and other explosives.
Another big help when hunting hordes is to have storage equipped to your bike. These will allow you to replenish your ammo. Saddlebags 1 is the bare minimum you should have before you even think of taking down a horde. Even with the skills mentioned above you just don’t have the ammo reserves to take down 300+ enemies without at least one refill.
As for what specific weapons you should pack, well that depends on where you are in the game. Since finding new survivor camps and gaining trust with them gives you access to new weapons, your arsenal won’t be superb early on.
My general recommendations are:
Primary Weapon: You’re best off with an automatic weapon here. You’re going to be in a target rich environment, so you can really go to town. Early on the MWS or Stinger are decent choices, but my favorite primary for killing hordes is the Chicago Chopper.
Secondary Weapon: For your secondary go with a pistol. If everything goes right, you probably won’t have to use it, but if you do, you’ll want a gun that’s easy to control. If you do end up pulling your sidearm, it’s likely because your primary is empty and you need to take out some nearby Freakers to get some breathing room to reload. The SAP9 is a good choice early on, but towards the end of the game, I kept the Enforcer by my side.
Special Weapon: The special weapon you take really depends on personal preference. The Crossbow can be useful if you’ve got the Incendiary Bolt and/or Explosive Bolt recipe. Otherwise, it’s dead weight. A sniper rifle can be good to pick off Freakers as the horde turns back to their den, and if you have the .50 BFG, the high penetration will kill multiple enemies in a line if you aim right. An LMG makes an excellent weapon to take down hordes as well. It’s really up to you on this one.
Throwables and Traps: Fill these up. You should max out your grenades, pipe bombs, Molotov Cocktails, Remote Bombs, Proximity Bombs, and whatever else you have access to. Napalm Molotovs are especially effective against hordes, but you won’t have access to them until late in the story.
One last important step before you go hunting for a horde is to make a manual save after you’ve got all your equipment together. If something happens during the fight and things don’t go your way, it’s a lot quicker to reload the game than refill your ammo and get all the materials to craft your throwables and traps again.
How to find hordes in Days Gone
Before you can kill a horde, you have to actually find one. These masses of Freakers aren’t marked on your map. Instead, you’ll need to hunt for signs of one and track it back to its den. On the map, you’ll see that each region has a specific number of hordes in it. That’s the only help you really get, and you can use this count to know whether to bother looking for a swarm in a specific region or not.
There are two methods you can use to find a horde:
How to find a horde in the daytime in Days Gone
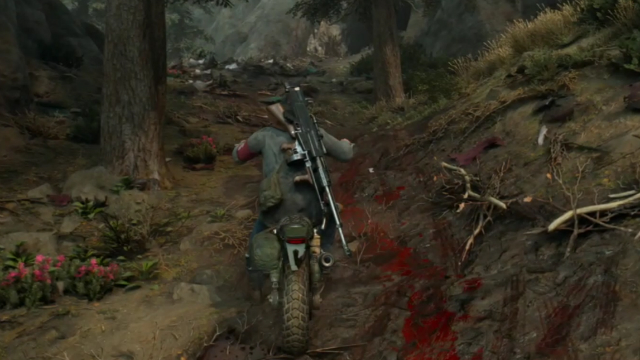
Freakers are less active in the daytime, and it’s a lot safer to explore the Oregon wilderness when your enemies are less numerous and more docile. The downside to tracking a horde in the daytime is that it’s going to be holed up in its den.
A horde den can be a large building, a cave, or even a tunnel. The main thing you’ll have to go off of in the daytime is the tarry, trash-filled residue that is present around horde dens. Usually, you’ll find the waste on roads and trails near a den.
Once you find the horde residue, you’ll need to start tracking it back to the den. Using your ears will help here too. You’ll hear the horde before you see the den and the sound of the Freaker’s moaning and growling will help you hone in on them.
How to find a horde in the night in Days Gone
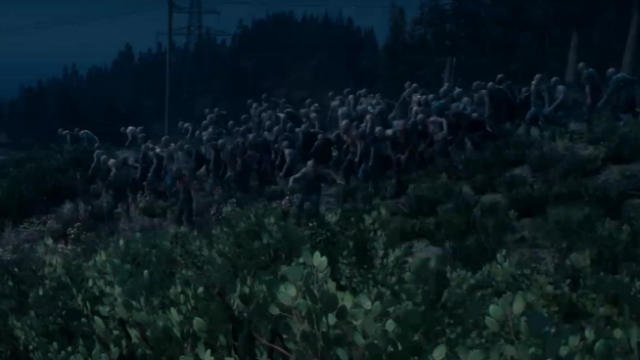
Hordes are significantly easier to locate at night than they are in the day. Nighttime is when the horde roams, and it will follow the same route every night, eventually looping around back to the den by the time the sun rises.
If you spot a horde at night, you usually shouldn’t even try and take it on. Trying to fight one on the road takes away some of the advantages you have by launching an attack when the horde is in its den. Your best bet is to follow it back to its home and mark the location on your map. You can then come back during the day and plan your attack.
How to kill a horde in Days Gone
So, you’ve got your equipment, and you’ve found a den. Now all you have to do is beat the horde. To do this, you’ll have to kill all 350+ Freakers that make it up.
The first thing you should do is scout the area. Most dens have a choke point or two nearby that you can use to funnel the horde into your traps once you’ve engaged them. You should place your bike near the choke point so that you can mount it once the horde clears your traps.
Once you’ve found the choke point, drop a trail of Proximity Bombs leading from the entrance of the horde den to where you’re going to funnel the horde. Mine the choke point itself with Remote Bombs. Once all this is in place, you’re ready to begin the fight.
Days Gone Horde Fight Phase One
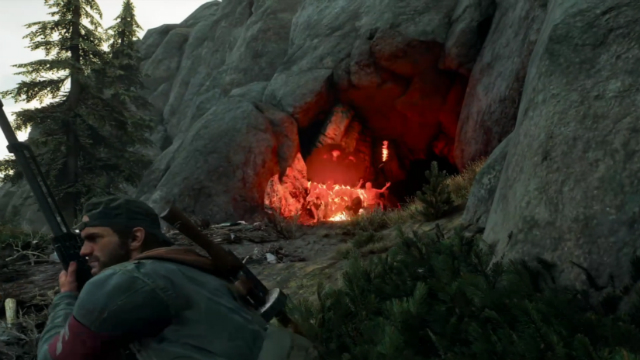
To start the fight against the horde, get close to the entrance to its den. You’ll want to throw an attractor to get the horde riled up. When they begin to crowd around the attractor, activate focus and chuck hand grenades in a wide dispersal pattern. This should take out a good chunk of the Freakers right off the bat. Once the grenades go off, chuck as many Napalm or regular Molotovs as you can. As the Freakers approach your position, run towards the choke point and mount your bike.
As the horde empties its den and runs towards you, the Proximity Bombs will slow them down, so you have plenty of time to make it to your motorcycle. As they enter the chokepoint, detonate the Remote Bombs you’ve planted when a large number for Freakers have moved into position. If you stagger the detonations, you should take out quite a few targets.
There will still be many Freakers left alive even after all the incendiaries and bombs you’ve hit them with. Once you’ve detonated the Remote Bombs phase two of the fight will begin.
Days Gone Horde Fight Phase Two

Your objective now is to spread the horde out. You’ll want to ride slow enough that the horde still chases you while keeping a healthy amount of distance between you and the Freakers. After a certain distance, the horde will start losing interest in you and begin to turn back towards the den.
Once this happens, let the horde get a pretty good distance away and start firing on the nearest Freakers. Suppressors are great to use here since it’ll let you control how many Freakers peel back off the main horde to attack you.
The goal during phase two is to thin the hordes numbers without alerting the main group. This might take a while, but it’s the safest way to ensure you don’t accidentally get overwhelmed. If you happen to alert the whole horde again, just run to your bike and ride off a way and start thinning them again.
Once you’ve thinned the horde to around 75-100 Freakers, you can move on to the final phase of the fight.
Days Gone Horde Fight Phase Three
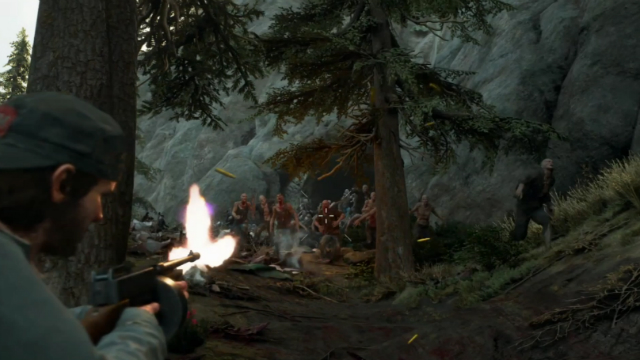
Now that around 2/3rds of the horde is dead, you can speed things up a little. Equip your automatic and start firing into the swarm from a distance. Your goal is to take out as many Freakers as you can before they reach you. When they’re getting close, run to your bike, take off, and wait for the horde to lose interest again.
When you’ve got the horde down to a manageable 30-40 Freakers, you can get a bit braver with this. The key is to move at your own pace as your weapons will allow. The Chicago Chopper is a beast that makes short work of 30 Freakers, but if you’re using the Stinger or another early game automatic, you’ll want to be warier.
Eventually, you’ll take down the last Freaker. When you do, you’ll get a splash screen confirming you’ve killed a horde. If for some reason you think you’ve killed every Freaker in the horde and you don’t get confirmation, head back to the den and poke around. There’s a chance a small group made it back without you noticing.
Unfortunately, I ran into an issue where I killed a horde several times and just couldn’t get the notification to trigger. If the same thing happens to you, just reload the save I mentioned in the first part of the guide and try again.
