
The Outer Worlds is one of the few highly anticipated RPGs to release in 2019 and has gathered a pretty big fan base since launch. With tons of different missions and quests to complete throughout the game, there are very few dull moments. One side quest that players have uncovered is called The Ice Palace. This is a Faction quest and requires players to help Lilya claim the HRS-1084 as SubLight Salvage property. Our The Outer Worlds The Ice Palace walkthrough will take you step by step through the quest.
The Outer Worlds The Ice Palace | Where to find Lilya
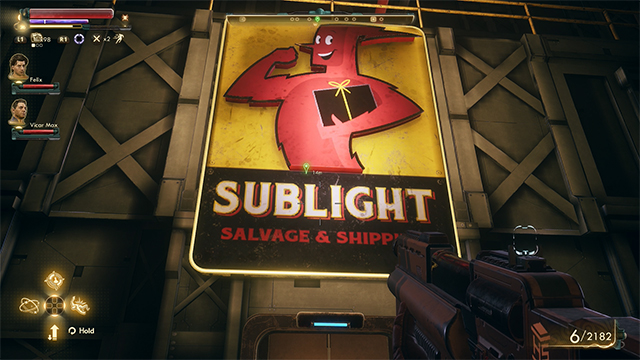
To begin The Ice Palace Faction quest in The Outer Worlds, you’ll need to visit Lilya Hagen in Groundbreaker. If you’re not sure where Lilya is located, you can find her downstairs in the center of the ship. Head into the SubLight area (where you’ll see a big yellow sign) on the ship and then go down the elevator. Once you get off the elevator, you’ll find her sitting at a table a few feet in front of you.
The Outer Worlds The Ice Palace| How to complete
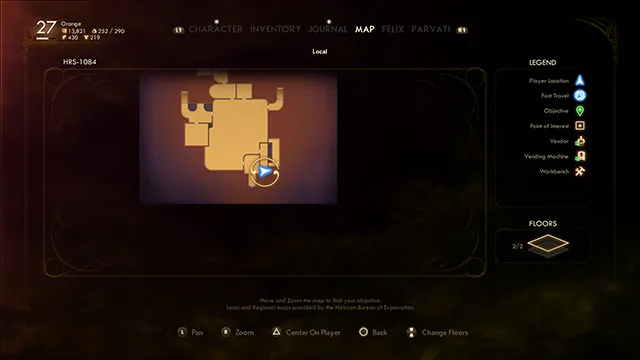
For the Faction quest, Lilya will ask you to claim the HRS-1084 as SubLight Salvage property. Despite what you might be thinking, you won’t have to fight off a bunch of enemies to claim the ship, but instead will need to interact with a couple of computer terminals to gain control of the ship. Head to your map and transport to the HRS-1084 and wait for Lilya’s instructions.
ALSO: How to Fix The Outer Worlds Radio Free Monarch Bug
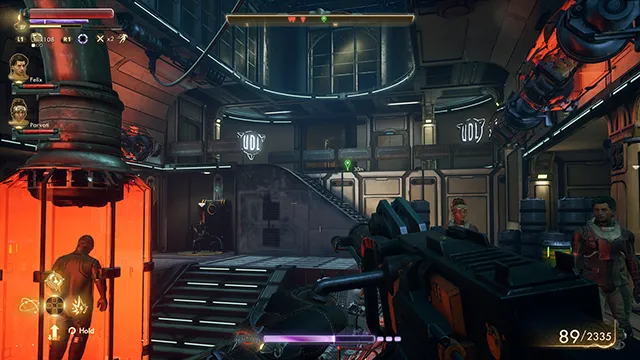
To start The Outer Worlds The Ice Palace quest, she will instruct you to get the power generator going again. As you enter the ship, head to the back left corner of the room and go through the door, keeping an eye out for mines as you enter the door. As you near the entrance, you should see a mine on your left next to a door on your left, blow up the mine and then head into the room. Sitting on a chair to your left, you’ll find the UDL Identity Cartridge.
Pick up the Cartridge, go back out the door, and head down the stairs to your left. Again, watch for mines as your make your way through The Ice Palace quest. At the bottom of the steps, you’ll find a computer terminal that you’ll need to use. Interact with it and you’ll eventually come into contact with a Corporate Commander who is suspicious of you. However, if you play your cards right, you can talk her down. We suggest using the Persuasion option followed by the Intimidate option to calm her down, however, there are other options that you can use to calm her. If you fail, it’s no big deal. You’ll just have to defeat some Automechanicals once you head back to the main room.

Wrap things up on the terminal and then head back up the steps into the main room. Once you are in the main room, walk in a diagonal line to the right across the area and head through the door in front of you by the glowing UDL sign.
Go right and you’ll find the Electrical Control Room Keycard sitting on a workbench (map in above picture and card in the picture below). Pick it up and then interact with the terminal behind you to encode the keycard.

Head back into the main room and go to the northwest corner.
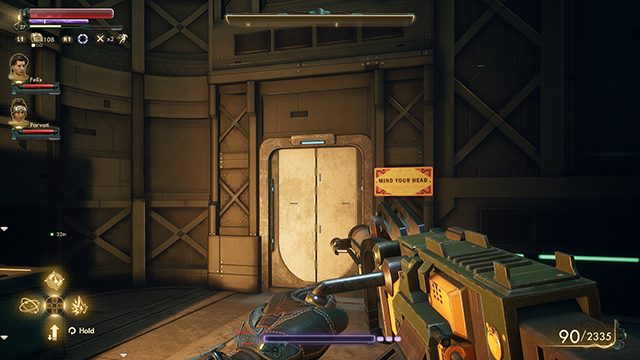
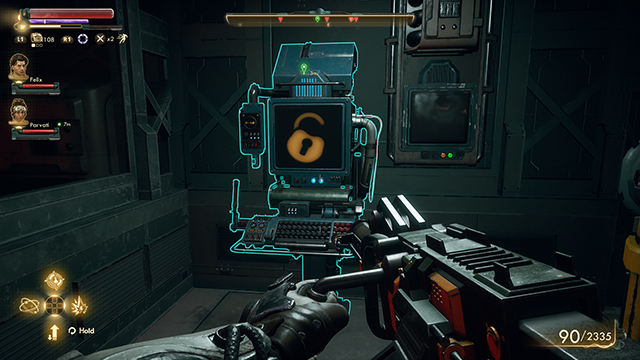
Walk through the door close to the “Mind Your Head” sign (watch out for the mine as soon as you open the door) and go down the steps. Use the keycard to unlock the door on your right and use the terminal inside the room which will allow you to disengage the checkpoint security.
Now go back into the hallway and through the door on your right, then through the door on your left with the “Restricted Access” text on it. Head through the room and up the stairs on the other side. Once you reach the top, you’ll see a door leading into a private office space. You’ll see a terminal in the room that will allow you to modify the system’s access protocols, which will allow SubLight to take control of the HRS-1084.
Once you’ve finished that, head back to Lilya and you’ll have completed The Outer Worlds The Ice Palace Faction quest.