Vault of Glass Guide


Most Destiny players will spend their time with story missions and strikes, but it also offers a challenging and far more involved raid for larger groups to tackle late in the game. If you can get five other players to join you, it's absolutely worth checking out.


This guide details general tips and more specific strategies to help you and your friends successfully complete the Vault of Glass.


General Tips
- The Vault of Glass allows smaller groups to attempt it, but you won't get anywhere with less than six people. Be sure you have a full group ready to go.
- Communication is vital. Make sure you all have mics/headsets and work with each other.
- Weapons with void damage are great, as lots of enemies (namely Praetorians and Minotaurs) have void shields.
- I love rocket launchers as much as the next guy, but also bring along a machine gun. There are a few spots in which you might want to hold off on shooting rockets.
- The hunter is the least useful class for the Raid. Having at least one Defender Titan helps a lot (especially with the first boss), and the Sunsinger Warlock class can come up big at the end of the raid.
- Buy ammo synthesis packs before you go to the raid. There will be times in which you run out of ammo and the best move is to simply use one of those items.
- Prepare yourself for stealth and platforming sections.
- There are no automatic respawns in the raid, and there's a 30-second timer before players can even be revived by teammates.
- Everyone in your group should be at least level 26 to attempt the raid. In order to beat the final boss, most will have to be 28. Every bit helps.
- Keep an eye out for chests, as they always contain upgrade materials.
- Don't be discouraged if you get no gear after completing the raid... it happens to many players.
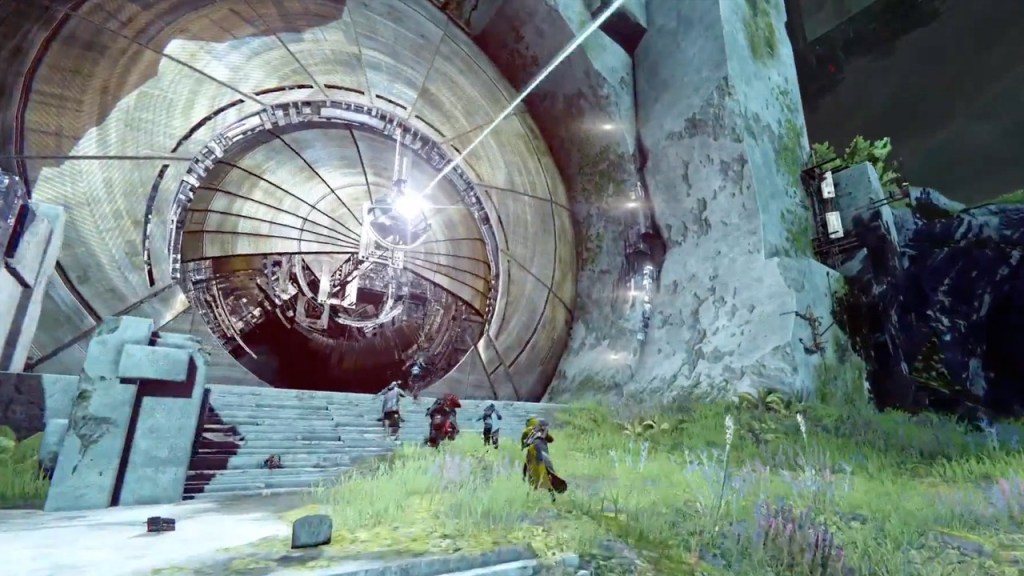
Forming the Spire
The first part of the raid seems simple enough, but requires some careful planning. There are three sync plates – two on the sides and one in the middle. Your group has to activate each sync plate at the same time and then keep them activated so the Spire can form. Unfortunately, Praetorians try their best to disrupt your efforts. If they make it to the sync plate, it resets the Spire progress and you have to start over. There will be plenty of other enemies, but only Praetorians reset progress.
First off, have void weapons handy as they can take down Praetorian shields quickly. Form up three pairs of two, for the sides and the middle. Have your two fireteam members with the lowest level take the middle since it gets the least amount of action. Those two people should help out with the respective sides – one on each – and only worry about the middle if a praetorian is coming. Call out when you see a Praetorian so your other partner knows it's coming. Always focus on that one enemy and worry about additional reinforcements after you take it down. You may fail the first few times, but just keep it up with this same strategy in mind. Eventually the Spire will form and your group can move on to the Vault of Glass (yes, that entire process was just entering the raid).
The Conflux
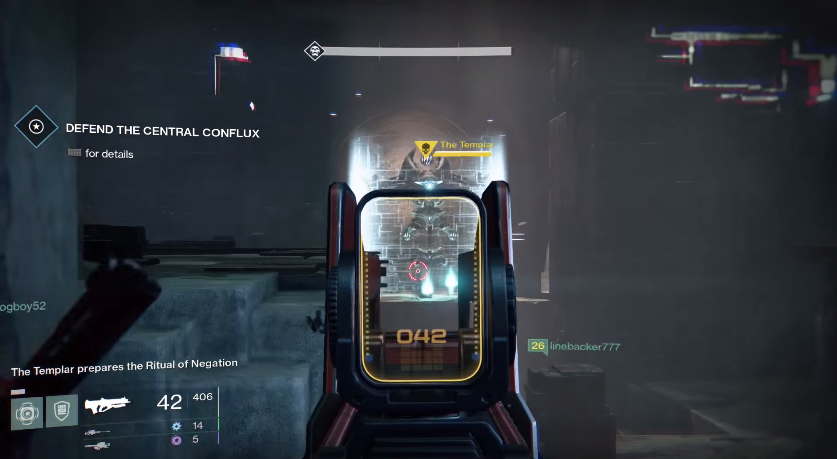
Following some simple platforming, your group will come to a new part of the raid. The Templar – the first boss – will appear, but it cannot be damaged at the moment. Instead, the fireteam needs to defend the Conflux, the giant structure in the middle, from enemies. Eventually two more Confluxes will form on the sides, and you must defend those as well. Split up into three pairs of two again (you can keep the same teams from before if you feel comfortable with that).
The big thing here is the new enemy type: fanatics. They go down quickly with concentrated fire, but they also leave a pool of acid/poison when they die. Do NOT walk in the acid or you will be marked. Every so often The Templar will begin the “Ritual of Negation,” in which all marked players will be immediately killed. Players can cleanse themselves after being marked by heading to the pool of light in the middle of the level, but most of the time it's too dangerous to do so. Just avoid the green pools altogether and you should be fine.
The fanatics are most dangerous when The Templar “sends his minions,” as the side of the screen will tell you. At that point a bunch of fanatics rush from the middle, so have all six players focus on the fanatics and kill them before they make it closer. There will be a lot of green on the ground, so be extra cautious, especially if you're trying to revive a teammate.
Oracles
After the fireteam defends the Conflux, they have to deal with Oracles. This is when the raid really begins to show its versatility, as players will have to listen to musical notes to predict when the Oracles appear. At that point, there are six spots in which they may appear – three on each side. Have the fireteam split up and cover both sides so they can destroy the Oracles after the notes play. Spotting them isn't very difficult – they are small balls of light that glow bright yellow, even in the distance. Shoot them for just a few seconds to destroy them.
If you don't shoot the Oracles in time, everyone gets marked and dies after The Templar's “Ritual of Negation.” This time there's no way to cleanse yourself, so make sure those Oracles are destroyed in time. In reality, the hardest part of this section isn't the appearance of Oracles. A series of Hobgoblins will appear on high platforms and attempt to snipe the fireteam – this is how most people die in the section. Keep an eye out for those Hobgoblins and take them out quickly.
The Templar
After the Oracle section, players are allowed a breather before they begin the first boss fight. Just don't pick up the relic from the middle of the level until you're all ready. Designate one player to be the relic holder – they will be tasked with taking down the boss's shield. Think of it as the story mission on the moon in which one player picks up the sword and switches to a third-person view. The relic has a few different melee attacks, all of which help charge up the special attack. The special attack – which uses the two shoulder buttons just like any other class-specific move – acts like the Voidwalker's special and launches a projectile attack. Hitting The Templar with it takes down its shield.
As for the other five players, they don't have much to do until the boss's shield is down. Harpies will appear, but you want to let the relic holder kill as many as possible so they can charge the special attack faster. Oracles will still appear, but just one at a time. Keep an eye out on the usual locations and destroy the Oracles when necessary. Once The Templar's shield is down, then it's time for action... sort of. First, the boss will encase some players in a bubble shield; do NOT walk out of the bubble shield if you value your life. Instead, shoot and destroy it to escape, and then fire at the boss.
This next part of the fight is the most important and will dictate whether groups succeed or fail. After shooting at the boss for a little while, it will attempt to teleport (the screen even shows text at the bottom to let you know). It only moves adjacently, but there will be a red circle where it plans to teleport. This is where Defender Titans come up huge. Have one of your Defender Titans run to the red circle and block its teleport. The Templar will be very upset and shoot at the player. Luckily they have a bubble shield that protects them (their class special) and ultimately blocks the boss from teleporting. This allows the other fireteam members to shoot at the boss for even longer.
If you block The Templar's teleport move enough, it will become enraged. At this point, it spawns Minotaurs and Oracles. Don't block his teleport again, otherwise your team will be bombarded by even Minotaurs and Oracles, which pose too much of a threat. Deal with the enemies on screen, wait for The Templar to calm down, and then repeat the process. Keep it up and it should go down eventually.
Gorgon's Maze
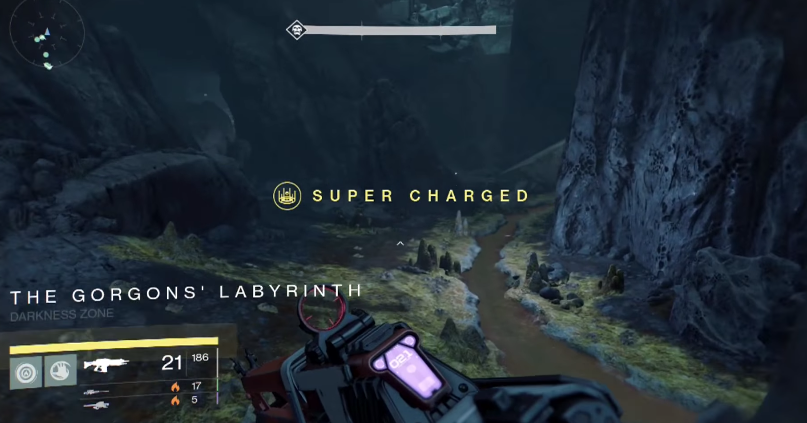
Congratulations on defeating the first raid boss. Don't get too excited though, as plenty more challenges await. Next up is a stealth section – that's right, Destiny's first and only stealth section in the entire game. At least this raid offers variety.
Anyway, the key here is to stick together. Gorgons are the new enemies, and if they spot you it's lights out. Only one fireteam member needs to be spotted, and then everyone dies after 10 seconds. That's why it's important to stick together. The fireteam can prevent death if they destroy the Gorgon, but heavy ammo is necessary to do that. And after the Gorgon goes down, every other Gorgon becomes more powerful. So trust me, don't fight the Gorgons (unless you want to kill one to collect the Grimoire card).
Players refer to this place as a maze for a reason. It's very difficult to find your way out, and explaining it in text doesn't do much good. Just try your best to find the correct route, and keep an eye out for chests along the way.
First-Person Platforming
Everyone loves first-person platforming, right? Right? Okay, maybe not, but this section is actually kind of fun. Especially when you make it to the other side and watch your teammates fall to their deaths in maniacal glee.
A series of platforms will appear and disappear, leading to the other side of a canyon/chasm. There's not really a strategy to getting across, other than paying attention to when the platforms form and disappear. You have to get the timing right, otherwise you fall and go back to the beginning. This can be tricky for some classes with awkward jumps, but it's a matter of persistence.
The section does add some pressure though, because it's up to everyone to succeed on their own. My condolences in advance to the worst jumper in the fireteam.
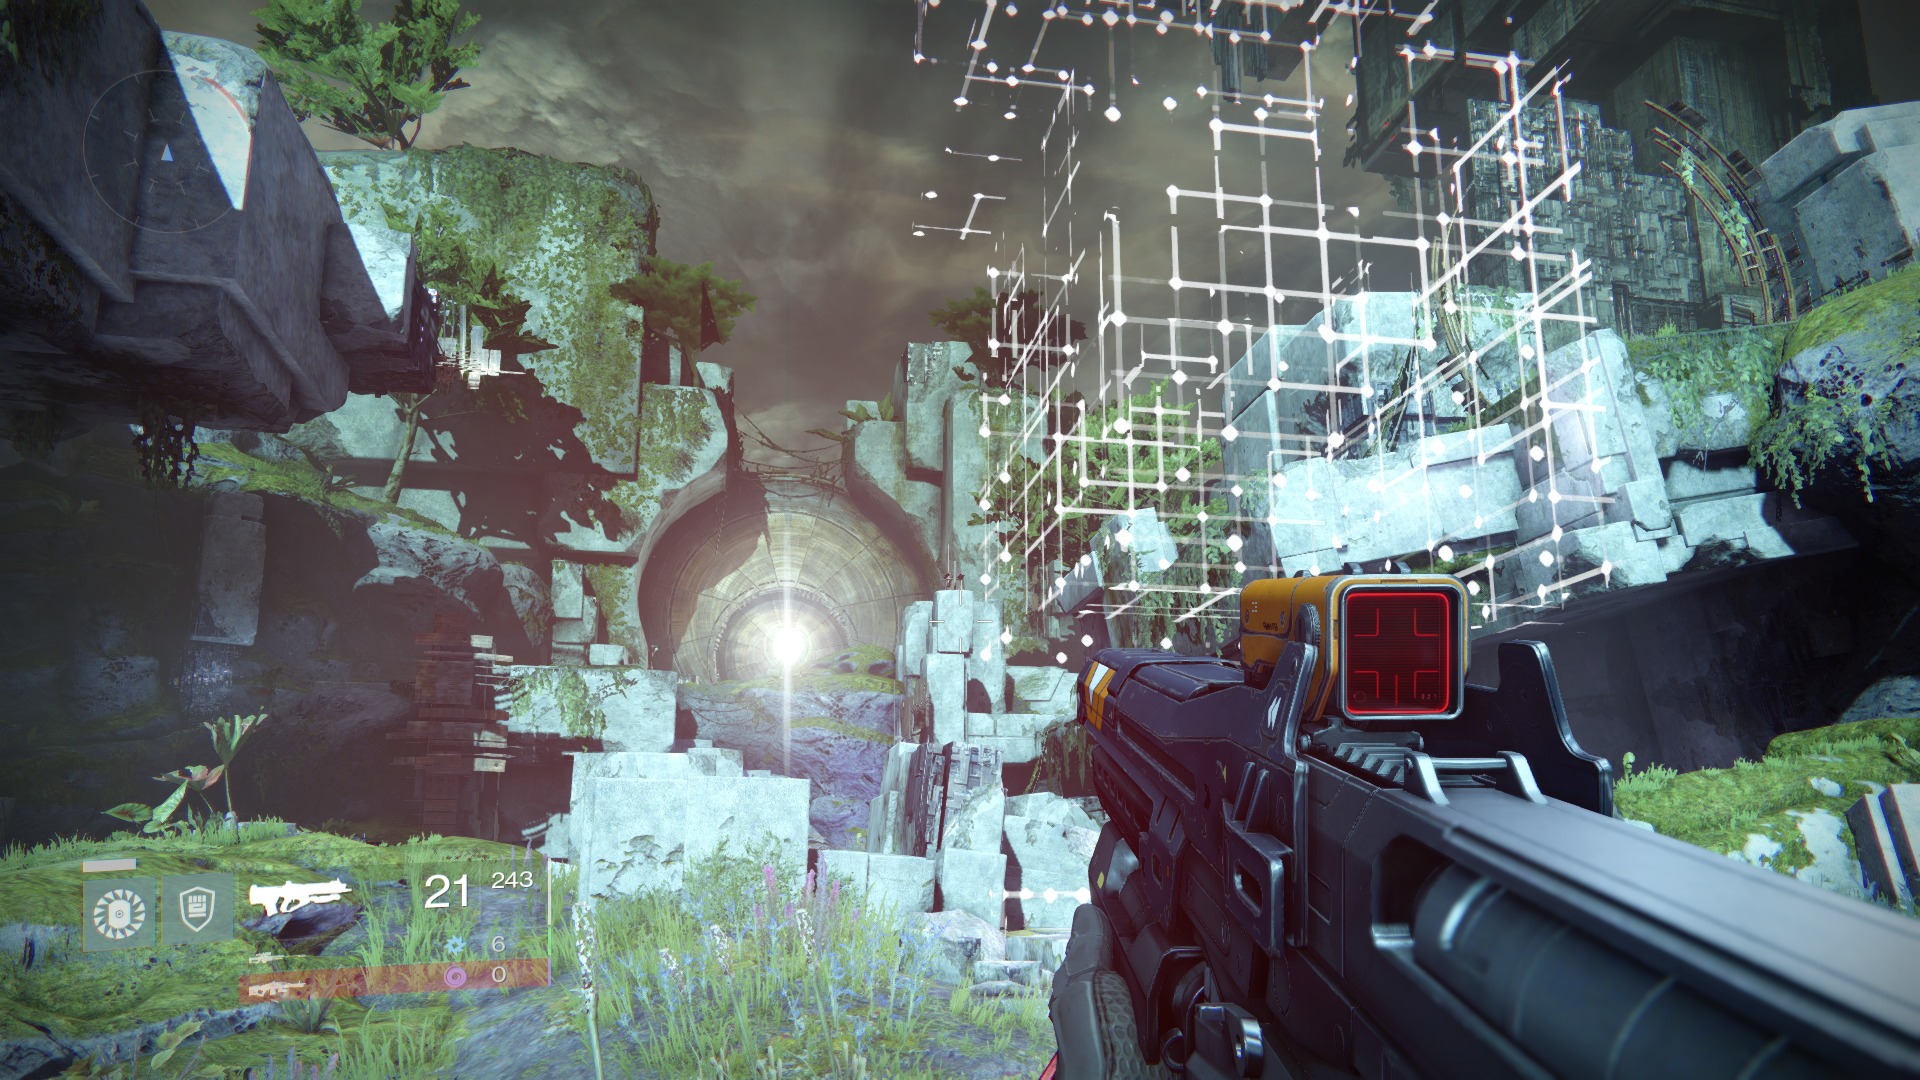
Vex Timegates
The next room acts as the setting for the final encounter, but the fireteam has to do a few things before the boss shows up. The room has a lot of Goblins and a Gatekeeper, so take out the Goblins first. Then observe how there are two portals (Vex Timegates) that have yet to be activated. Once the Gatekeeper is killed, they will be activated. Pick two members to enter the portals, while the other four stay back and guard the Timegates.
When the two members enter the first portal, they have to go find the relic and kill the Gatekeeper. When the Gatekeeper dies, the players will be marked and their vision will quickly deteriorate. Eventually the players will only see complete darkness, so find that relic immediately and escape. Once the two are back outside, the player with the relic should use it to cleanse them and remove the mark of darkness.
As for the other four players, they simply need to defend the portal. It's very much like the beginning of the raid with the sync plates, but the consequences are more dire this time around. If enemies control the sync plate, the two people in the portal will instantly die and in turn so will everyone else. When the first portal is done with, repeat the process for the other one. But also be wary, as a Conflux will spawn after the first portal and must be defended. Have one player go guard the Conflux from Minotaurs while the others guard the portal.
Once the second relic has been retrieved, kill all remaining enemies in the room and prepare for the final boss.
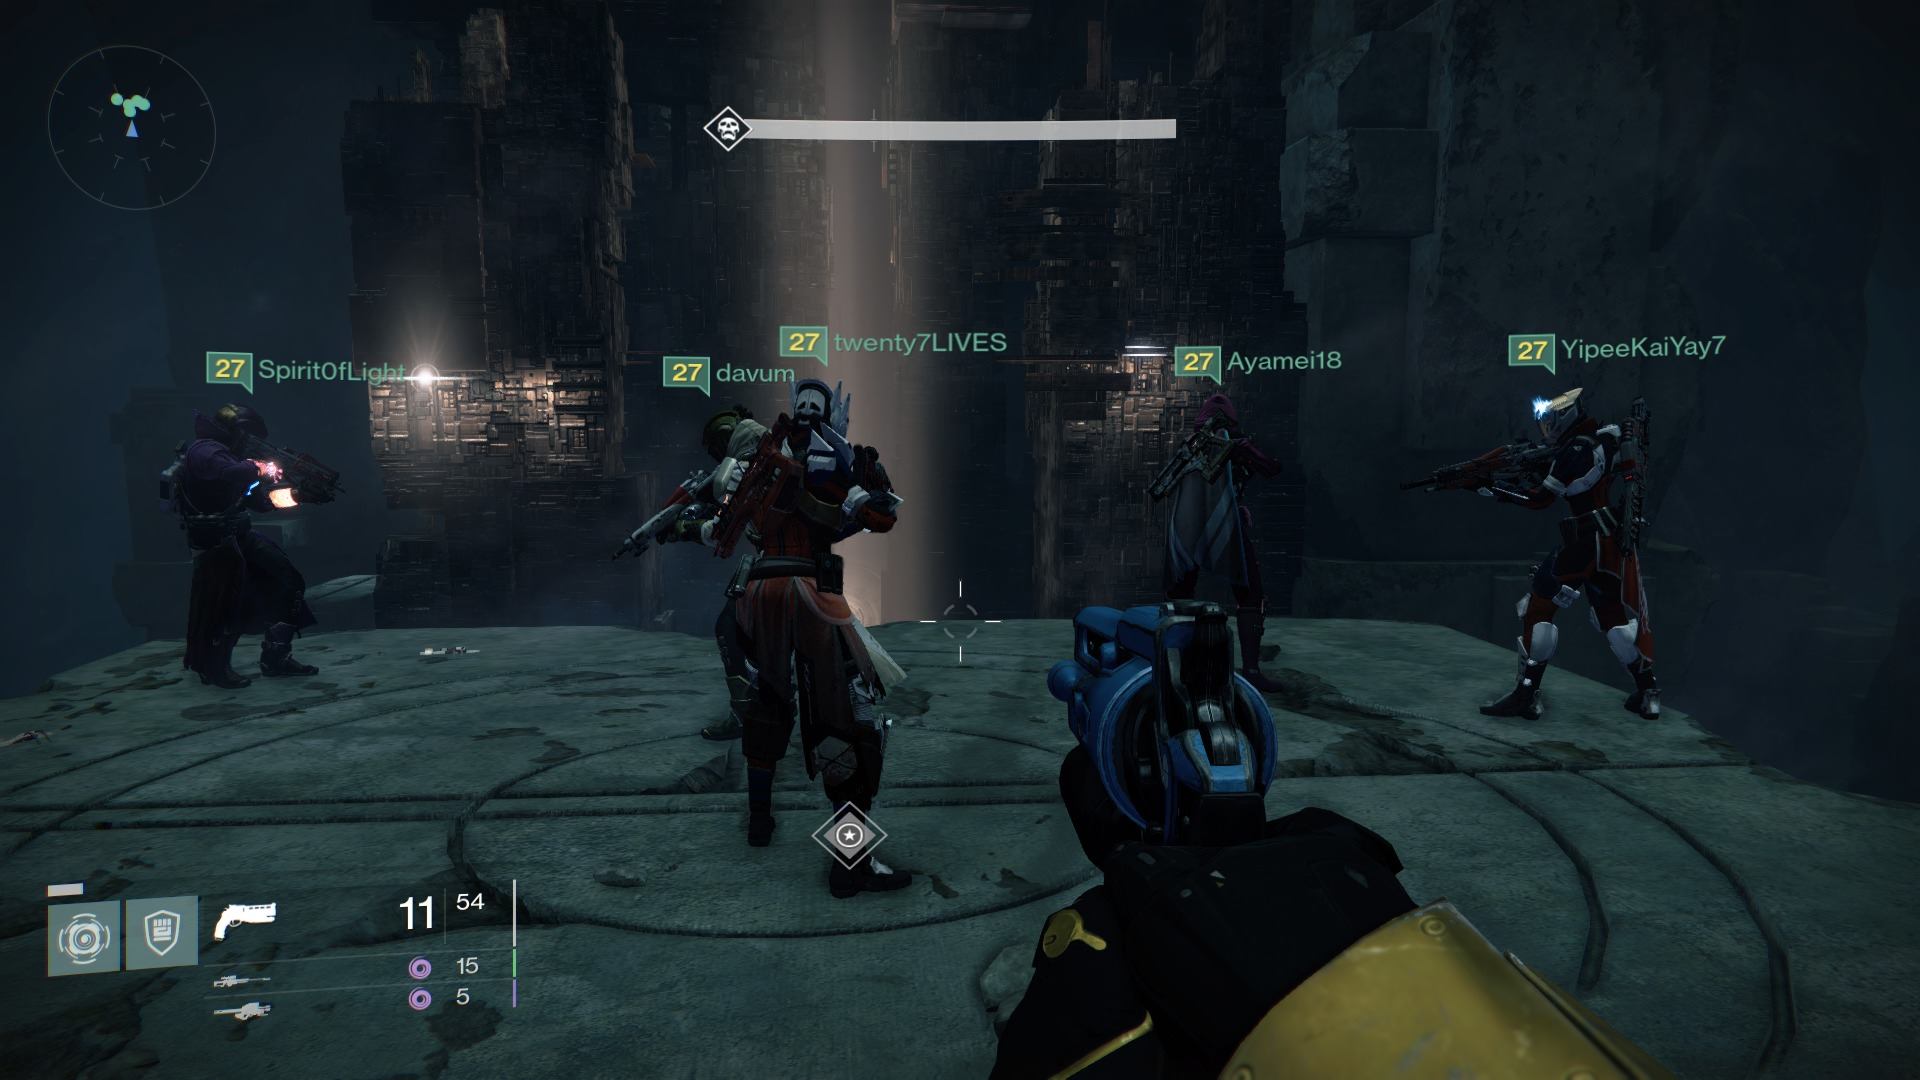
Atheon, Time's Conflux
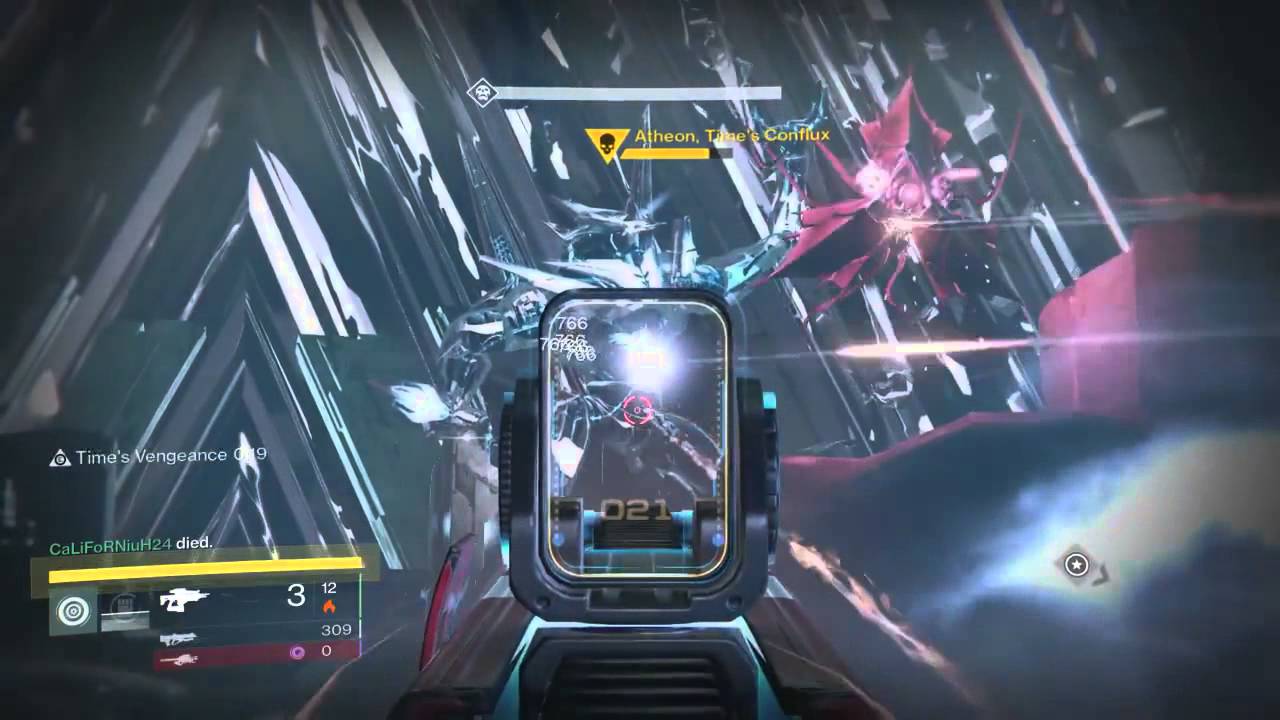
Atheon is the last big obstacle that stands in the way of your fireteam, but this fight is a complicated one. Again, it involves portals and teleporting, so split your team up into two groups of three. We'll call them the portal team and the home team. The portal team should stand as far back from the boss as they can (against the wall), while the home team should go guard the portals.
After a little while Atheon will send the portal team to a different world – either Venus or Mars. The portal team should call out where they are so the home team knows which portal to open up with the sync plates. Meanwhile, the portal team will fight off enemies and destroy Oracles while they wait for the exit to open up. One player should pick up the relic (again, they need to cleanse the darkness marks to avoid blindness), one should focus on enemies, and another should focus on Oracles.
If there is a Sunsinger in the group, put them on the portal team and make sure they have reduced cooldowns active for their special attack. It makes taking out the enemies a lot easier, especially for the relic holder. Once the exit has opened up, make sure all Oracles are destroyed before you leave. Have the relic holder cleanse the group, and go run to the back wall to prepare for the same process. The portal team should shoot the boss if they can though, because that entire process created a crucial buff.
Completing the portal process creates a buff called Time's Vengeance, in which the fireteam does way more damage against Atheon and reduces cooldowns. Unleash all attacks on Atheon before the portal team is sent back to the other world. Keep repeating this process, and make sure you kill Atheon as fast as possible when he becomes enraged, otherwise you will fail.
Once that's done, pat yourself on the back and do a victory dance. You and your buddies completed the Vault of Glass!