
Fallout Shelter has already topped over 1 billion play sessions in just a single month, and now that Fallout Shelter is out on Android, that number will skyrocket. By now, you've probably already seen enough simple tips like putting people in the right room, merging similar rooms together, and how to produce babies. So here's a more advanced guide how to maintain and sustain your Vault to the best of your ability.
1. Turn Off Your Device!
While in sleep mode, your vault will not experience any incidents like fire or infestations. So one solid strategy, especially if you're busy doing something else, is just to keep your phone shut off and pick it up every five minutes or so (or however long it takes for the majority of your rooms to generate resources). The timers on your rooms will continue to tick down until the room is ready for collection and your resource meters gladly won't dip while it's ready. So by the time you turn on your phone in a few minutes, you can just tap on everything and then promptly shut the game off again.
2. Eventually, Everything Centers on the Medbay
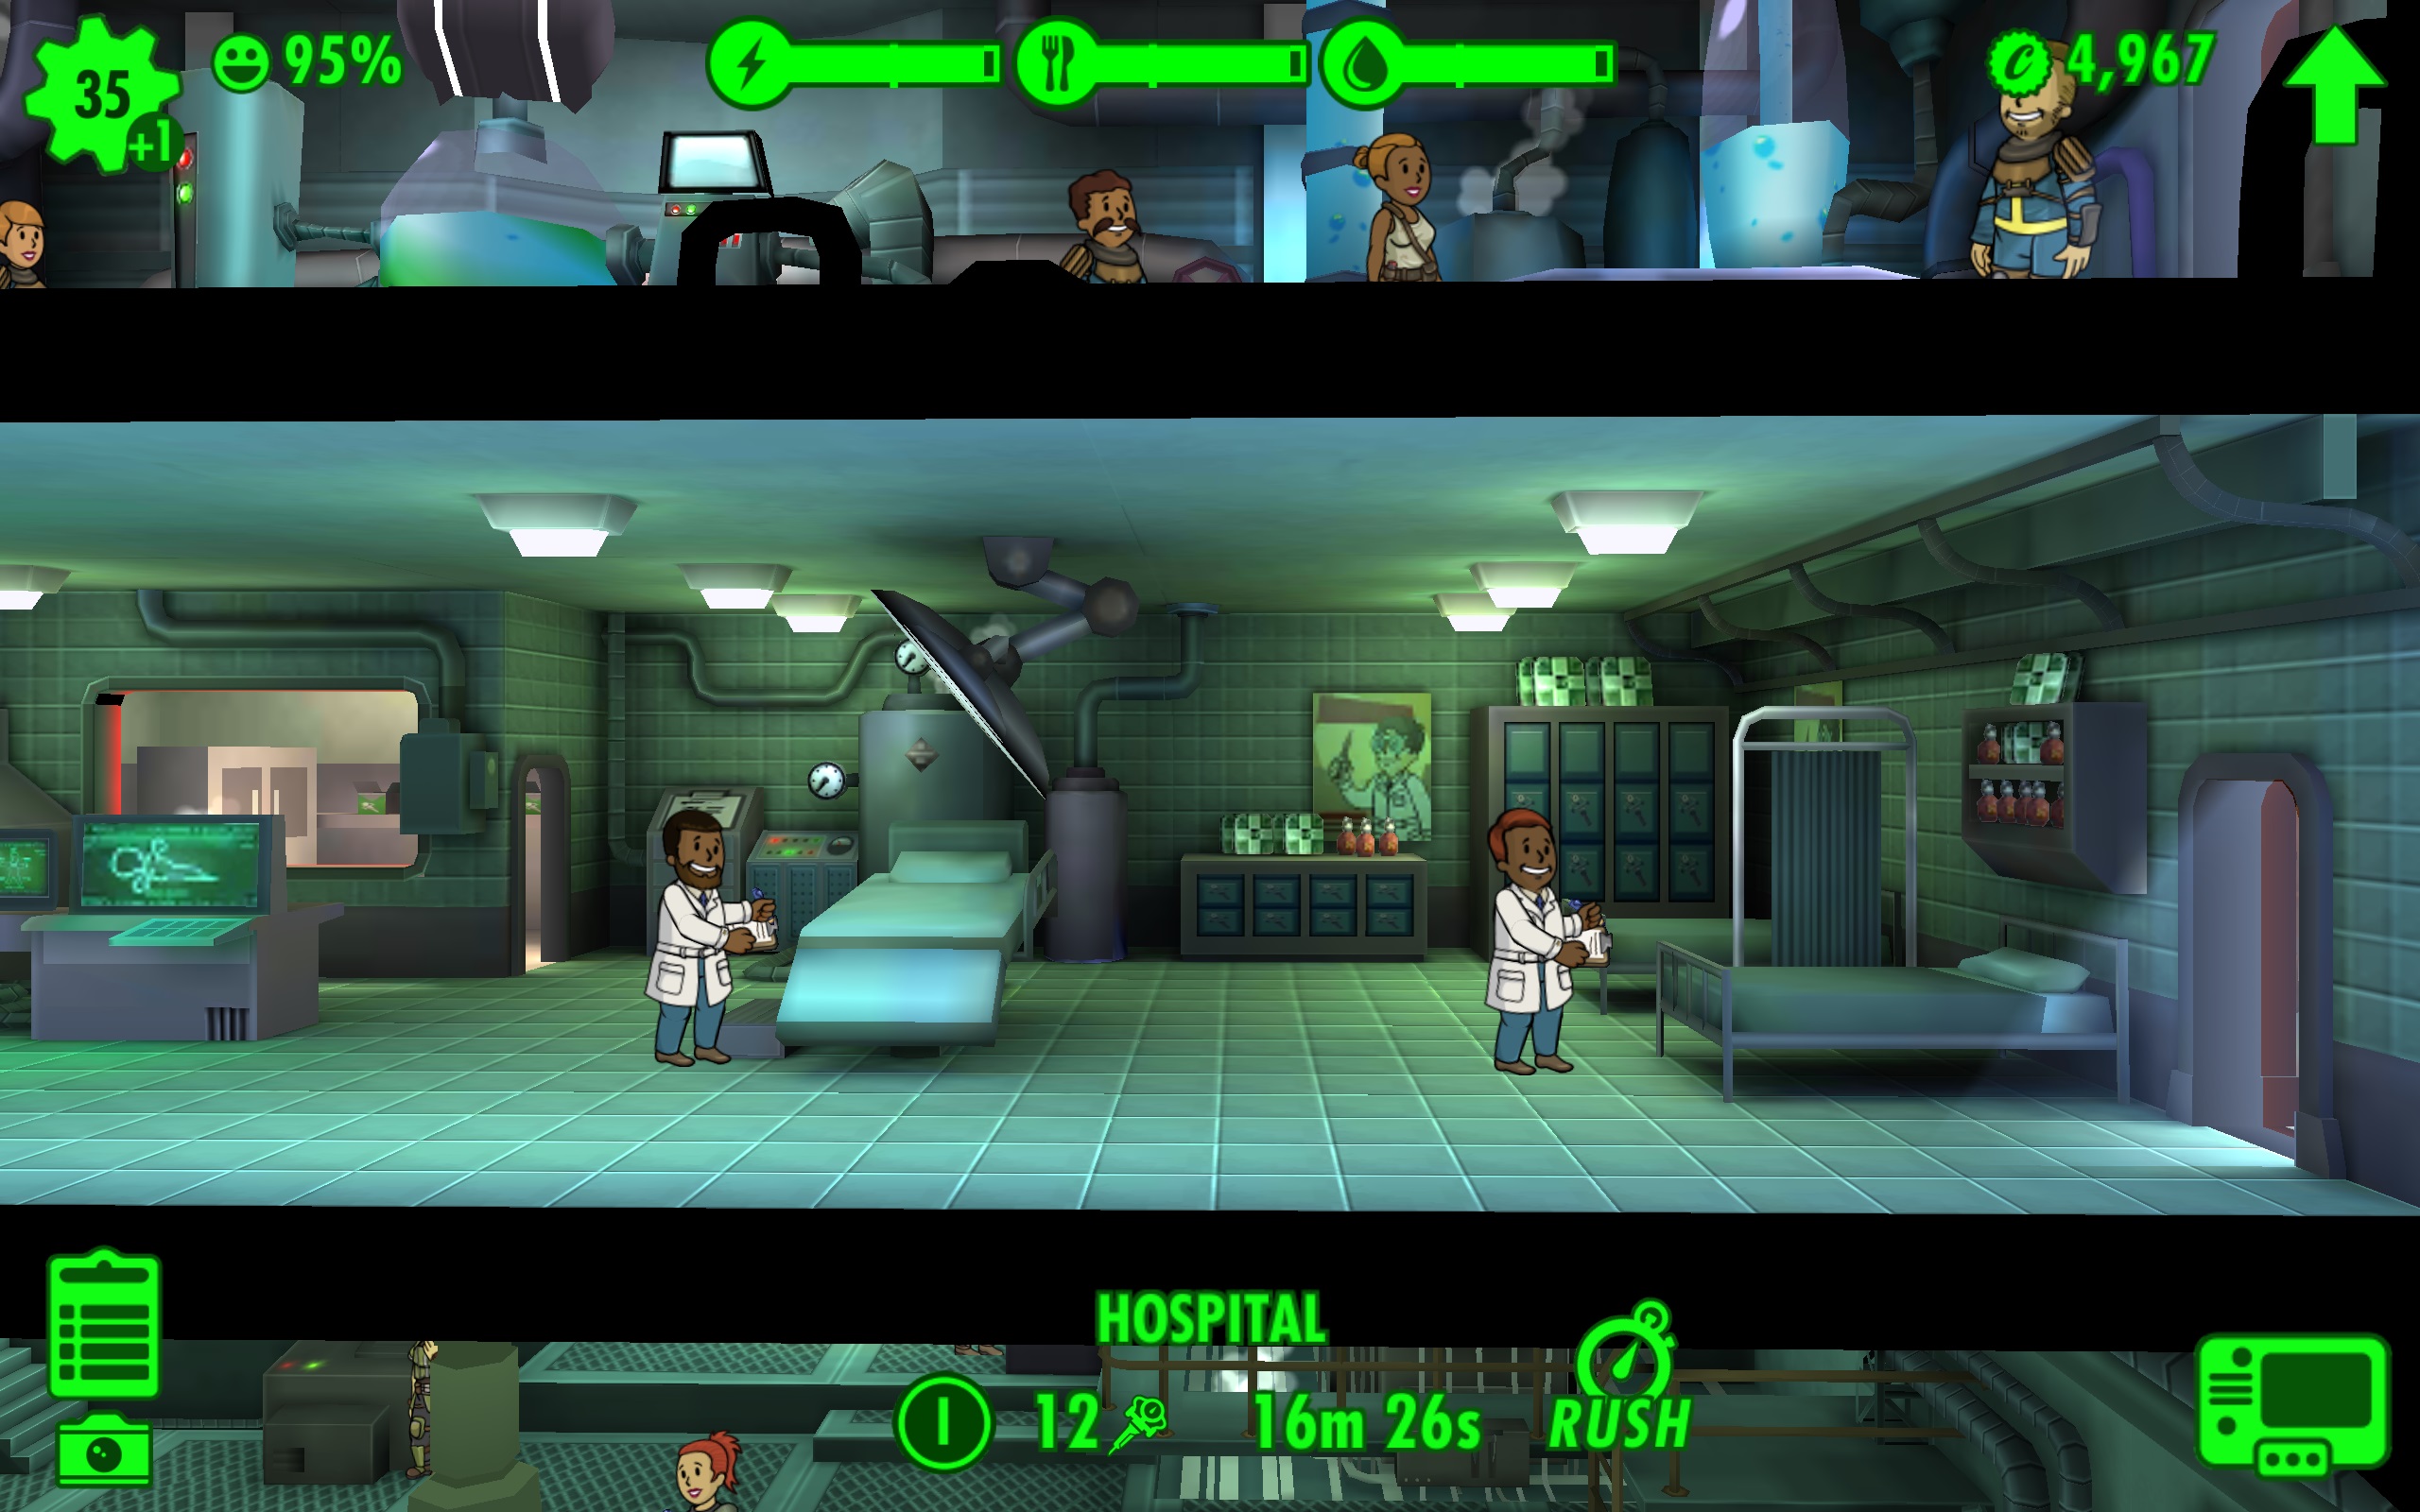
By the time you reach 30 Vault Dwellers, stimpaks become your saving grace. The once simple radroach infestations can damage your dwellers extremely fast especially in a large room comprised of three small ones.
Luckily, a fully-upgraded, three-room Hospital will generate 12 stimpaks at a quick enough pace so long as it's occupied by Vaulters who has decently high Intelligence (5+). This will let you be quite liberal with your stimpak use whether it's giving a slew of stimpaks to explorers in the wasteland or curing dwellers in the midst of a raider attack.
Battles only grow more difficult as your Vault expands, so tapping fast enough to heal your crew as they fight off threats is necessary. Sometimes the game can get in your way with dwellers overlapping each other, making it difficult to tap on the person you want, so having a batch of stimpaks in reserve is exactly the advantage you need to survive the long game.
3. Don't Underestimate The Advantage of Single Rooms
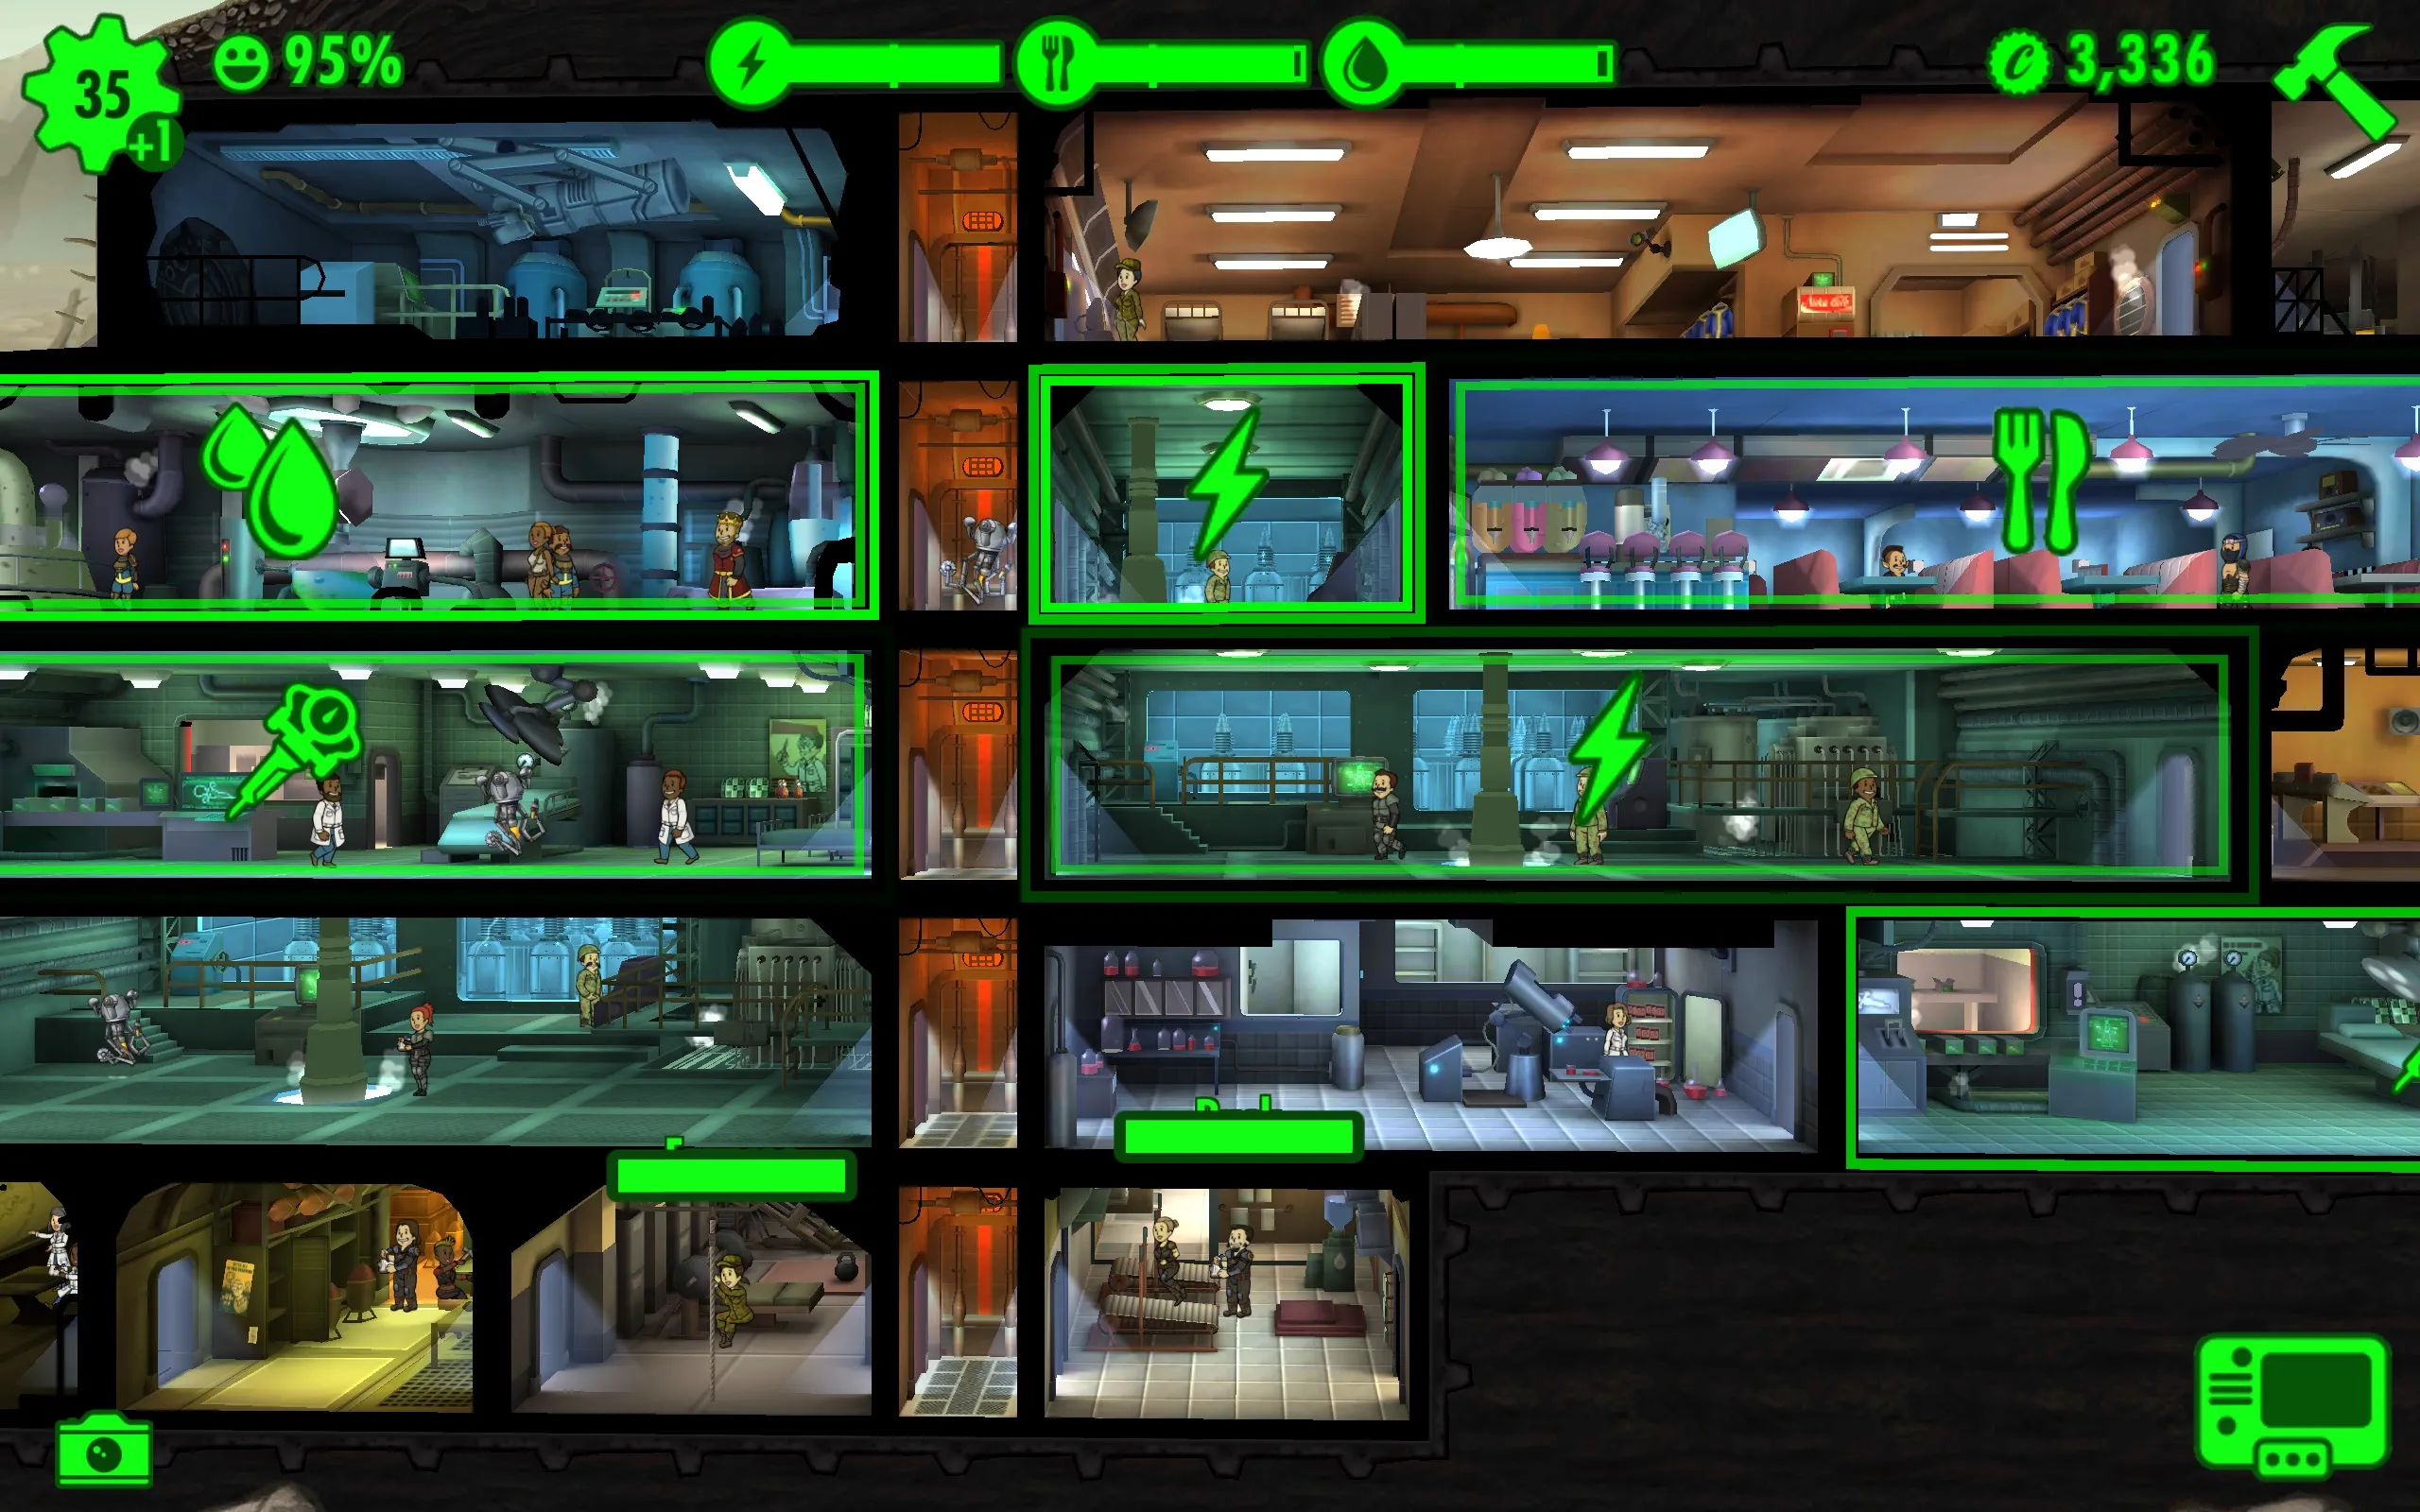
While most of your rooms should be three merged rooms—they cost less to upgrade, they add resource synergy bonuses, and they consolidate space—don't overlook single rooms. Incidents in single rooms take a very short time to recover, which is great if you have an objective requiring you to clear fires and such. Consequentially, they are great rooms to attempt a rush if you need the caps or need to complete a rush objective.
4. In Fact, Skill Upgrade Rooms Should Probably Be Singles
Specifically, the skill upgrade rooms don't necessarily need to be double or triple rooms either. It may be better to have a single room that's fully upgraded, unless you really need enhanced stats very fast (which is rarely the case). It may not be worth the added power cost just to have a double or triple skill room if you're not gonna use all of the slots available. The only skill room I recommend being a double or triple room is the Fitness Room for Endurance since it's a stat that greatly helps for exploration and infestations, as it increases HP and reduces damage taken.
5. Don't Populate Too Quickly, Don't Build Too Quickly
Take your time and control your population. Make sure that you upgrade your rooms to their highest tier and that you have a solid foundation before you bring someone new into your vault whether it's a child from a "woohoo" or an outsider you've attracted with your Radio Station. So for control, just leave one person in the Living Quarters and feel free to leave dwellers waiting outside for days until you're absolutely ready. Because remember, the difficulty of the incidents increases as the number of dwellers increases.
6. It's About The PPM.
Let's make another acronym, PPM or Production Per Minute. This is what's important when it comes to creating a solid foundation on which to build your vault. If your resource generation dips into the red for any reason, your PPM just isn't high enough. Your first response may be to build and upgrade rooms, but that's only a part of the problem. The other part is reducing the waiting time, and having workers in the room that not only fit the appropriate SPECIAL stat but a high one at that.
This is where those training rooms come in handy, as you rotate your weakest workers into the room for specialized stat improvement. Within a few days and with the right outfits, you should have workers with stats in the 8-10 range which reduces the amount of waiting time in production substantially. Indeed, waiting to expand the vault until your PPM is comfortably high is, in my view, the most solid strategy.
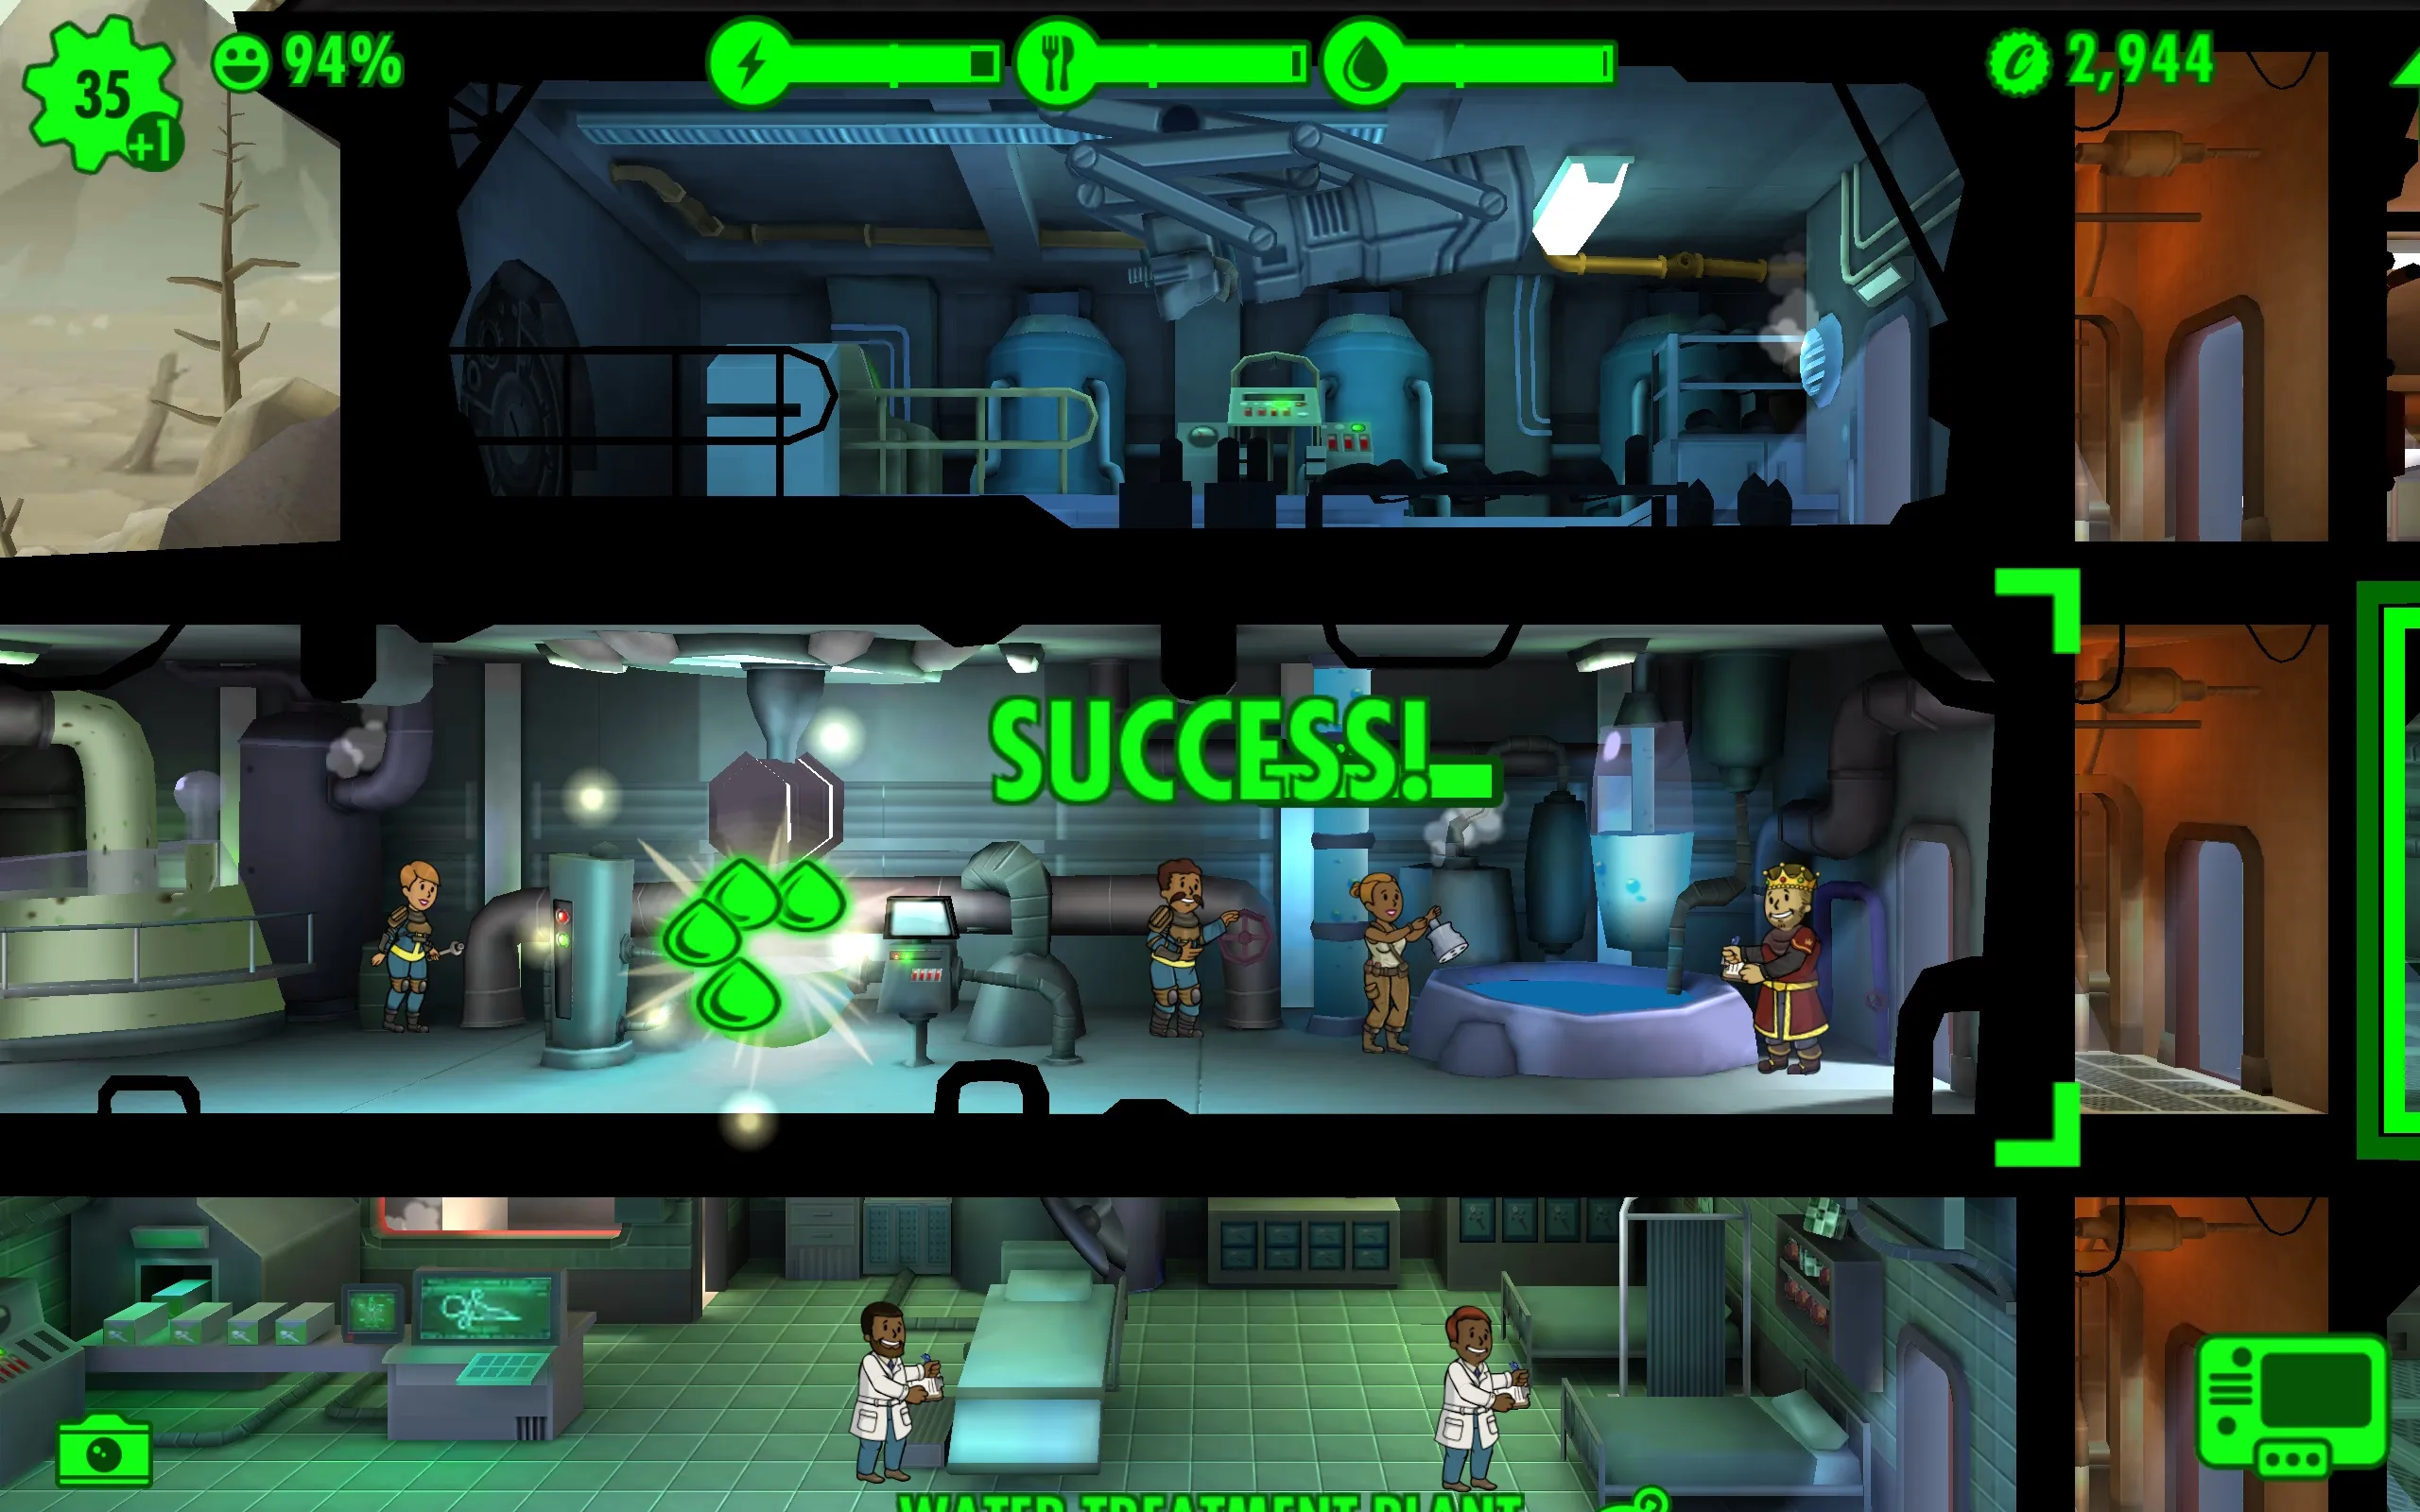
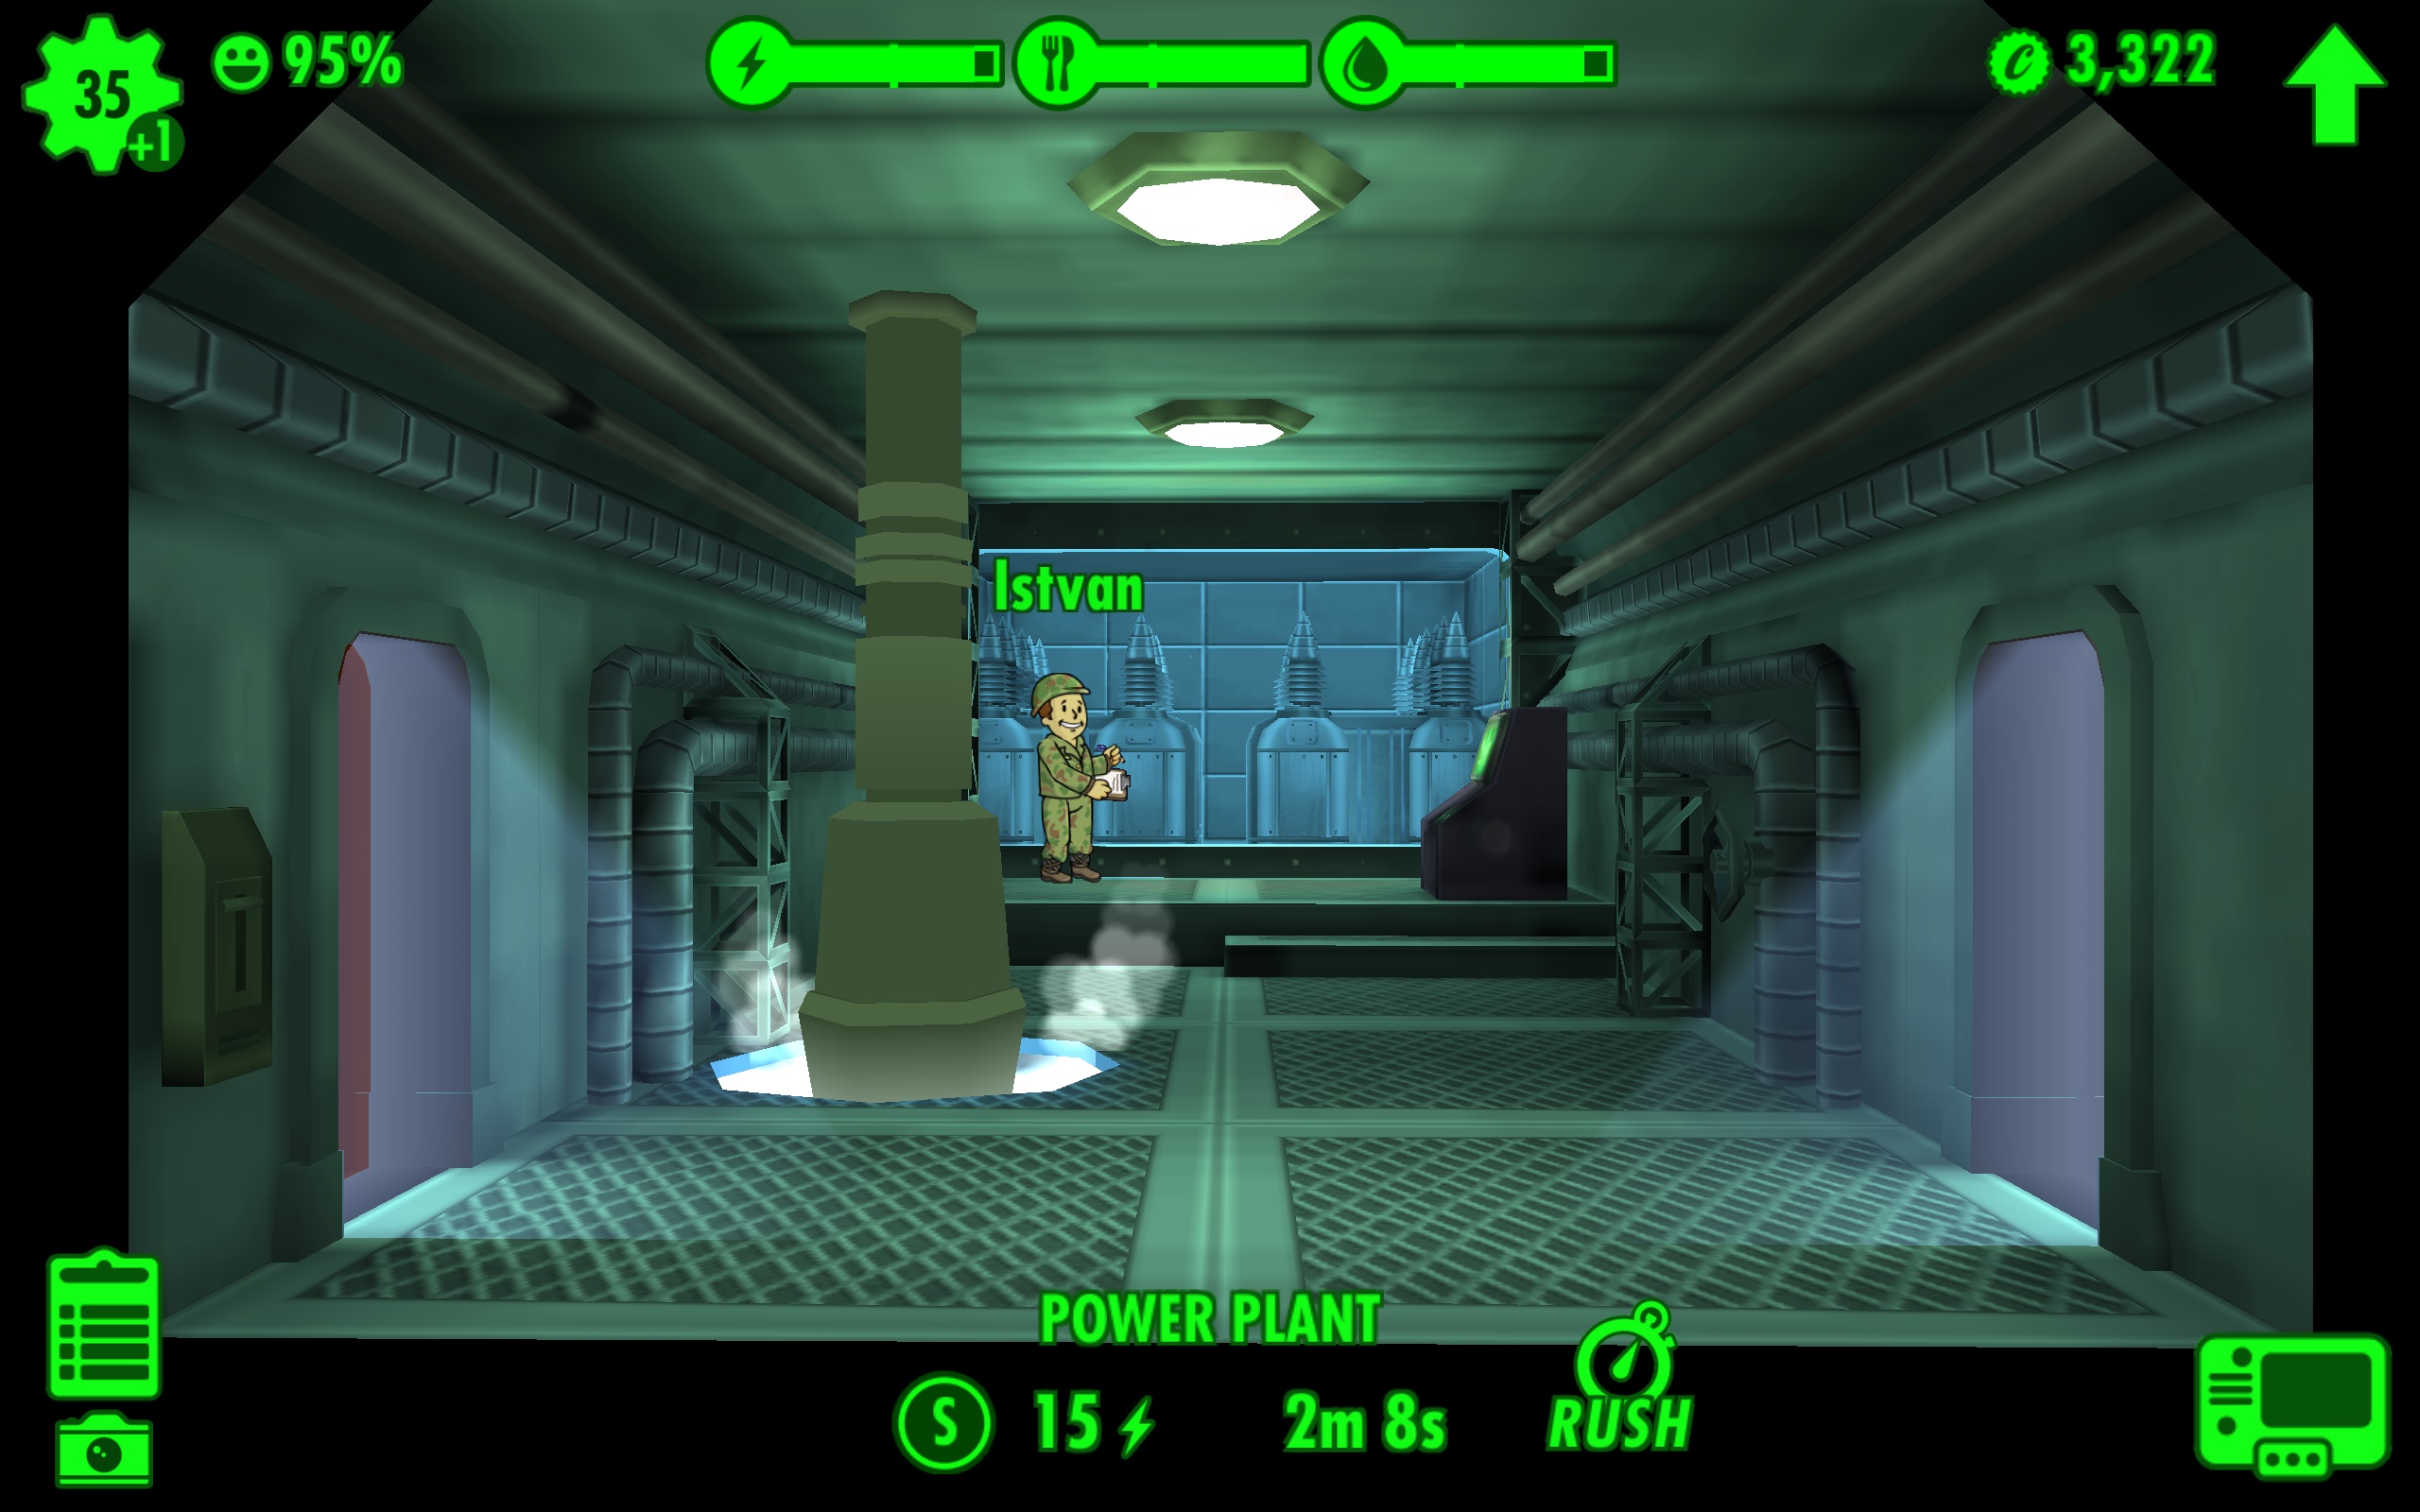
7. Rush Tactics
Rushing a room rewards you with caps and a small XP boost, as you probably already know, at the gamble of starting an incident. As stated earlier, rushing a small room is a strong idea. While it doesn't yield as many resources as a larger room, you will still earn the same amount of caps from succeeding in a single room and the incident that may occur if you get the wrong roll with the dice will be relatively minor.
But don't overdo the rushing. Failing a rush will decrease the happiness of everyone in the room by 10% and will likely hit into your stimpak reserves, so only do it unless you absolutely need the resources. And if you truly need the resources, you probably want to spend your time improving your production rate either my upgrading rooms or training dwellers in the proper rooms to have enough specialized workers to make the PPM (Production Per Minute) higher. Luck, by the way, will reduce the incident rate a tad with each point.
The best time to rush a room is immediately after you've collected the resources from the room. This is because failing a rush will reset the production clock for the room, so if you do it early on, not will save the most time, but the negative effects of failing won't be as severe.
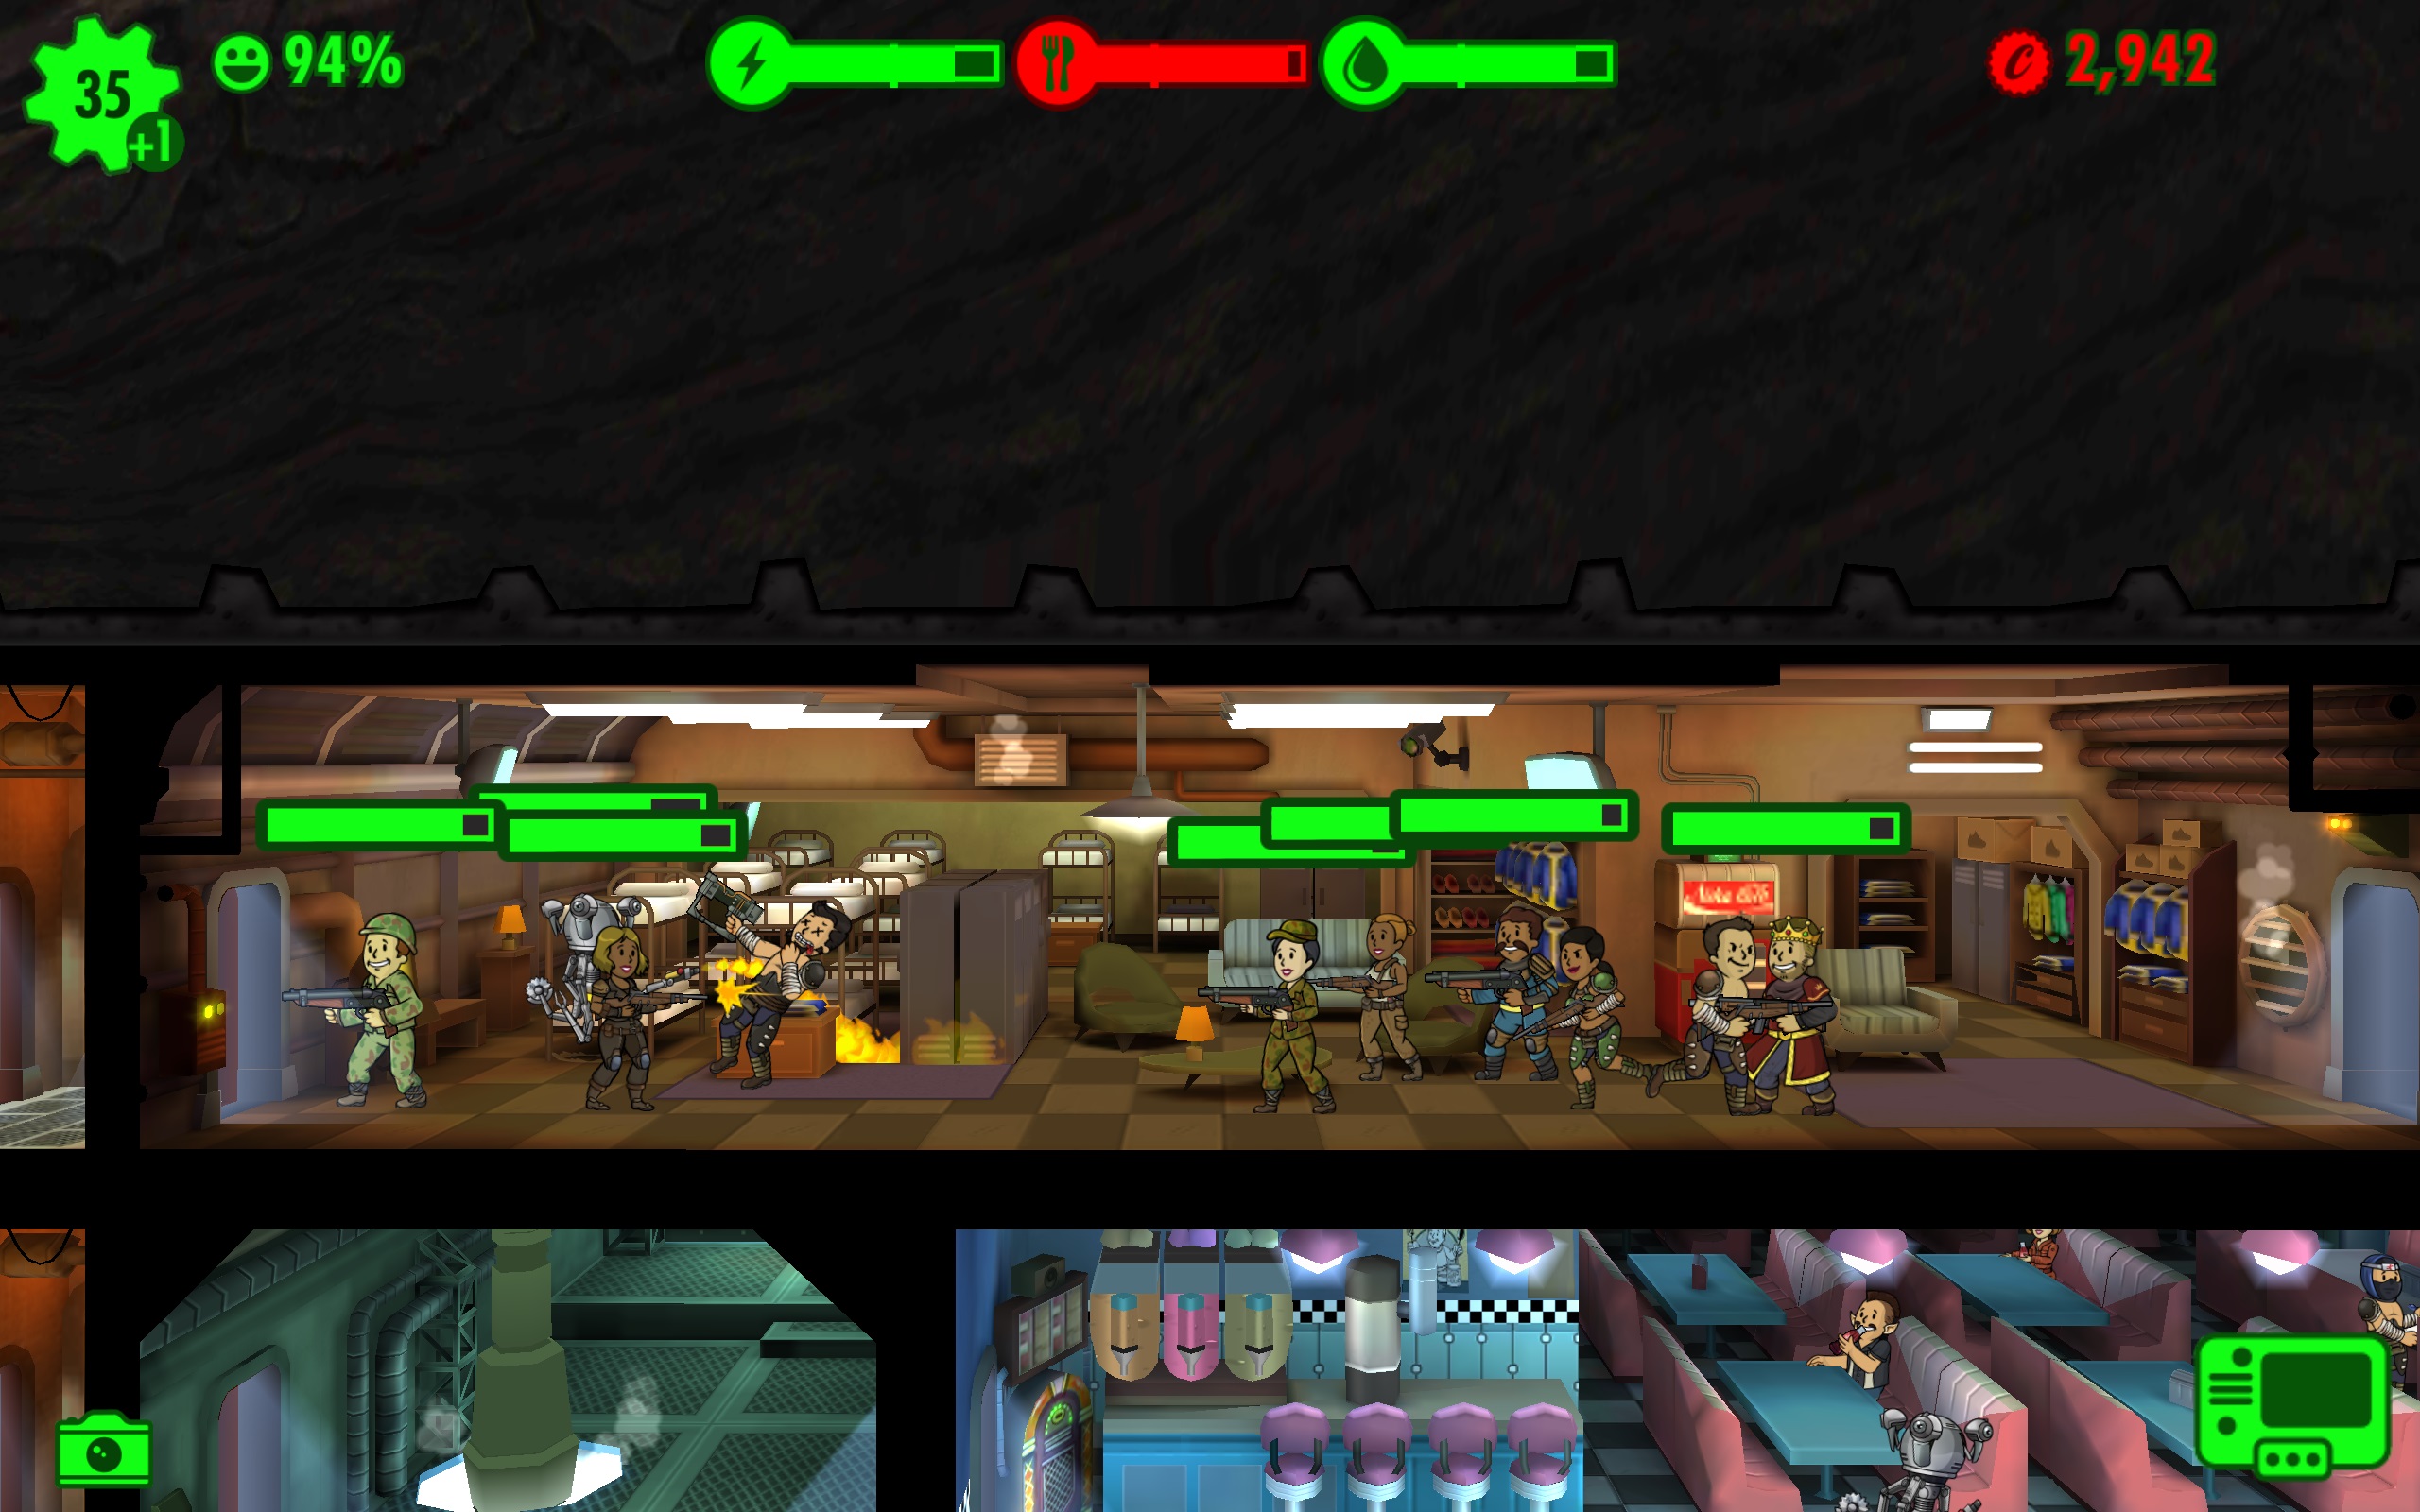
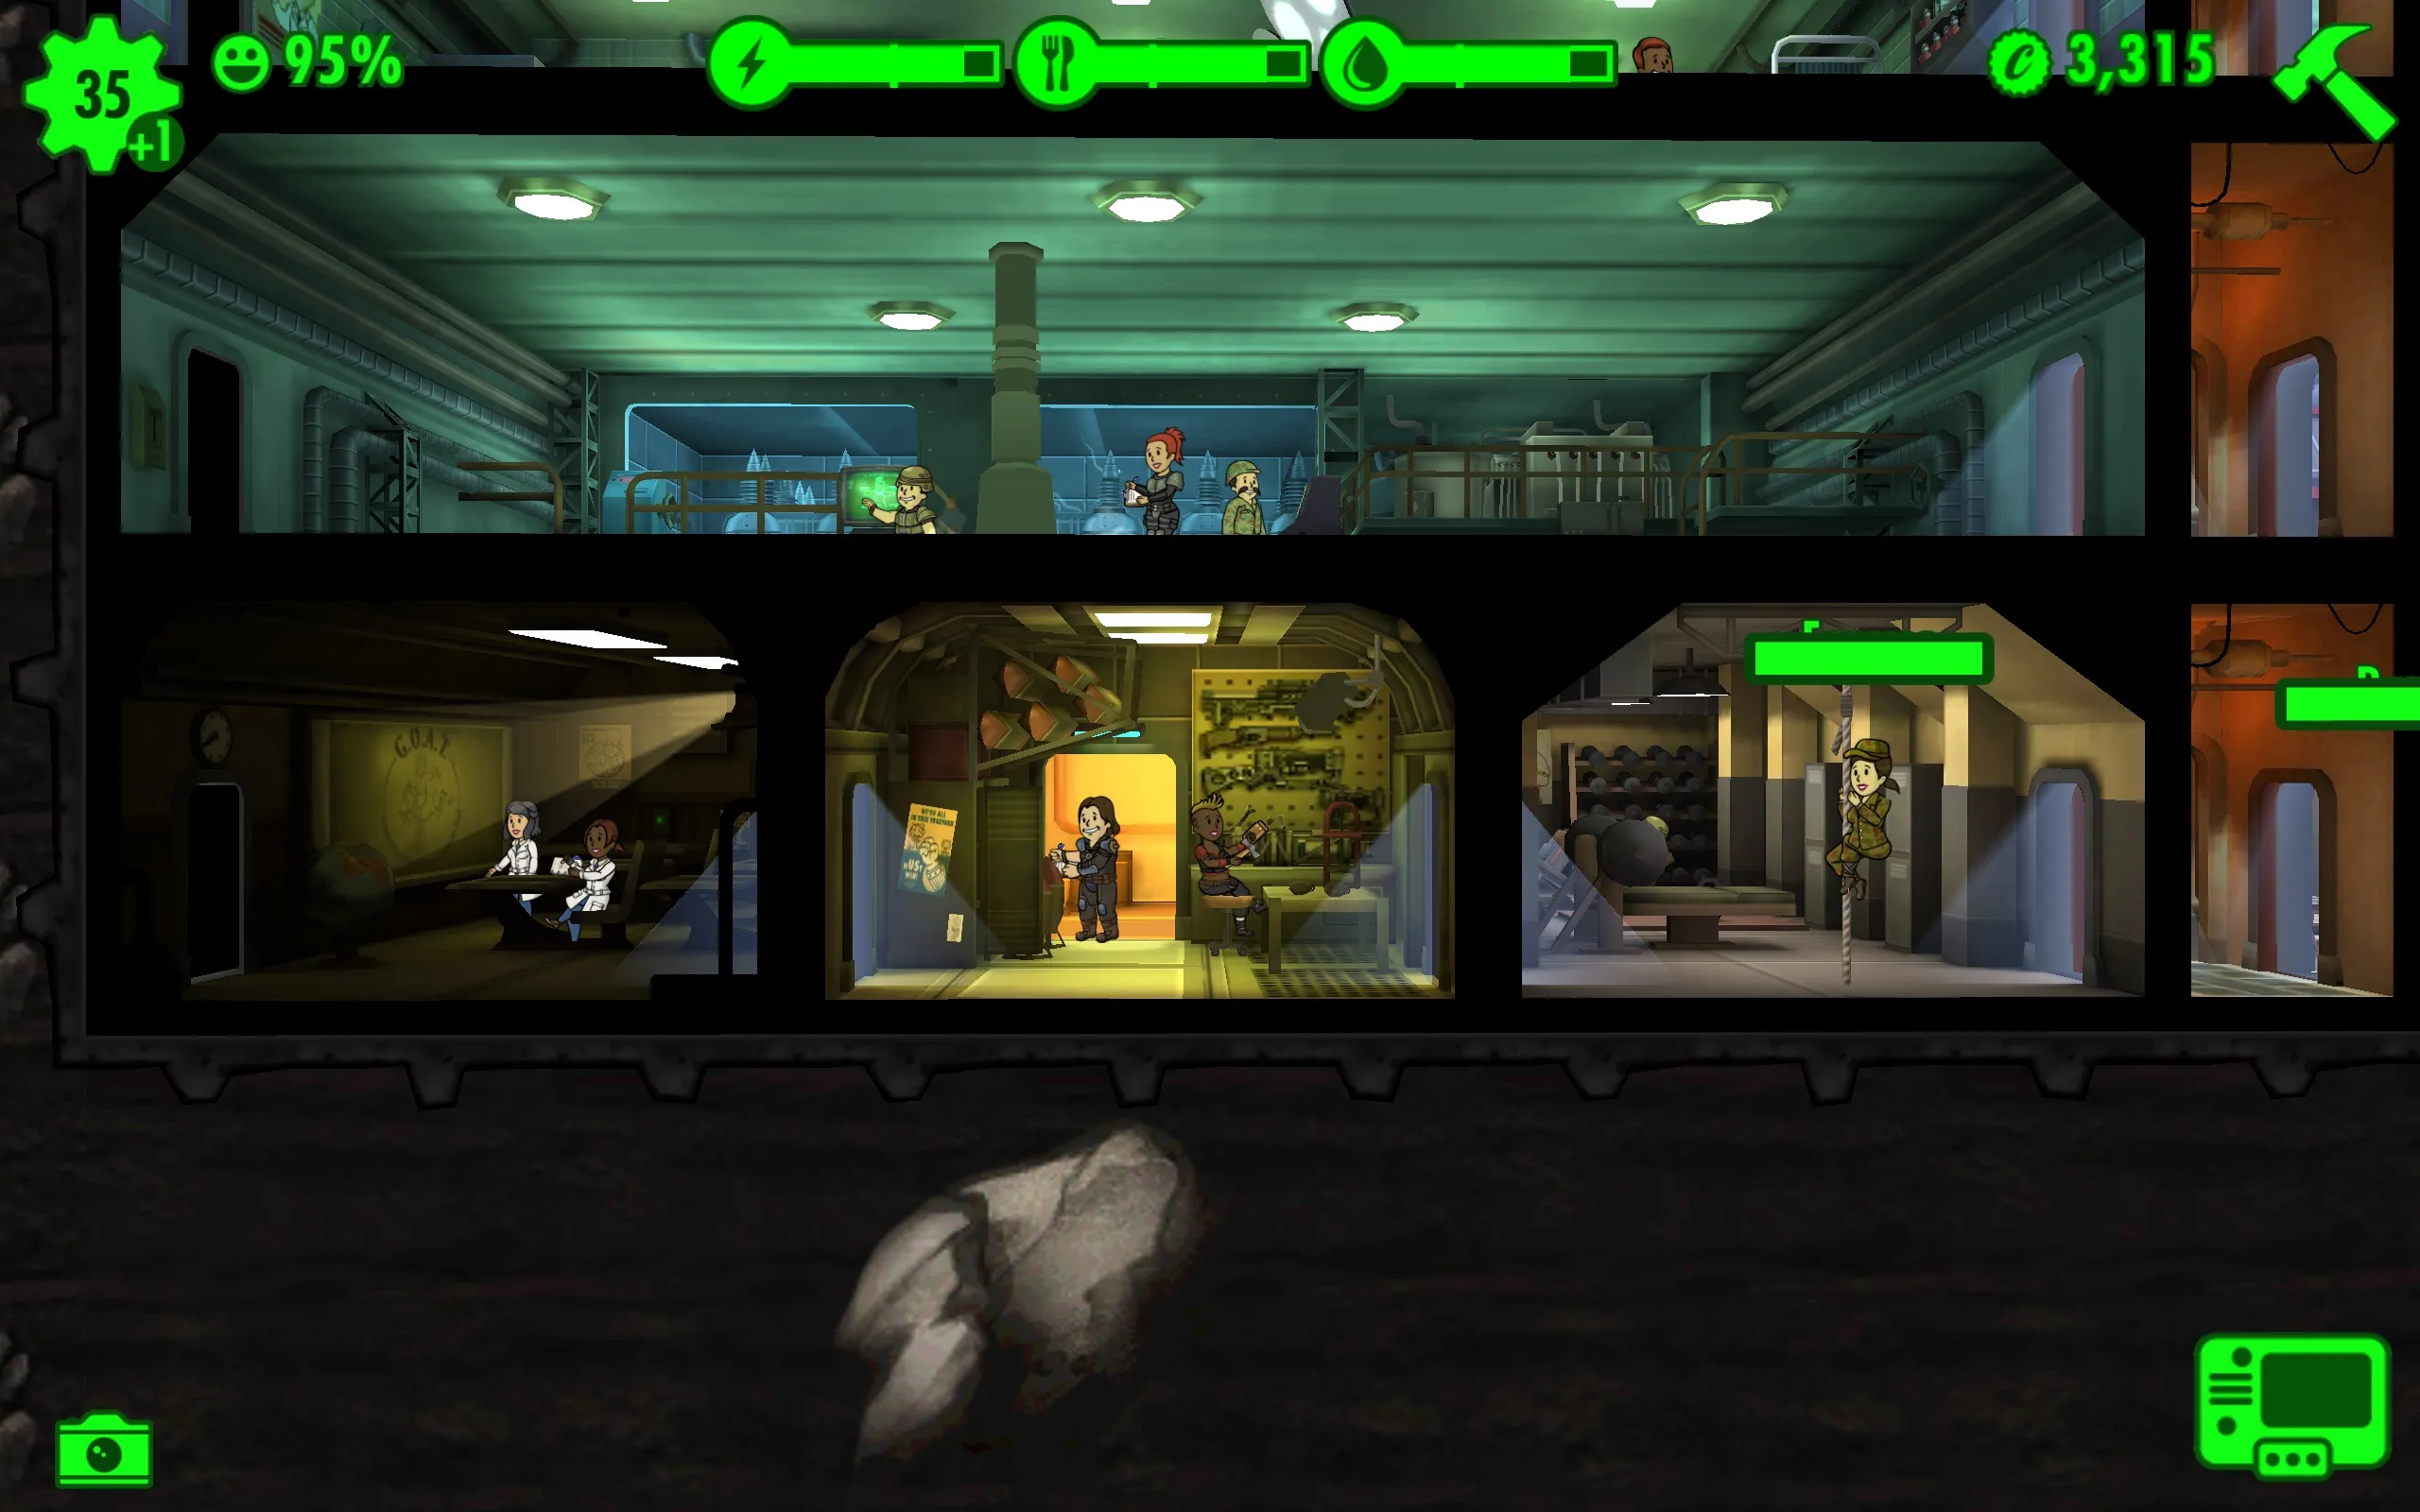
8. Invasion Tactics
First off, when you're facing off against raiders or deathclaws, make sure your vault door is fully upgraded. This will give you enough time to prepare for the invasion. By "prepare," I mean dragging dwellers to the room closest to the vault door. While you can place two characters in the vault room, only having two characters on offense is rather limited.
My tactic is to create a three-merged room near the vault door and bring a team of six characters into that room well before the raiders even reach the room. Just make sure that you stay on top of healing if any character's health dips below the halfway point. Do that and the raiders won't even get to the next room/floor. But if they do, make sure you stay on top of it and drag your team to the next raided room (since there's no auto-follow, unfortunately). This will limit the amount of time the raiders can steal resources and caps to a minimum.
9. Exploration Tactics
While there's no particular way to explore "properly" since the dweller's actions are all automated, there are certain methods to ensure that your explorer is able to collect the most and survive the longest.
Endurance is actually the most important stat if you're looking for an explorer to last the longest in the wasteland. None of the other stats matter much here, though they do help in skill checks that will allow your wanderer to find supplies and provide minor boosts as they explore. Sending out a well-rounded, competently-leveled explorer does contribute to his or her overall performance, though it will likely be more important to keep these well-rounded dwellers in your vault for production and flexibility.
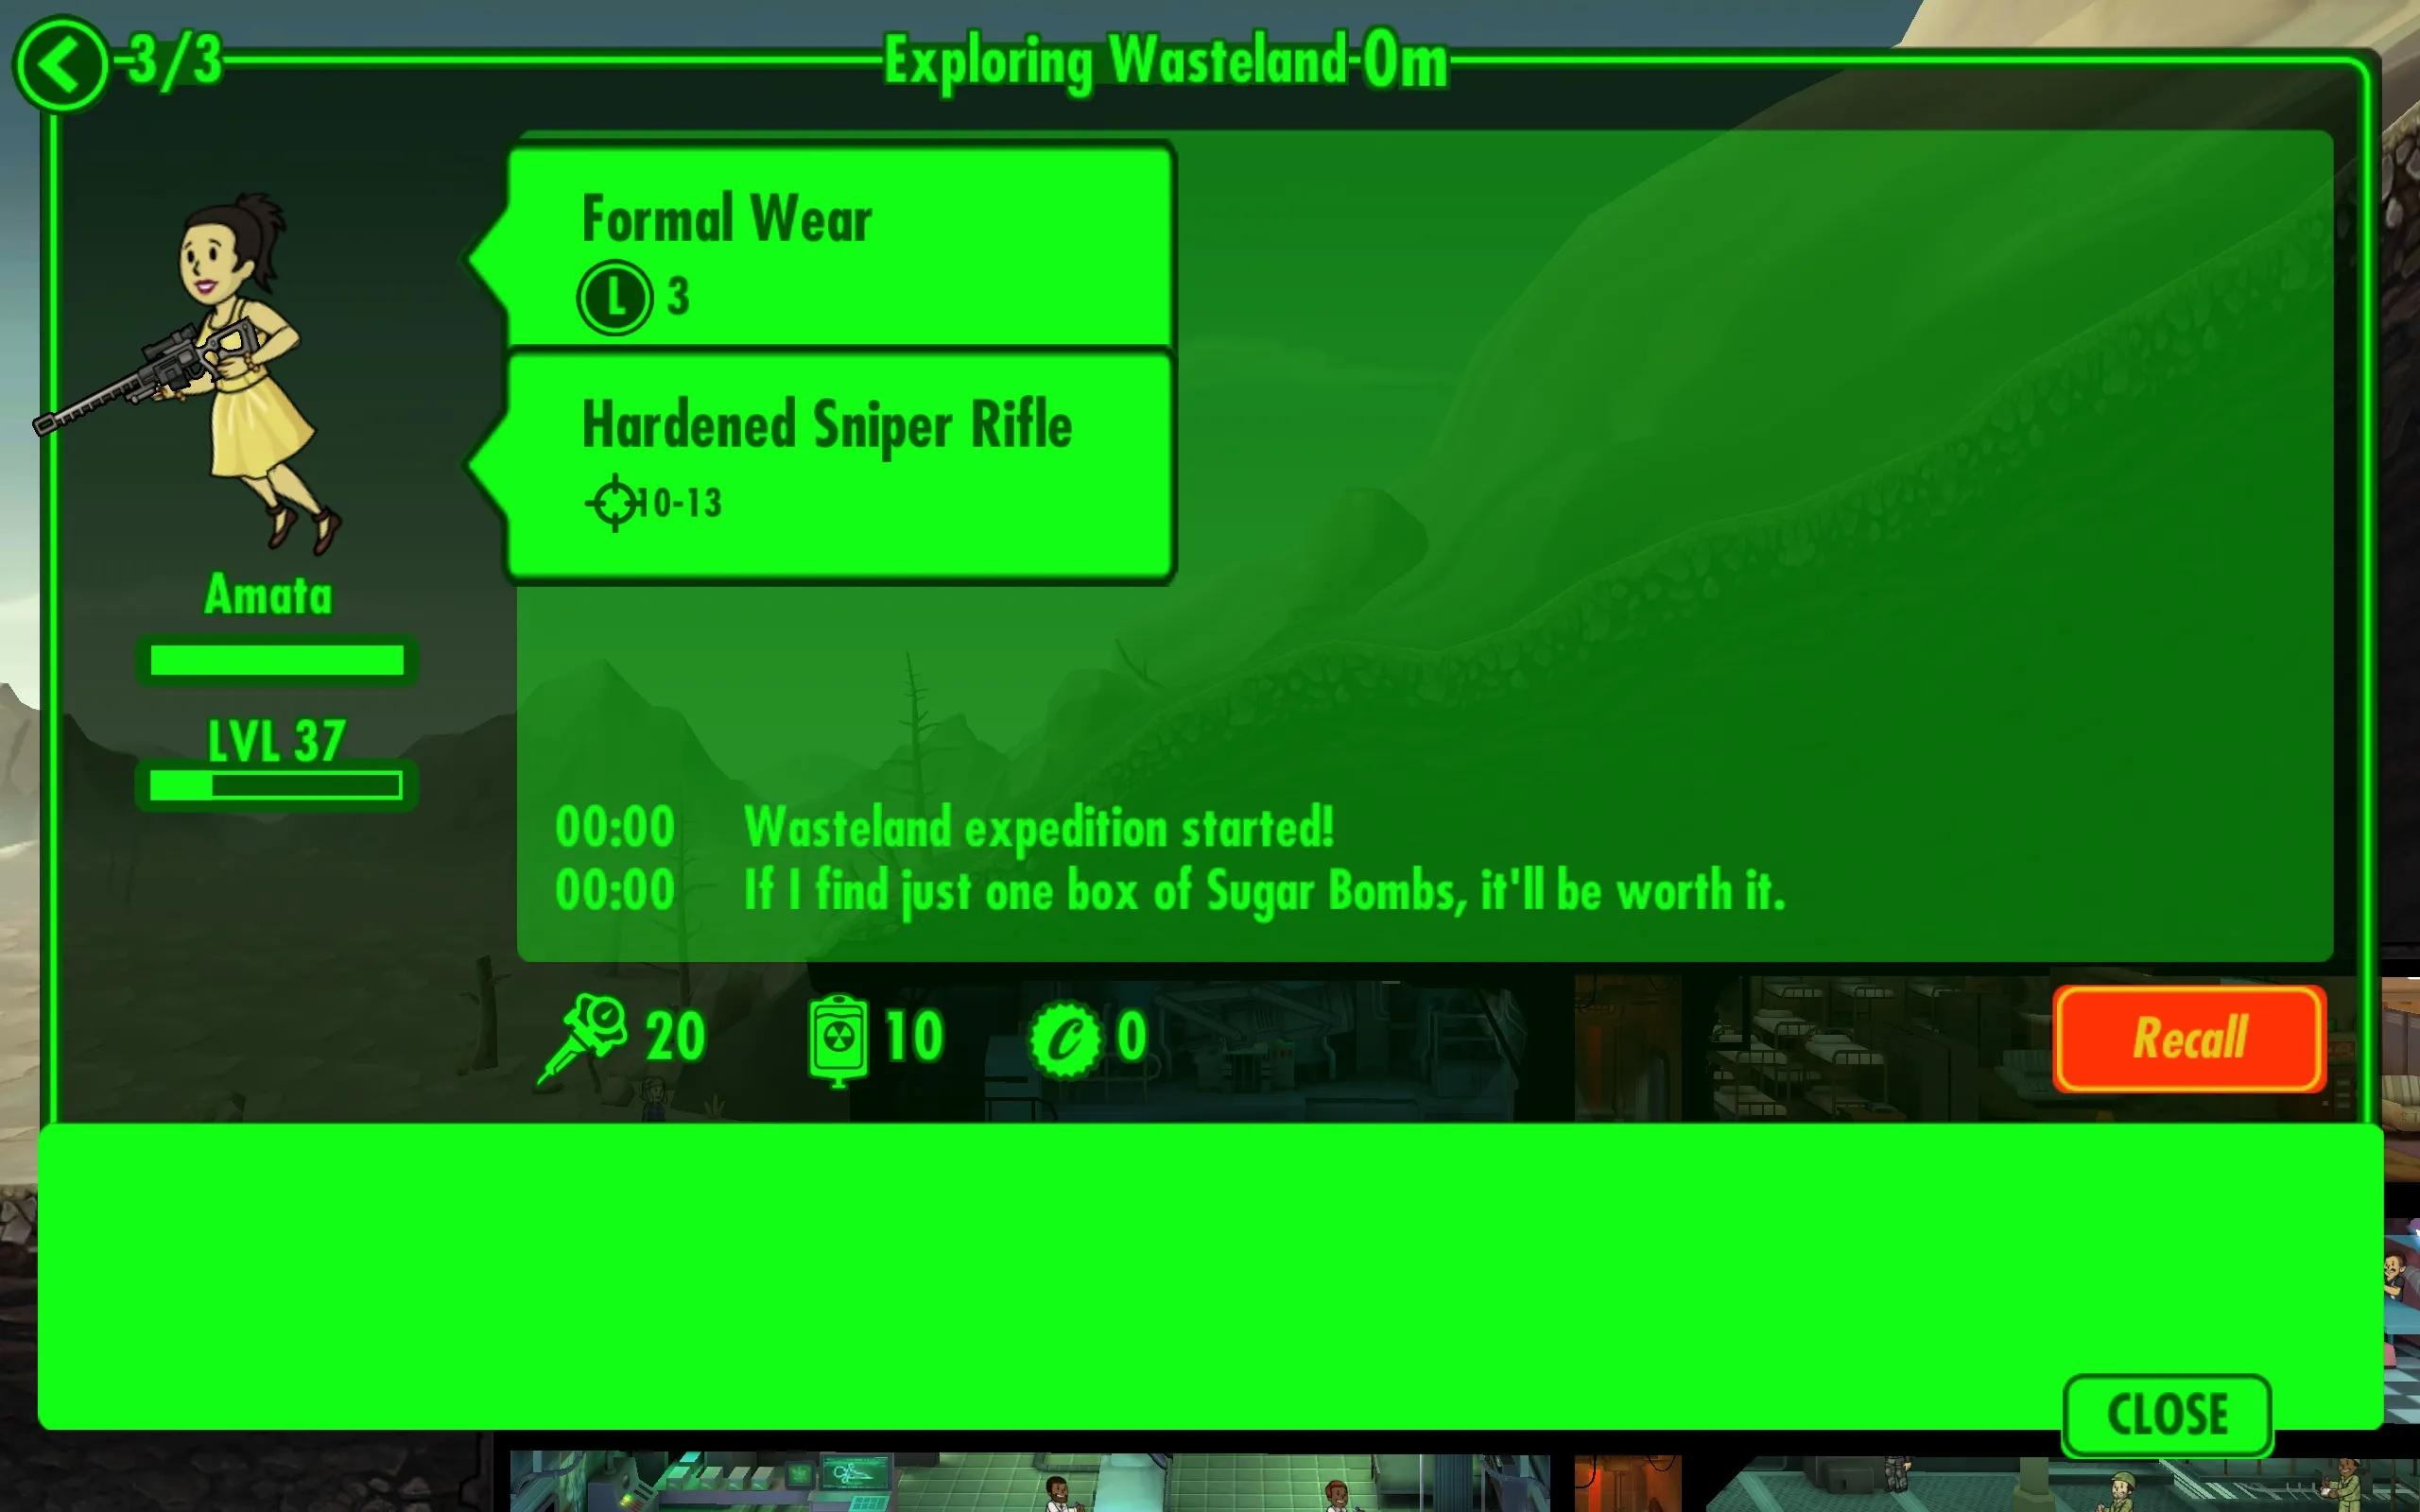
If you're looking for loot and caps, having a high Luck is the way to go (in fact, I always send my explorers out with at least Formal Wear). If your wanderer returns with too much loot, more than your storage can hold, you can actually sell items by tapping on the items at the time your dweller is waiting to reenter the vault. Once you have 50 dwellers and have the game room unlocked, I suggest investing in creating a dweller with stats from 8-10 across the board so that he or she can be the principal explorer/badass in the wasteland.
10. Mr. Handy is, well, quite handy.
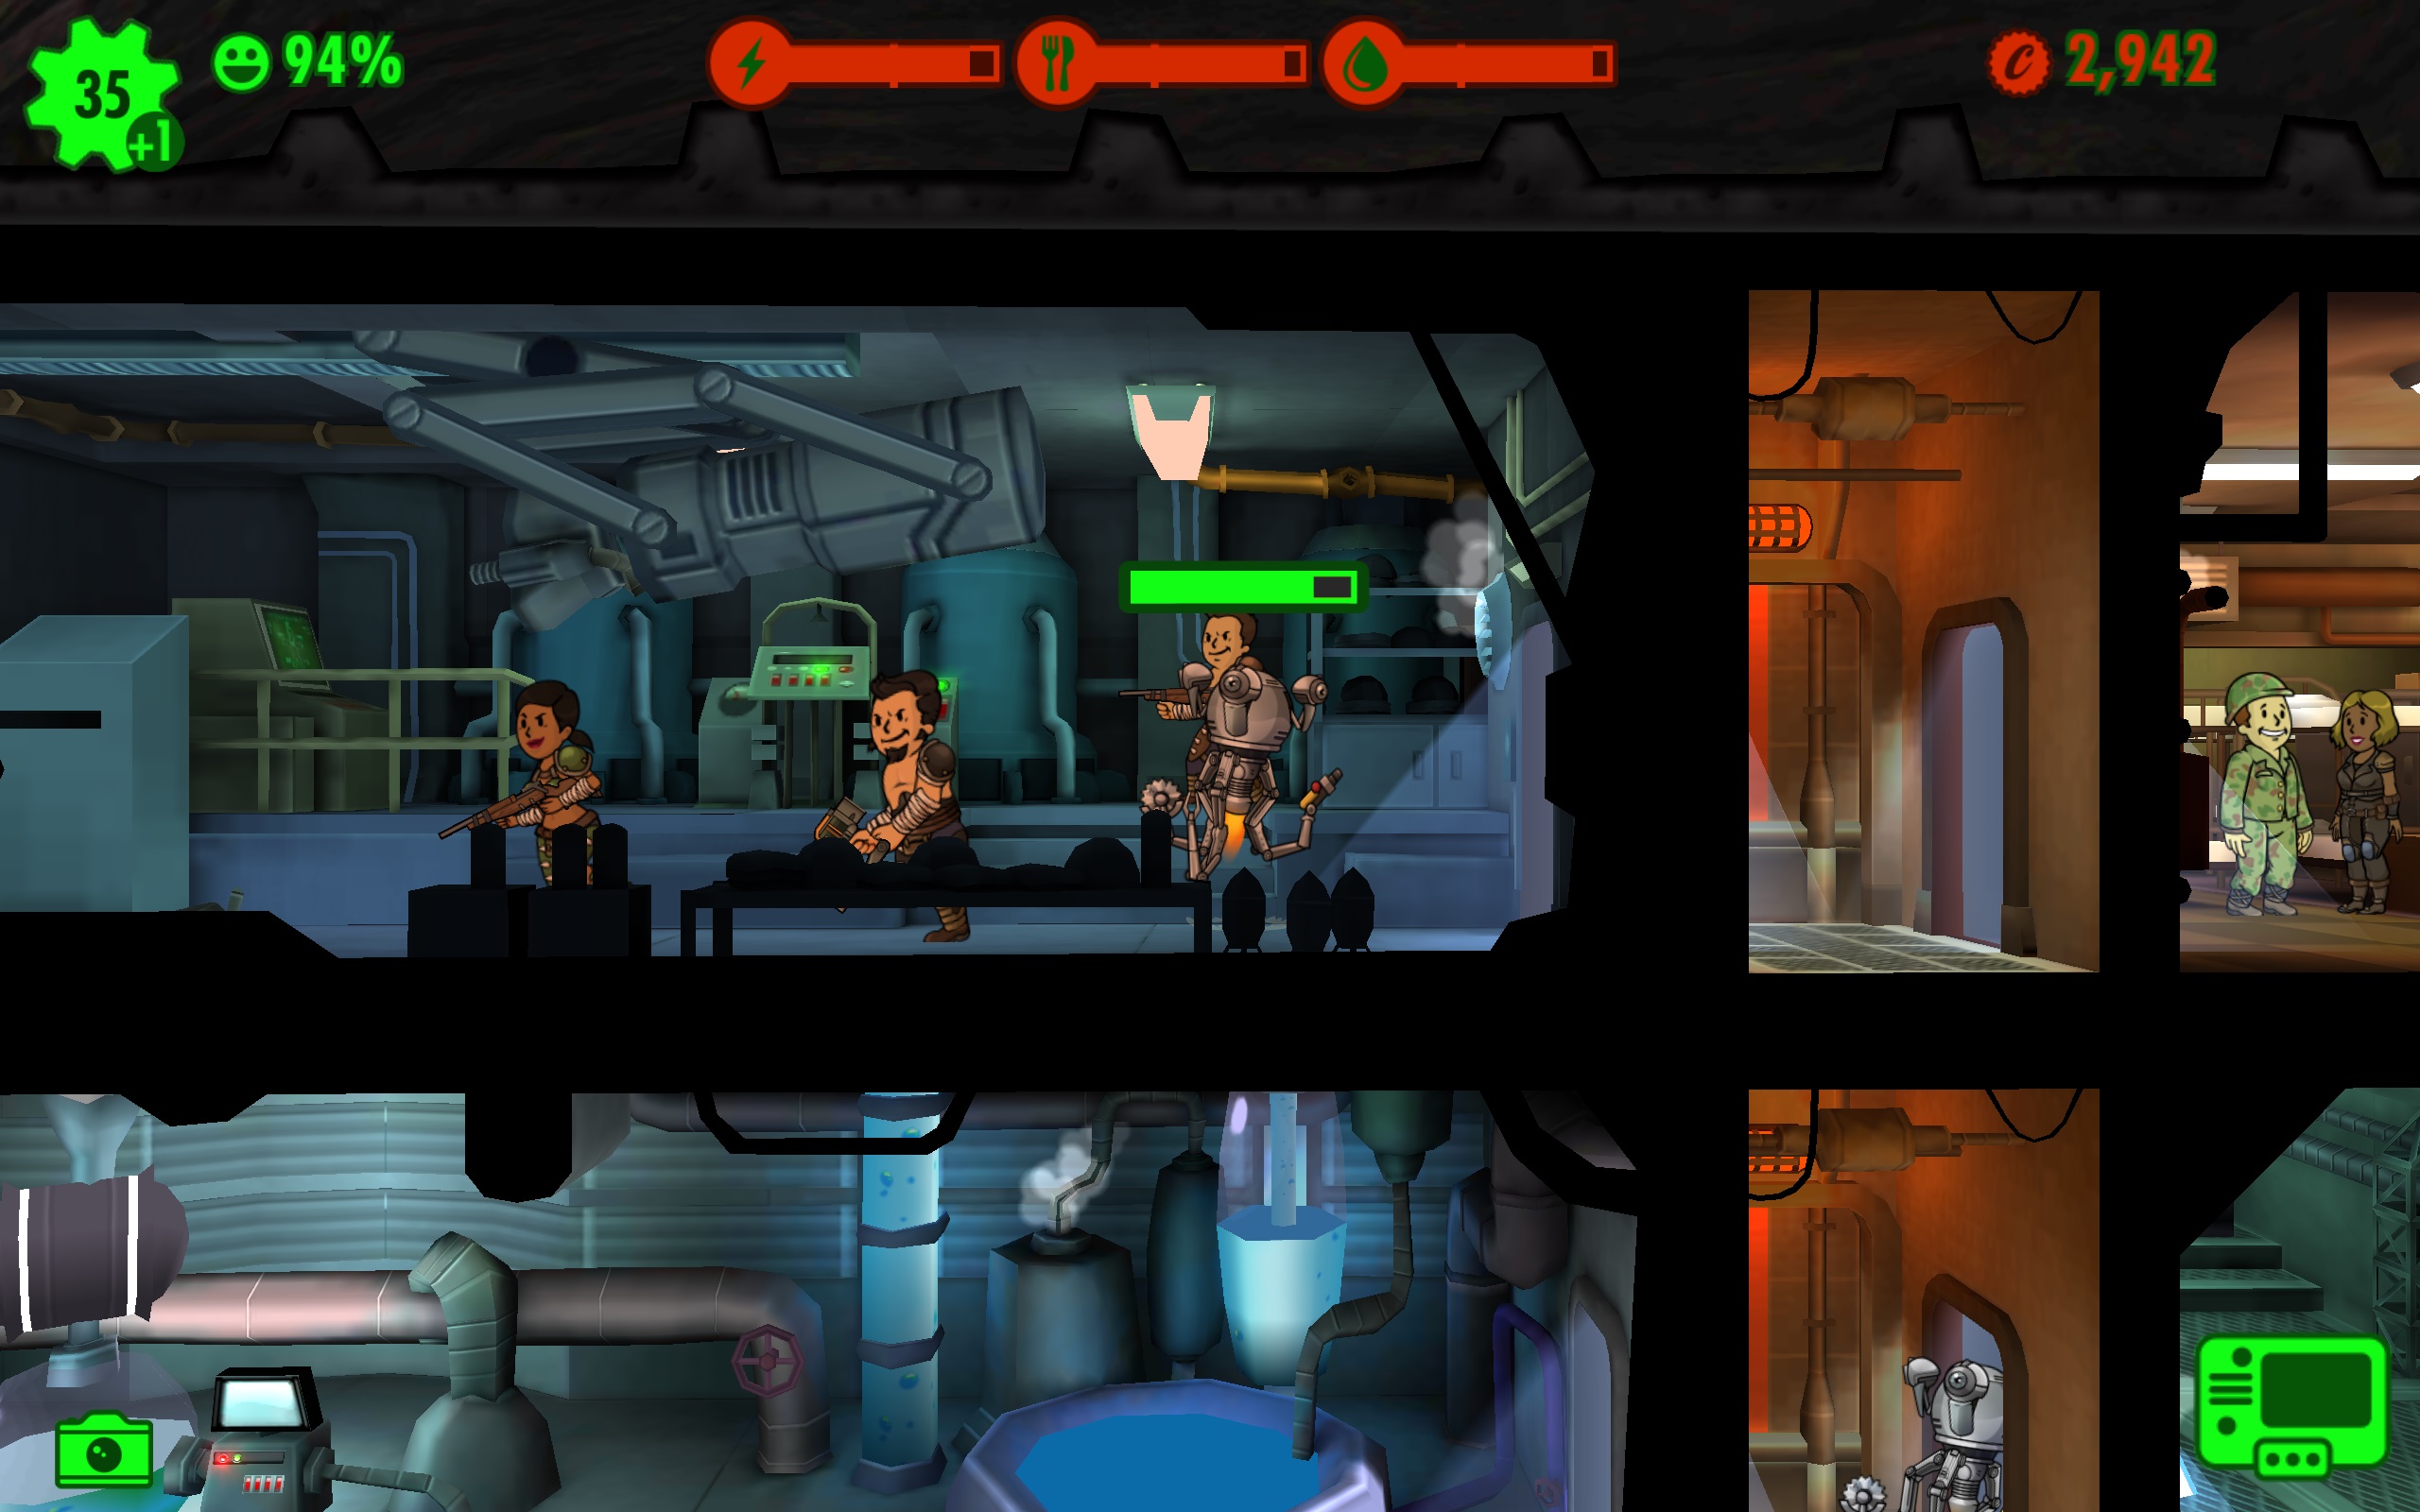
If you're going to spend your money anywhere in Fallout Shelter, Mr. Handy is well worth the extra dollar (or go nuts and buy 5 Mr. Handy for four bucks). Mr. Handy will move from room to room on a single floor, collecting resources automatically so that you don't have to tap on the rooms and will come to the aid of your dwellers if they are being attacked and counts as an bonus man that doesn't count against the dweller limits of the room. Mr. Handy has a lot of HP too and comes equipped with a flamethrower that softens up enemies.
All in all, it will allow you leave the game on for the most part, and let you leave the game off to the side until an incident occurs. (He will not collect resources if your game is turned off, unfortunately.) Mr. Handy can also be sent out into the wasteland, but apart from some witty dialogue, he doesn't really collect enough caps to justify sending him out there unless you have an extra Mr. Handy lying around not doing anything.