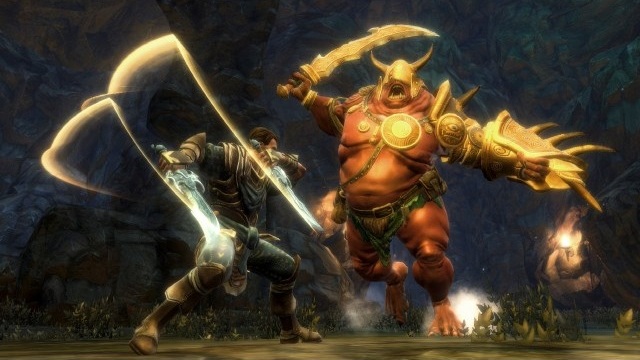
[author]For as little fanfare as there's been for Kingdoms of Amalur: Reckoning, it is surprisingly vast. Its intricately detailed world offers more than 100 hours of content with numerous side quests, dungeons, treasures, and environments. That's a lot of ground to cover. Luckily for you, Game Revolution's got your back. We've got several tips and tricks to get you through the opening hours of the game and accustomed to the particular hybrid of action-RPG gameplay of Reckoning. Once you've absorbed these ten pieces of advice, the world will be at your knees.
1. Change sprinting control scheme immediately.
Upon getting control of the main character, you should switch the control scheme for sprinting in the options menu. Pressing or holding down the X button to sprint doesn't make much sense when the right analog stick controls movement. So unless you have two right hands, consider switching to the "press L3" input for running. It will save you a lot of frustration.
2. Evasion and parrying is as important as attacking.
It may be your initial inclination to waltz into a pack of wolves and start swinging your hammer around, and though you'll might knock a few of them around, you'll also take some nasty hits. Quickly rolling away should be your first defense, as it will usually throw off enemies and interrupt their assaults. When that's not enough, though, blocking is your next best bet, particularly since it's almost instantaneous. Blocking at the right time will parry an attack altogether and give you a momentary opportunity to block.
3. Check the lake before going onward.
Immediately after the tutorial dungeon, you'll be thrust right into the world, in the middle of a lush forest with elk and wolves. But don't let the visual splendor make you miss the lake behind you, as it hides several treasures. In fact, nearly all bodies of water in the game usually have whirlpools along the surface where you can dive for extra goodies. This introductory lake also hides a tunnel behind the waterfall with giant rats and two lootable chests, one locked by key and the other by ward, serving as an introduction to lockpicking and dispelling.
4. Focus on a specific character build.
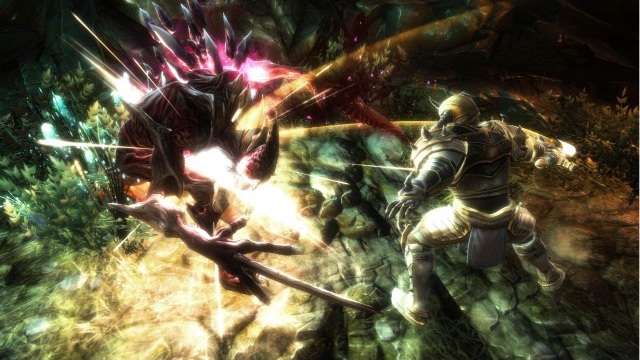
When you escape from the tutorial dungeon, you'll also have the chance to level up for the first time. Luckily, there isn't much pressure when choosing which skills and abilities to upgrade, since you can search out a fateweaver at any point in the game and reset all of your point allocations for a fee. Of course, you won't want to spend any gold you don't have to, so always keep in mind what build, you wish to make your character and look ahead to which skills and abilities make sense for that build. If you're not sure what build you want, you'll get a preview by seeing various "destinies", which you'll discover almost immediately after leaving the tutorial dungeon.
For more straightforward advice, you'll want to focus on damage output first and foremost, whether that's through daggers, arrows, swords, hammers, or magic. Expanding your moveset, as with Brutal Weaponry in the Might subsection, will also keep your combat options flexible. Putting a few skill points in each subsection (Might, Finesse, and Sorcery) is advisable, so that your character can make full use of melee, ranged, and magical combat, not leaving any resource behind. Remember, you still have mana even if you're a fighter; you might as well some of it.
5. Put at least two points into Alchemy.
Obtaining alchemic ingredients in Amalur isn't the same as it is in Skyrim. Finding a pickable flower, marked by a shimmering gold hue, doesn't mean you're successfully obtain it. Without several points in Alchemy, expect many attempts to result in "no reagents found". You'll certainly free to skip all the flora, but health potions are rather expensive and why bother paying for something you can get for free? By mixing 2 Black Cohosh and 1 Embereyes plant at an alchemy lab (first found in the potion shop in the first town), you'll receive a Minor Health Potion, which is enough to fill the majority (if not all) of your health at the beginning of the game.
6. Lockpicking is extremely easy; dispelling, not so much.
If you're an expert with the lockpicking mini-game for Bethesda's Fallout 3 or The Elder Scrolls V: Skyrim, then the one for Reckoning will be cake. Even the hardest locked treasure chests took me at most three lockpicks, which you can either purchase in a general store for cheap or in other chests. So apart spending money on a lockpicking trainer (you might as well if you have the extra gold), the value of putting in skill points into lockpicking is dubious.
Dispelling, however, can be more difficult if you're not used to rhythm-based mini-games with a circular form. The "very easy" and "easy" dispelling treasure chests are true to their names, with a slower speed and fewer wards, but the "average" and "hard" difficulties might give you trouble. Not being able to dispel a chest, however, only results in some damage and/or a curse, so worst-case scenario, you'll just trade some treasure for a health potion and/or some gold at a healer. So only put a few points into dispelling if you think you need it. I suggest four points to get rid of the dark sigils/bombs on the circle.
7. Detect Hidden is awesome.
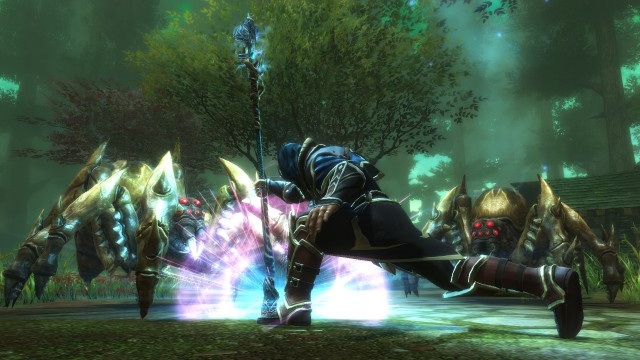
Unless you own a full walkthrough with maps showing you where all the secret doors and treasures are, the Detect Hidden skill is one of the best investments in the game, particularly up to its fifth level. Not only will enemies be displayed on the mini-map, but it'll also show an abundance of secret stashes held within piles of stones and hollow logs. If that wasn't enough, it'll also increase the amount of gold you receive from treasures randomly.
It's not particularly necessary to upgrade Detect Hidden all the way to the final perk, though near the end of the game, being able to see the location of every lodestone and treasure chest will help you to sweep-clean every dungeon. Activating all of the lodestones in a particular area gives you a permanent bonus of some variety, so if you're the exploring type, maxing out Detect Hidden is something to consider.
8. Stealth isn't that important, apart from theft and finesse after level 10 or so.
I usually play stealthy characters in open-world RPGs since sneaking tends to inflict a lot of extra damage, but in Reckoning, stealth has limited use near the beginning of the game. Most enemies tend to be in huddled groups, so killing one steathily usually means that the other enemies will be alerted to your presence. It's usually better to fire an arrow or cast some long-ranged spell as a first strike, creating some distance between you and any enemies, from where you can then fire off more shots before they've even reached your position. This doesn't mean that stealth should be ignored, and it will be attractive to players who love a challenge, but it's not as effective in combat as some other choices until later in the game.
Instead, concentrate on using stealth for any thievery. Houses, stores, and strongholds usually have dressers, racks, and bookshelves waiting to be looted. Going into stealth and making sure that no one can detect you (indicated by an empty eye gauge above their heads) keeps the possible detection rate of stealing an item extremely low, sometimes as low as 0%. Just make sure not to steal just for the sake of it, though, since books and scrolls can fill inventory space. Of course, if you're enjoy stealing loot, remember to visit any of the thief camps (Star Camp, Sun Camp, Moon Camp) to sell off any stolen goods to a "fence" merchant.
Near the middle of the game, though, stealth can deal loads of damage if you learn the smoke bomb ability in the finesse tree. The smoke bomb will make you temporarily invisible and undetectable right in the midst of battle, enough time to sneak behind some poor fool and end its sorry life. It takes about 12 levels to unlock the smoke bomb, so if you're into the finesse tree, round out your character first by unlocking additional moves for daggers or Faeblades.
9. Kill all enemies before exiting Reckoning Mode.
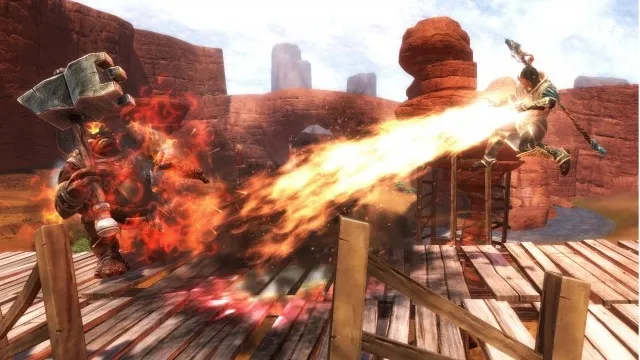
At the same time you meet your first fateweaver outside of the tutorial dungeon, you'll learn about how powerful Reckoning Mode is. Your special abilities allow you to enter a mode where the world darkens, time slows, lightning pierces your enemies, and your attacks deal obscenes amounts of damage. Accumulating a full fate energy bar can take a while, on average about ten minutes, so knowing when and how to use it effectively is crucial.
Unless there's an upcoming boss, it's usually best to save Reckoning Mode for a group of enemies that will give you a lot of base experience, since killing multiple enemies yields plenty of bonus experience. Pressing 'X' near a downed enemy ends Reckoning Mode, so make sure you finish off the entire crowd before doing so. Once you choose a downed enemy to slaughter, press the corresponding button as much as you can to earn the bonus experience.
10. Fuse gems for loads of gold, and then extraordinary abilities.
With the Detect Hidden skill at your side and some thorough exploration, you'll get your hands on cloudy shards (as well as loads of loot) quite quickly. If you're worried about gold, the Sagecraft skill is worth a few points just for the possibility of higher quality gems. Most loot you'll find (or create through Smithing) near the beginning of the game aren't worth that much unless you invest a lot of points into Mercantile, and even then you'll likely find more than enough magical weapons that suit your style in chests or as enemy drops. There's not much available in shops that you can't just stumble upon on the road, so the value of socketed weapons isn't too high until the middle to the end of the game, leaving you with the opportunity to sell gems.
That said, having a stash of gold always helps and shops always have a chance of stocking an item that you covet. Combining a Cloudy Magic Shard with any other elemental cloudy shard, as well as creating any gem that has the potential to leech life or mana from enemies, usually results in a gem worth at least 1,000 gold a piece (usually more). Combining higher quality shards like Lambent or Pristine increases that amount substantially.
Unfortunately near the end-game, even epic gems aren't worth that much in gold. But they are worth more than gold in the abilities they can bestow, especially health and mana regeneration as well as +1 bonuses to the Might, Finesse, and/or Sorcery ability trees. Definitely invest in the sagecrafting skill if you want to create powerful (if not the best) custom weapons and armor; putting in all ten points will let you unsocket gems for free and not waste hundreds of thousands of gold.
