[Editor's Note: 7.2 The Tomb of Sargeras is now playable on the PTR servers. You can read more about the update here. ]
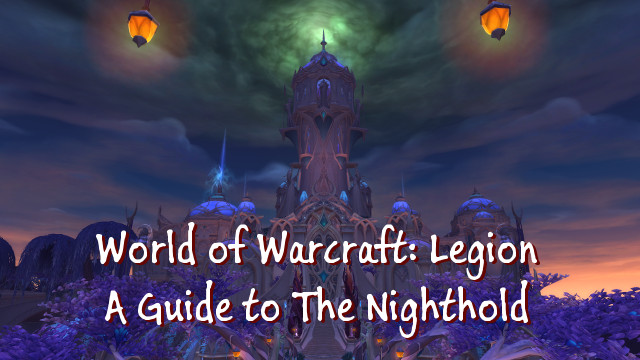
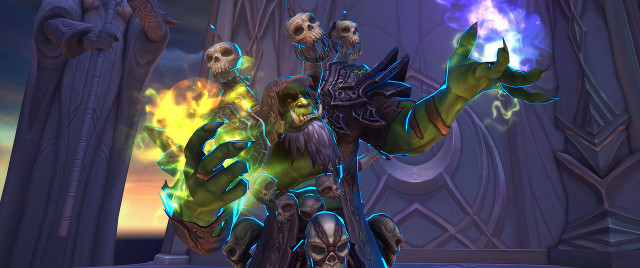
The Nighthold is the third raid to arrive in World of Warcraft: Legion. Featuring 10 bosses, it's the toughest challenge for PvE players in the expansion yet. It was included as part of the 7.1.5 update in January 2017.
Arriving four months after the debut of Legion, The Nighthold is a place of significance. Not only is it the largest structure in all of the Broken Isles, but it's where Grand Magistrix Elisande runs Suramar, a location where the fount of arcane power known as Nightwell is located. For players, it's where they will be able to obtain their first raid level tier set in all of Legion, known as Tier 19.
In this guide we will briefly go over each encounter as to introduce you to the bosses, what they are about, and provide the pertinent information you need to know to understand the basic structure of each battle. Note that this is not a full guide, and instead is best served as a quick overview and reference guide.
But before we start, here is the current raid schedule:
- Tuesday, January 17: Nighthold Normal and Heroic difficulties open.
- Tuesday, January 24: Nighthold Mythic difficulty and Raid Finder Wing 1 (Arcing Aqueducts) open.
- Tuesday, February 7: Nighthold Raid Finder Wing 2 (Royal Athenaeum) opens.
- Tuesday, February 21: Nighthold Raid Finder Wing 3 (Nightspire) opens.
- Tuesday, March 7: Nighthold Raid Finder Wing 4 (Betrayer’s Rise) opens.
Note that this guide is broken up into three pages to make the pages less dense. Simply click a link to one of the other pages in either the Table of Contents or at the bottom of the page to read about their respective boss encounters.
Before we get started, here is the current top DPS chart for The Nighthold 7.1.5. Let's begin.
Table of Contents:
- Page 1 – Skorpyron, Chronomatic Anomaly, Trilliax
- Page 2 – Aluriel, Etraeus, Tel'arn, Krosus, Tichondrius
- Page 3 – Elisande, Gul'dan
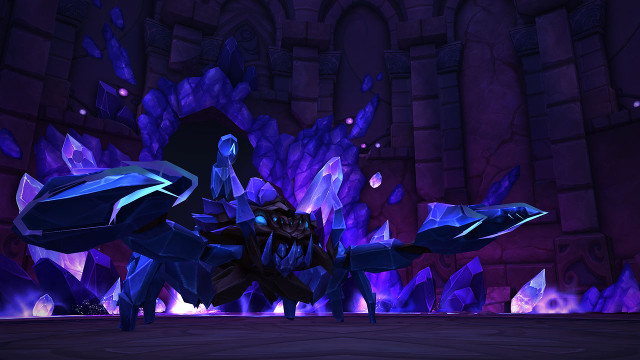
1. Skorpyron
Location: The Nightwell
Description: Deep within the foundations of the Nighthold, beneath the sea, lie long-forgotten vaults that give access to the Nightwell itself. This monstrous armored scorpid has made its home in one of these vaults. Infused with the power of the Nightwell and surrounded by a teeming brood, Skorpyron presents a serious complication to an otherwise promising back entry to the Nighthold.
General Information: This encounter features the boss alongside a large number of small scorpion adds. During the course of the fight Skropyron will have his armor damaged until it is broken leaving him vulnerable, at which point it will recover after a brief period of time.
Strategy:
- The outer perimeter of the battle area is a hazard and should be avoided.
- Have your main tank pick up the boss and your off-tank prioritize adds.
- Your main tank needs to move sideways when Arcane Tethered, which accrue during Aranoslash. These will increase the tank's damage taken, which is potentially fatal.
- The main tank should also pick up red adds.
- Your off-tank should pull blue adds near the boss' tail when Call of the Scorpid is cast.
- DPS should focus on the adds after the off-tank picks them up.
- Everyone but the main tank should stay outside of Skropyron's front vision due to his dangerous cleave attacks.
- When Shockwave is being cast, everyone should LoS it by hiding behind Crystaline Fragment pillar.
- DPS should save cooldowns for when the boss enters vulnerability phase, which is denoted by his armor breaking. This is the appropriate time to Bloodlust/Heroism.
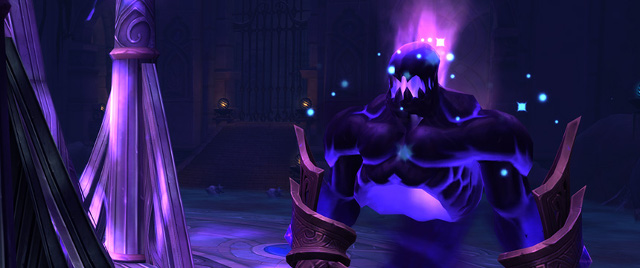
2. Chronomatic Anomaly
Location: The Nightwell
Description: As the power to fuel an entire civilization courses from the earth, the cavern at the base of the Nightwell has become a maelstrom of raw energy. Born from this chaotic flux, the Chronomatic Anomaly is an embodiment of the power of the Eye of Aman’thul. As it lashes out with energy attacks, the bursts of energy warp the very flow of time.
General Information: This unique encounter features variable time flow, altering the speed of the battle throughout its entirety by employing a player debuff. It employs burst phases every minute as groups of adds engage the raid.
Strategy:
- Pacing transitions are in a specific sequence as follows: Normal -> Slow -> Fast -> Normal -> Fast -> Slow (repeat).
- Tanks should swap aggro when stacks of Chronometric Particles fall off.
- Anyone affected by Time Bomb should move to the edge of the battle area.
- DPS should focus Waning Time Particles so a Temporal Orb can be dropped for the tanks.
- A tank needs to click the corpse of dead adds to obtain a Temporal Orb, which is used to interrupt the boss' cast of Power Overwhelming.
- Use of a Temporal Orb executes Temporal Smash, which will leave the boss vulnerable for a brief period of time. DPS should save cooldowns for these burst opportunities.
- Healers need to burst heal the absorb shields when present.
3. Trilliax
Location: The Nightwell
Description: Trilliax, once proud servant to the nightborne aristocracy, has been discarded and left to slowly deteriorate. While an unwavering will to carry out its tasks remains, the passage of time has splintered this construct’s personality matrix. It now unpredictably switches from one mode to the next, ranging from doting caretaker to homicidal sterilizer, craving recognition and validation from a master that no longer exists.
General Information: This encounter is a high mobility fight with three modes that alter conditions. High awareness is required for success. Trilliax' defeat unlocks access to five non-linear bosses.
Strategy:
- Tanks should move the boss around the outer rim of the battle area.
- Tanks should swap taunts after Arcane Slash.
- Assign one agile and fast DPS player as responsible for eating Succulent Feast. This player will absorb Cleansing Destruction damage cast by Scrubbers, and he or she should avoid the center of the battle area.
- Arcane Seepage should be avoided, and can only be cleaned up by a Scrubber.
- The three modes that Trilliax can enter are as follows:
- Caretaker Mode – DPS and off-tank should jump on Scrubbers when they cast Cleansing Destruction.
- Cleaner Mode – Move away from the raid when affected by Sterilize and don't touch any robots.
- Maniac Mode – Players with Arcing Bonds should stay next to one another. Healers should use AoE healing.
- Stay perpendicular to the boss when he casts Annihilation, a sweeping laser ability.

After defeating the initial three bosses in Nighthold you gain access to five non-linear encounters. These include Spellblade Aluriel, Star Augur Etaeus, High Botanist Tel'arn, Krosus, and Tichondrius.
Although the areas that these bosses reside in can be completed in any order, it is suggested that Krosus and Tichondrius are engaged last as they are considerably more difficult than the other three bosses.
Table of Contents:
- Page 1 – Skorpyron, Chronomatic Anomaly, Trilliax
- Page 2 – Aluriel, Etraeus, Tel'arn, Krosus, Tichondrius
- Page 3 – Elisande, Gul'dan
4a. Spellblade Aluriel
Location: The Nighthold
Description: Aluriel always had an affinity for magic. She rose through the ranks of the Nightguard effortlessly, having a natural talent with the sword. But no matter how strong she became, she wanted more. She studied with the mages at the University of Suramar, spending her days in combat training and her evenings in the artificery. She forged her weapons and armor in the Nightwell, weaving magic spells into the precious metals. She is the first Spellblade, adept in the schools of Fire, Frost, and Arcane.
General Information: Spellblade Auriel is a three phase battle, each phase corresponding to a distinct school of magic that Auriel gains access to. She is technically an optional boss due to her patrolling nature, but her defeat is highly recommended as she has good loot.
Strategy:
- Determine a location, preferably a corner, where players affected by Mark of Frost can go to.
- Tanks should swap aggro on 2 stacks of Annihilated.
- The three phases are as follows:
- Frost: DPS and healers spread out behind Aluriel. Players affected by Mark of Frost should move to a pre-designated area.Mark of Frost can be transferred to another player by moving into them. If caught by a frost circle, don't move.
- Fire: All players should stack behind the boss. Players affected by Searing Brand should move to a side of the boss, avoiding other players. Everyone should avoid Burning Ground.
- Arcane: Group up and stand at Mark of Frost spot while Orbs spawn. Everyone should move to the boss together once all Orbs are cast. The group should move together away from orb areas and Arcane Fog.
- DPS should save AoE burst for the three types of enchantments that spawn during the course of the battle.
- Everyone but tanks should never go in front of Aluriel.
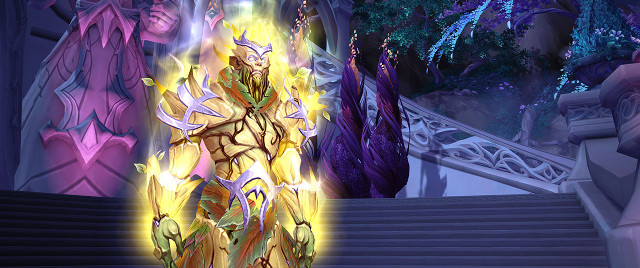
4b. Star Augur Etraeus
Location: Astromancer's Rise
Description: The nightborne astromancer Etraeus has devoted long years of research to scouring the skies of Azeroth, seeking answers to the great mysteries of the universe. His scrying has shown him worlds beyond our ken, and the power of the Nightwell allows him to draw upon the essence of those worlds to amplify his own powers.
General Information: Etraeus is a four phase encounter, with each transition occurring at a specific health percentage. The battle area will transform during the course of the encounter as the strategy changes from one focused on single-target to being add-oriented.
Strategy:
- Determine a location on the outer rim of the battle area for tanks to go to when Icy Comet is cast.
- Avoid Coronal Ejection as it fires damage at nearby players.
- Once Etraeus is at 90% health the battle will shift to Phase 1, which is when the "real" battle begins.
- During Phase 1 players should divide between three groups near the center behind the boss. Anyone affected by Icy Ejection should move to the outer rim of the battle area.
- When Icy Comet is being cast on a tank, he or she should move to the pre-designated area. After being hit, he or she should quickly move to one of the three groups of players to remove the Absolute Zero debuff.
- Etreus will enter Phase 2 at 60% health.
- It is preferable to avoid using defensive cooldowns during Phase 2 to save them for the final minute of the encounter.
- During Phase 2 players should move to the outer edge of the battle area when targeted by Fel Ejection.
- Tanks should utilize Graviational Pull and Fel Impact on Felflame locations to clear them, specifically those that are in problematic locations.
- Etreus will enter his last phase, Phase 3, at 30% health.
- All players but the tank should stack behind the boss.
- Crowd control on Voidlings is a priority due to their damage capabilities.
- Move to room edge when Meteor is cast, and keep the big add occupied there.
- Bloodlust/Heroism should be used when Etreus is low on health.
4c. High Botanist Tel'arn
Location: Shal'dorei Terrace
Description: From his youth, the nightborne Tel’arn was fascinated by plant life: the resilience and adaptability of weeds, the ability of simple grass to harness the power of the sun, the way a tree may be divided into two, or two branches grafted into one. Aided by the energies of the Nightwell, he has transformed himself to the point that he is scarcely recognizable as a nightborne elf. He now considers himself something far, far greater.
General Information: This encounter features three phases and a strategy that requires constant target switching and heavy movement. The phases are infinitely cyclical. Tel'arn will summon clones throughout the fight who are health linked, which makes DoT and cleave oriented classes particularly useful.
Strategy:
- Tanks should trade taunts when the debuff expires.
- It is important that players spread out during Phase 1 and carefully focus down adds as they spawn. Avoid the damage on the floor since it is hazardous.
- Any fixated players should stack.
- Upon entering Phase 2, the bosses should be grouped together near the Plasma Sphere, but both tanks should stand apart.
- DPS should burst down one of the three Plasma Spheres, leave one at half health, and ignore the third.
- In phase 3, the bosses should be moved immediately when Grace of Nature is being cast.
- One player without a Call of Night debuff needs to stand within 5 yards of another player who has Call of Night. This requires careful consideration and is a common cause for wipes.
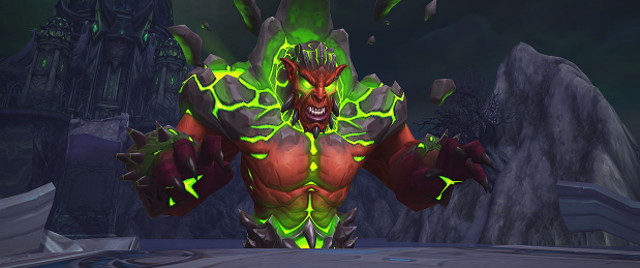
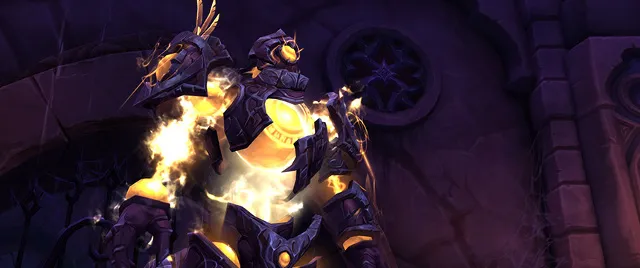
4d. Krosus
Location: The Nighthold
Description: The dreadlord Tichondrius, once leader of the nathrezim, was slain by the newly awakened power of none other than Illidan Stormrage. Reconstituted in the Twisting Nether, Tichondrius returns to watch over Gul’dan on behalf of the Legion, ensuring that the orc warlock does not once again fail his masters.
General Information: Krosus is a massive boss that serves as one of the only single target encounters of The Nighthold. This battle has a hard enrage enforced by portions of the battle area being collapsed every 90 seconds. The hard enrage occurs at 6 minutes.
Strategy:
- Tanks should swap taunts on 8 stacks of Searing Brand.
- One tank must stand in "green" Slam locations to absorb damage. Active mitigation should be engaged before being hit by Slam. However, every third Slam should be avoided as it breaks apart the ground underneath, proving fatal for anyone nearby.
- Note that a tank needs to stay within melee range to prevent the boss from using Isolated Rage.
- When the boss raises his hand, all players should move to the other side of the platform.
- Players targeted by a green arrow should run back to other side of the bridge.
- DPS should stack on Burning Pitches.
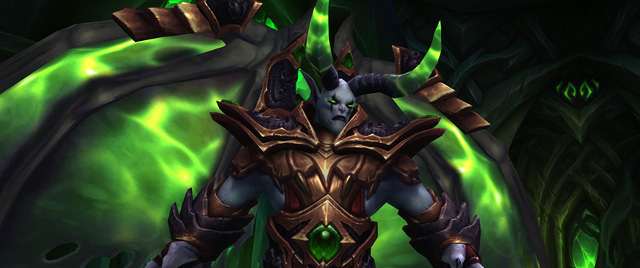
4e. Tichondrius
Location: Captain's Quarters
Description: The dreadlord Tichondrius, once leader of the nathrezim, was slain by the newly awakened power of none other than Illidan Stormrage. Reconstituted in the Twisting Nether, Tichondrius returns to watch over Gul’dan on behalf of the Legion, ensuring that the orc warlock does not once again fail his masters.
General Information: This battle has two phases, the first lasting 1:30 and the second lasting 30 seconds. The battle then enters Phase 1 permanently. Considered one of Legion's most difficult encounters, he is the unofficial gatekeeper of the final two bosses of The Nighthold.
Strategy:
- Designate an area on the battle area for players to go to when affected by Carrion Plague.
- Tanks should swap taunts on each Feast of Blood. At this point the second tank should run to the designated area.
- Adds should be AoE'd quickly, and can be stunned.
- When Echoes of the Void is being cast, everyone needs to hide behind Fel Spires.
- During Phase 2 it is a priority that players avoid Carrion Nightmare.
- Phantasmal Bloodfangs are a priority for DPS. When these are killed they will drop Essence of Night orbs that need to be picked up, prioritized by healers and the highest DPS players of the raid.

Once the first eight bosses of The Nighthold are defeated, players gain access to the top of Nightspire. From here the two final encounters take place.
Alongside Tichondrius, Elisande and Gul'dan's boss battles are the most spectacular of the raid. Both battles are historically significant in addition to having complicated mechanics. High item level gear and awareness are highly recommended before approaching this section.
Table of Contents:
- Page 1 – Skorpyron, Chronomatic Anomaly, Trilliax
- Page 2 – Aluriel, Etraeus, Tel'arn, Krosus, Tichondrius
- Page 3 – Elisande, Gul'dan
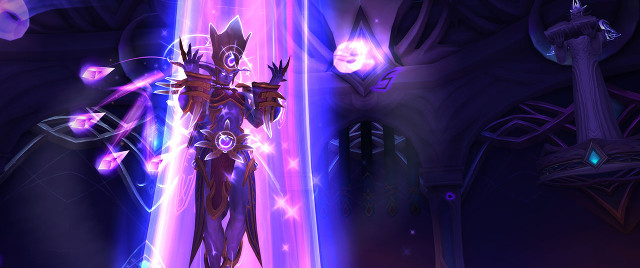
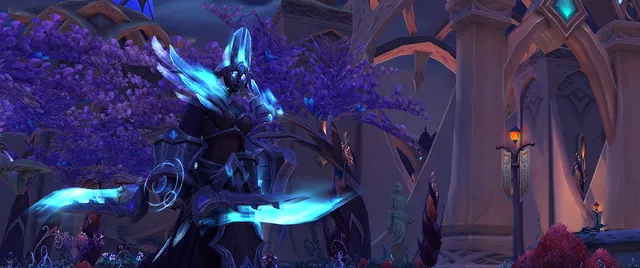
9. Elisande
Location: The Nightspire
Description: Elisande once distinguished herself by resisting the Legion. She and her highborne followers broke away from Queen Azshara and the dark path she was taking, harnessing the power of the Eye of Aman’Thul to create the Nightwell, protecting Suramar from the Sundering. But over ten thousand years later, the Legion’s arrival offered her no such recourse. She has cast her lot with the demons, hoping to once again use the power of the Nightwell—this time in a very different sense—to save her people.
General Information: Elisande's encounter is one that grows in complexity and difficulty over its three phase structure. As the Grand Magistrix, an array of powerful spells are employed during the battle, testing the skill of every raid member.
Strategy:
- Tanks should swap on 4 stacks of Ablation, when afflicted by Ablating Explosion, or when an Expedient Elemental is killed.
- Kill order is as follows: Recursive Elemental -> Expedient Elemental -> Elisande.
- The off-tank should be occupied with picking up Expedient Elementals. These should be tanked near other enemies when possible.
- Ranged DPS should focus Recusive Elementals, while melee DPS attack Expedient Elementals.
- Any player targeted by Delphuric Beam needs to run directly to the boss and avoid contact with other raid members.
- Be sure to dodge Arcanetic Rings.
- During Conflexive Burst, one player needs to go to Fast Time and another to Slow Time.
- Pop defensive cooldowns when taking damage from Spanning Singularity.
- During Phase 2 and Phase 3 the tank should reposition Elisande away from the Arcanetic Rings. Other players should avoid Spanning Singularity Pools.
- During Phase 3 a player or two should be assigned responsibility for interrupting Ablative Pulse casts.
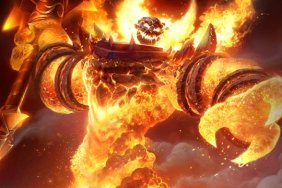
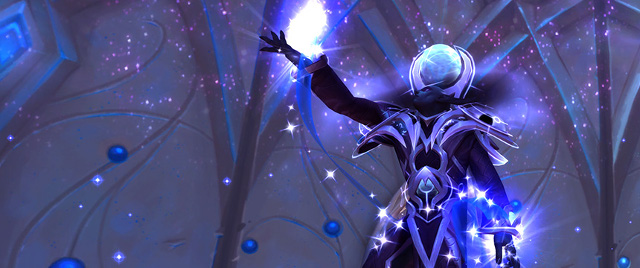
10. Gul'dan
Location: The Font of Night
Description: The chain of events set in motion when Garrosh escaped to Draenor has continued, unbroken for all its twists and turns, leading to this very moment. Thwarted in Draenor, Gul’dan now stands on the precipice of achieving ultimate victory on behalf of his Legion masters. Standing atop the Nighthold, as the vortex of fel energy swirls in the skies overhead, the outcast orc warlock awaits his destiny.
General Information: Serving as the final boss encounter, Gul'dan is a challenging battle that usually lasts more than 10 minutes. The battle begins with a ritual and showcases Gul'dans incredible Warlock powers.
Strategy:
- During both Phase 1 and Phase 2, every raid member will have an extra button on their screen. The effect of this ability differs between roles:
- Tank: Use a barrier that makes you immune to damage for 6 seconds.
- DPS: +30% attack speed, casting speed, movement speed, and DoT ticking speed for 10 seconds. 55 second cooldown.
- Healer: Deploy a shield that absorbs up to 2 million damage for anyone inside it.
- During Phase 1 healers should deploy their extra ability when Liquid Hellfire is cast, tanks should use theirs along with a taunt right before a Shatter Essence, and DPS should use theirs during burst opportunities.
- Tanks should taunt off each other after each Shatter Essence.
- DPS need to focus the Inquisitor when it spawns.
- Group up the council when it spawns. Prioritize the Fel Lord in this group. The off-tank should pick up the Trapper, make sure it uses Soul Vertex far from the raid, and makes sure that it is killed last out of the three council.
- During Phase 2 the main tank should hold Gul'dan still. The rest of the raid should be behind the boss.
- Tanks should pop Empowerment when Gul'dan hits 99 Energy.
- DPS must prioritize Bonds of Fel, but also kill Dreadlords fast. Dreadlords should be interrupted.
- During Phase 3 there are three new abilities that appear in addition to those in prior phases:
- Flames of Sargeras: Any player afflicted with this needs to run to the corner of the room away from the raid.
- Storm of the Destroyer: Every raid member should group up in one corner of the room. Once this is cast, everyone needs to run to the other side of the room.
- Well of Souls: Some players must stand within its area of affect to reduce Black Harvest damage. Players should switch in and out as appropriate when health is low.
Congratulations! You've completed The Nighthold.
These Are the Oldest Known Screenshots of World of Warcraft
-
Cairne Gone Crazy
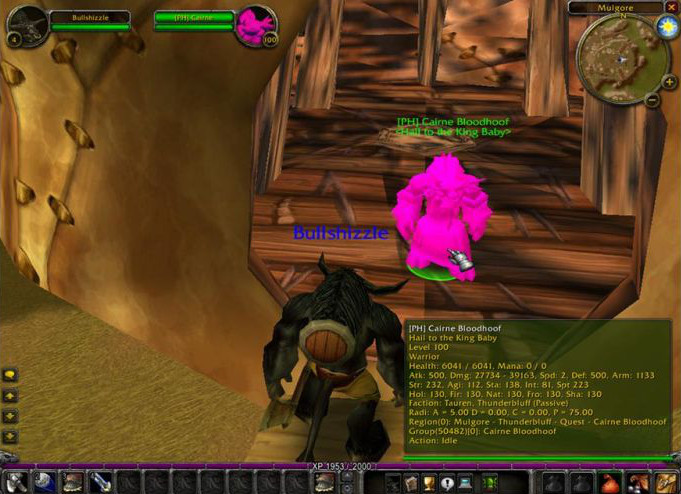
It was Cairne Bloodhoof's birthday. -
Early Level
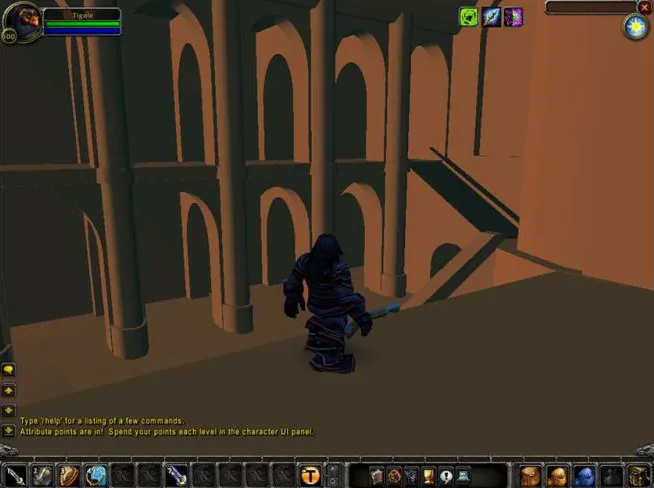
An early level without textures. Notice the character name. -
The Birth of Human
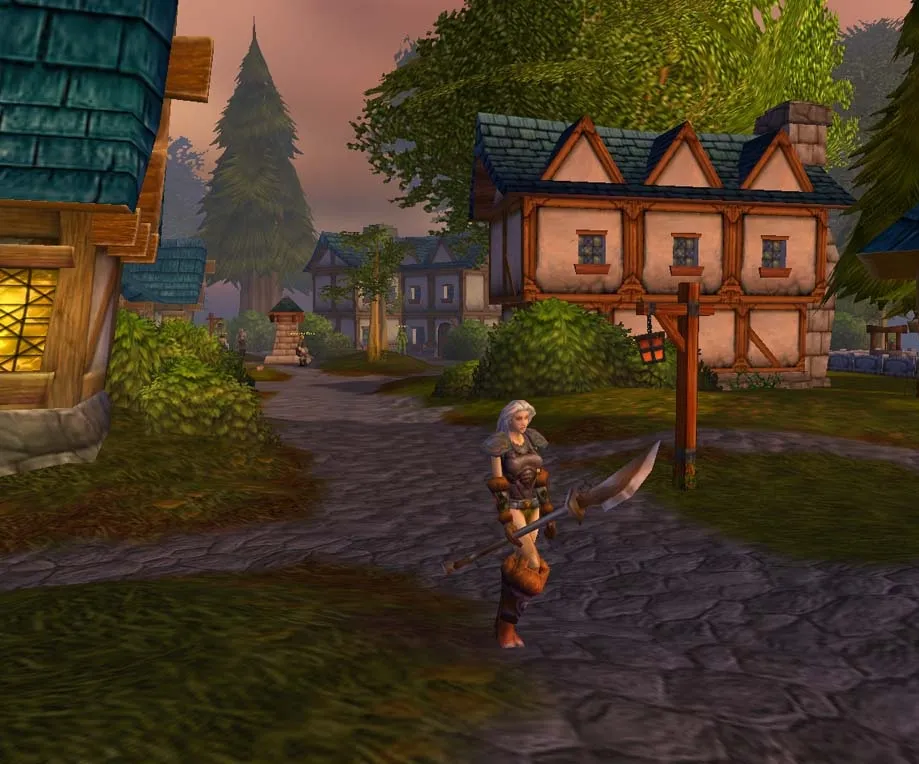
The biggest difference is that nobody uses polearms anymore. -
Atari Map
"The Atari Map", an early layout of Arathi Basin. -
Warcraft 3 Engine
This is the earliest existing screenshot of WoW using the Warcraft 3 engine. -
Deadmines
The Juggernaut from Deadmines was originally outside. -
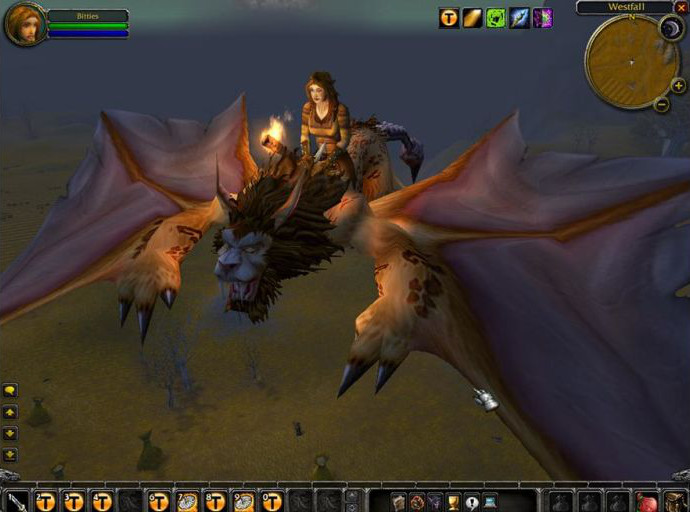
Westfall
This is what Westfall looked like in early 2000. -
Female Troll
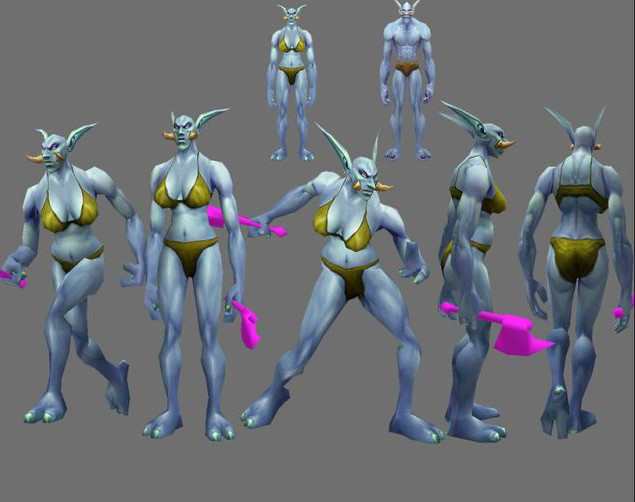
Female Trolls were much more horrifying back then. -
Equipment Menu
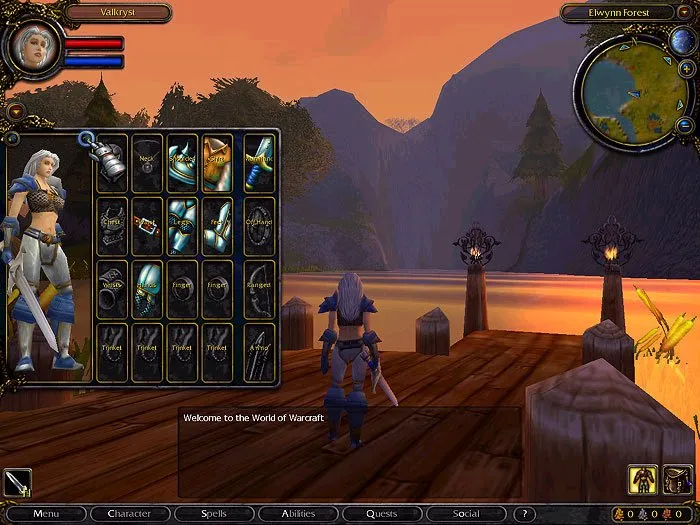
It almost looks like a mobile game. -
Spellbook
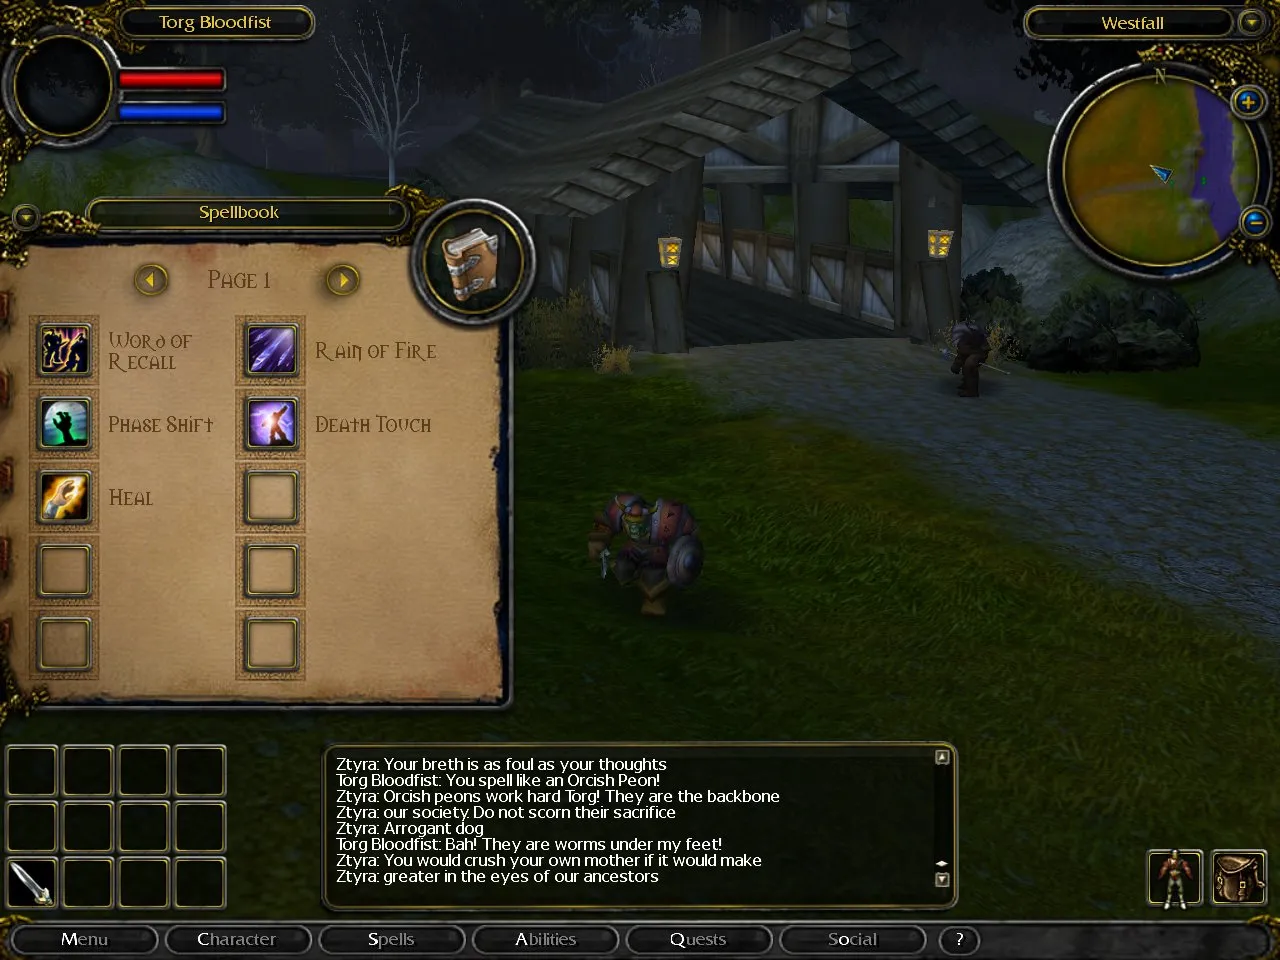
The Spellbook has gone through many iterations. This is just one of them. -
Arathi Layout

After the Atari Map was completed for Arathi Basin, Jim Chadwick began laying out the level in WoW edit. -
Circa 1999
World of Warcraft was unrecognizable in 1999. -
Races in 2000
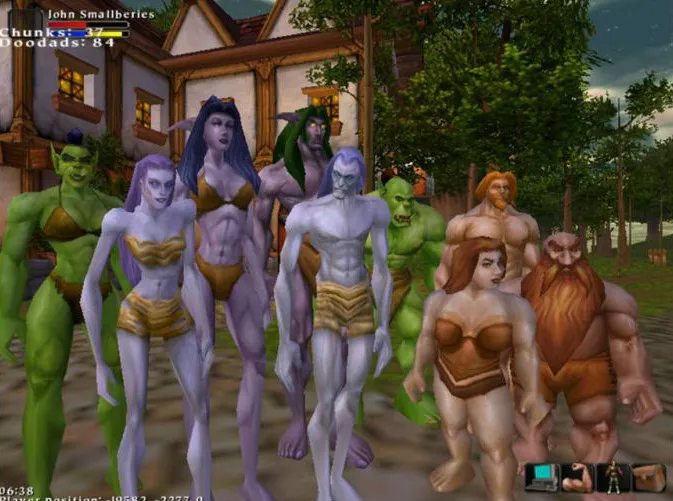
Why does everyone have a six pack? -
Login Screen
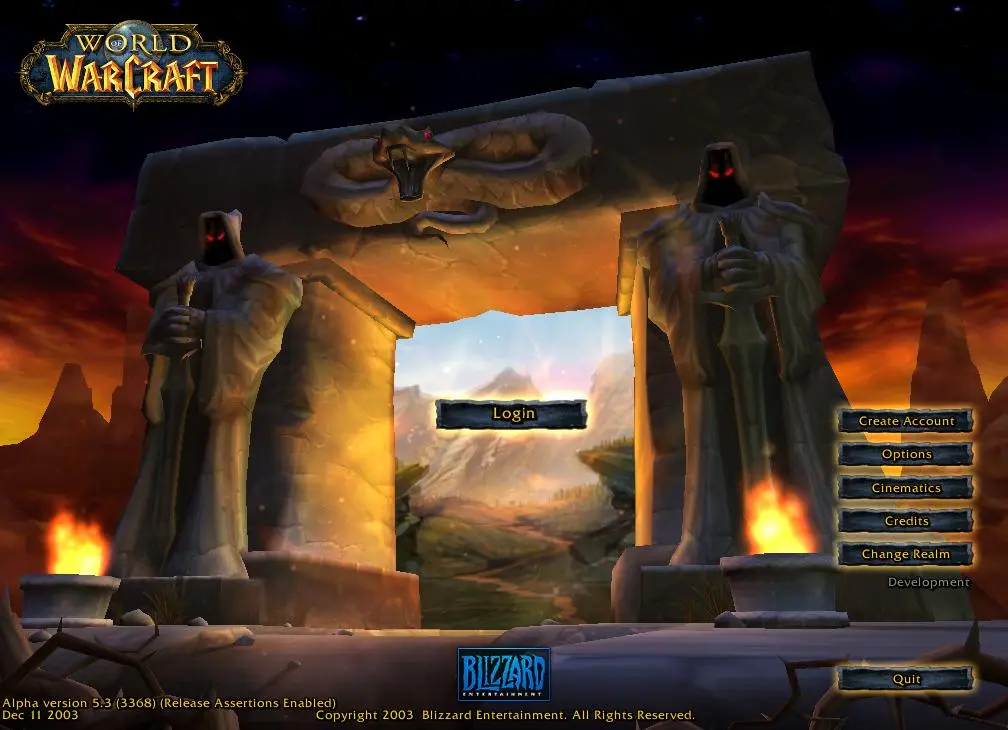
Classic. -
Character Creation
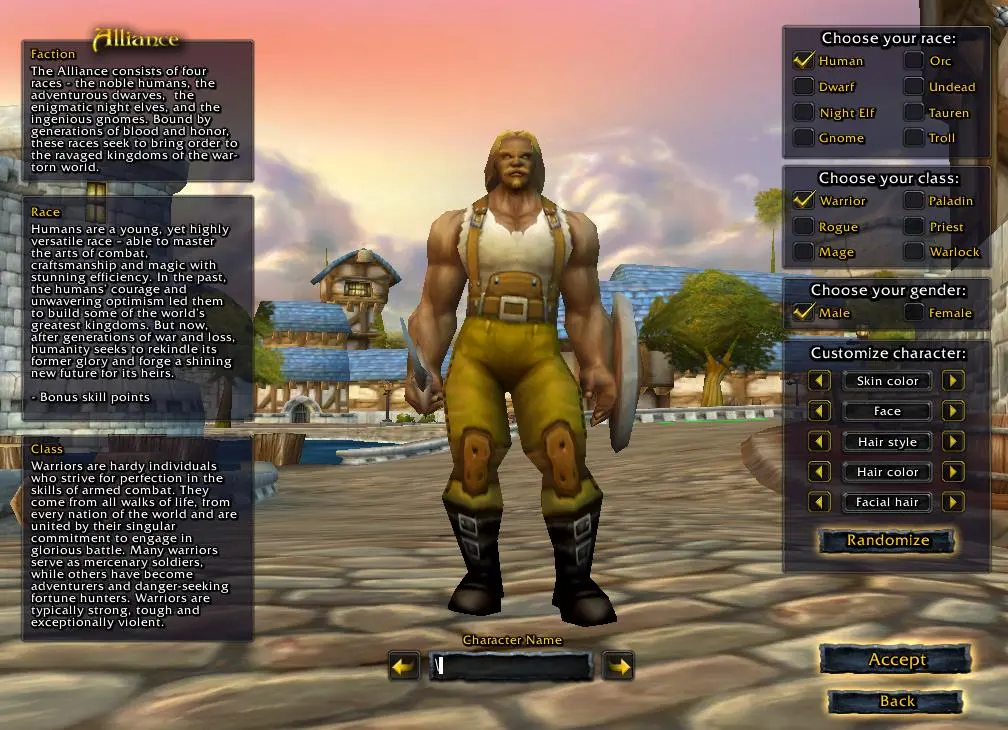
It's not much different than now, although the menu elements are on opposite sides. -
Wyvern
A flight path test from the early days. -
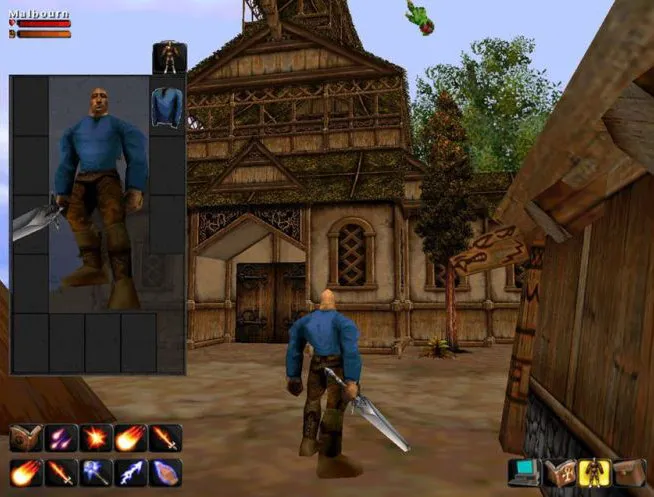
Westfall #2
The player almost looks like a Vrykul. -
The Dark Portal
I dare you to walk through it. -
The Oldest Known Vanilla WoW Screenshots

These Are the Oldest Known Screenshots of World of Warcraft
-
Cairne Gone Crazy
It was Cairne Bloodhoof's birthday. -
Early Level
An early level without textures. Notice the character name. -
The Birth of Human
The biggest difference is that nobody uses polearms anymore. -
Atari Map
"The Atari Map", an early layout of Arathi Basin. -
Warcraft 3 Engine
This is the earliest existing screenshot of WoW using the Warcraft 3 engine. -
Deadmines
The Juggernaut from Deadmines was originally outside. -
Westfall
This is what Westfall looked like in early 2000. -
Female Troll
Female Trolls were much more horrifying back then. -
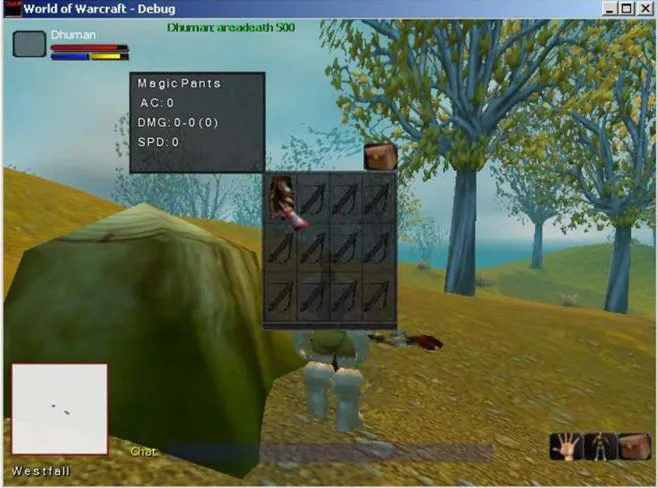
Equipment Menu
It almost looks like a mobile game. -
Spellbook
The Spellbook has gone through many iterations. This is just one of them. -
Arathi Layout
After the Atari Map was completed for Arathi Basin, Jim Chadwick began laying out the level in WoW edit. -
Circa 1999
World of Warcraft was unrecognizable in 1999. -
Races in 2000
Why does everyone have a six pack? -
Login Screen
Classic. -
Character Creation
It's not much different than now, although the menu elements are on opposite sides. -
Wyvern
A flight path test from the early days. -
Westfall #2
The player almost looks like a Vrykul. -
The Dark Portal
I dare you to walk through it. -
The Oldest Known Vanilla WoW Screenshots