Are you wondering how to respawn and move rocks in Animal Crossing: New Horizons? Rocks are vital sources of stone, clay, iron nuggets, and even gold nuggets, but you might not like where they’ve ended up on your island in Animal Crossing: New Horizons. We’ve figured out how to put them wherever you want!
Can you respawn and move rocks in Animal Crossing: New Horizons?
The first question is whether or not it’s even possible to move rocks in Animal Crossing: New Horizons. The answer is a bit complicated.
ALSO: How do I make an Animal Crossing diagonal bridge?
You can’t pick up and move rocks in the same way that you can pick up and move trees in Animal Crossing: New Horizons. If you eat a fruit and hit a tree with your shovel, you’ll pick it up and you can replant it elsewhere. If you eat a fruit and hit a rock, you will instead destroy it.
Rocks respawn on your island at the rate of 1/day, so you really don’t want to smash all of your rocks. While you can’t technically move them, you can cause them to respawn exactly where you want anywhere on your island, but it’s going to take a lot of work.
Here’s how to move rocks in Animal Crossing: New Horizons
This entire project started with an insane idea. I noticed that stone and wood-based terraforming tiles would not allow certain things to spawn. I soon discovered that you can use this to force rocks to spawn exactly where you want them to, but it’s going to take you several hours and a week’s worth of waiting.
Step 1: Unlock terraforming
If you’re wondering how to move rocks in Animal Crossing; New Horizons, you’re going to need to unlock terraforming first. If you don’t have it yet, focus on unlocking it.
Get at least 8 people in your village and raise your island to a 3-star rating. Once you do, K.K. Slider will visit the next day and you’ll unlock terraforming!
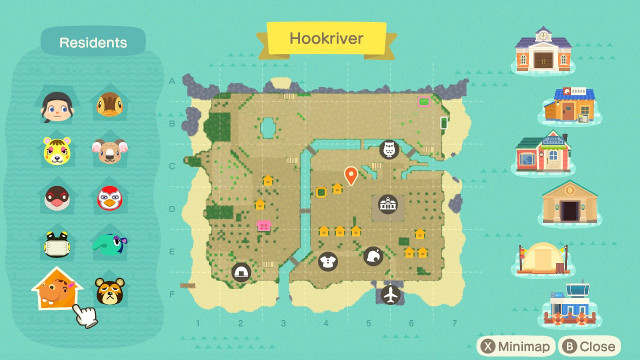
Step 2: Preparing your island
This is the part that is going to suck. Once you have terraforming unlocked, you’re going to need to cover every single empty space on your island with one of the following terraforming tile types:
- Stone path
- Brick path
- Arched tile path
- Terra-cotta tiles
- Wooden path
Only use the above tile types! Do not use these terraforming tiles, as rocks (and fossils, weeds, and golden holes) can still spawn on these:
- Grass
- Dirt path
- Dark dirt path
- Sand path
- Custom design
This entire process took me roughly six hours. Yes, this is insane, but the line between genius and insanity is very thin.
Step 3: Smash one rock with a fruit
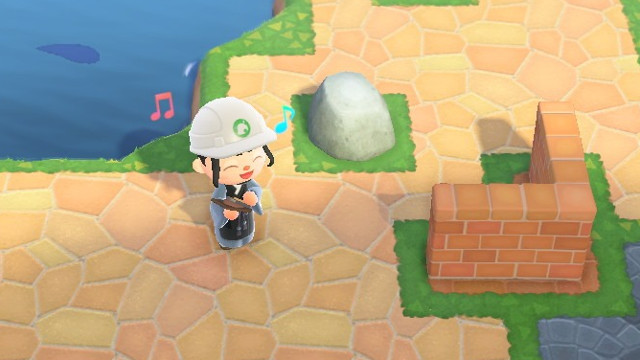
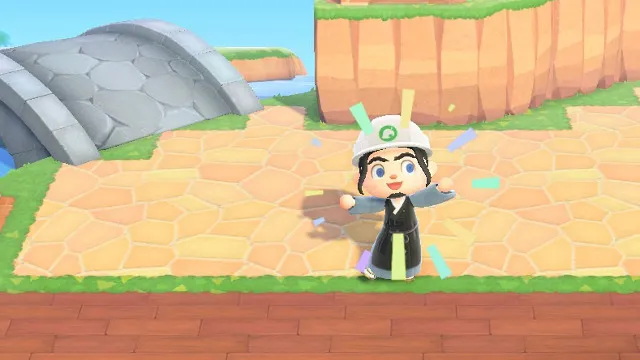
Once your entire island is covered in tiles/stones, harvest all 8 items. Then, you have to eat a fruit or Easter egg and hit it once more with a shovel or axe to permanently destroy the rock.
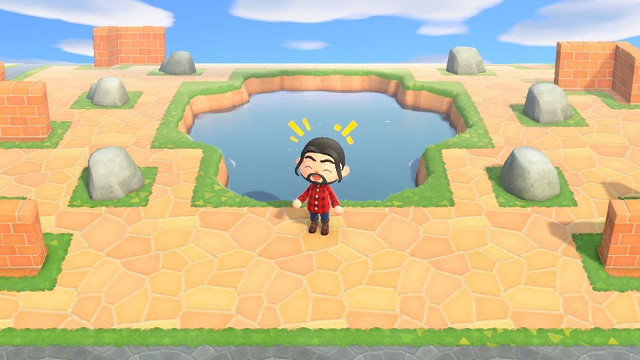
Step 4: Open up 1–6 spaces
After you’ve tiled your island and smashed 1 rock, you need to pick where the new rock will spawn. Free up 1–6 spaces by changing them to grass, dirt, or sand.
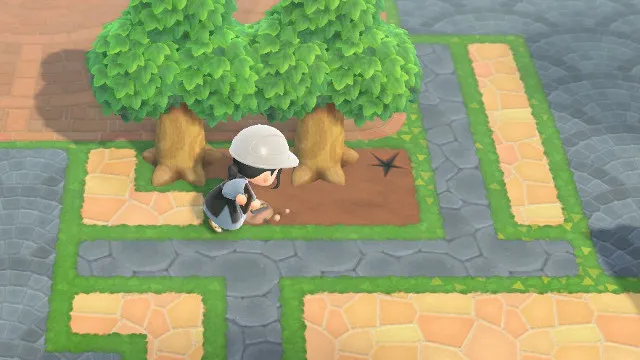
It may be helpful to have some open space around the rocks, too. I had an orchard with trees planted every two spaces and rocks never spawned there, so I think there also needs to be enough of an open area surrounding the tile where you want the rock to spawn, too.
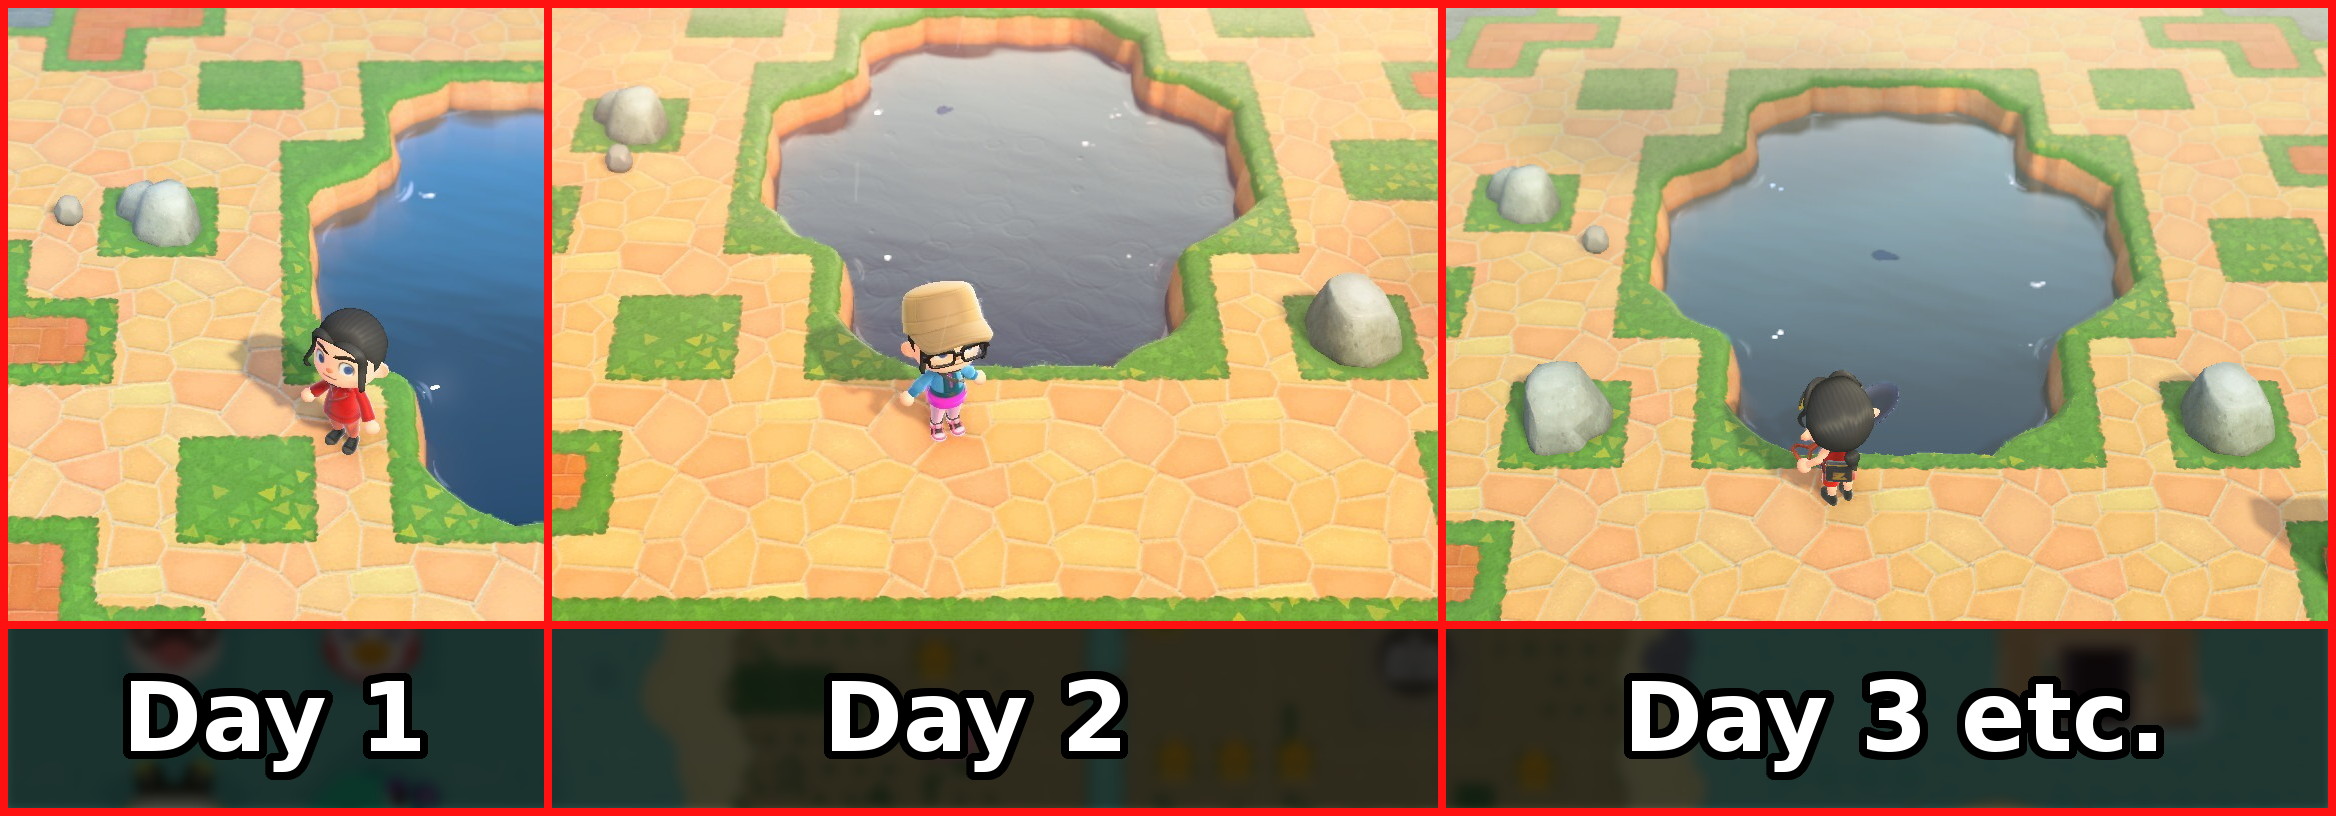
Step 5: Wait and check
If you’ve done everything correctly, a rock will spawn in one of the grass/dirt/sand spaces that you’ve left open. If it doesn’t spawn, double-check your entire island to ensure that there are only the 1–6 spaces open where you want the rock to spawn and that these spaces have enough open tiled land around them.
Step 6: More smashing, more waiting
If a rock does spawn correctly, it’s time to get ready for the next one. Repeat the previous steps, destroying the other rocks on your island one-by-one. Don’t forget to replace the ground under the destroyed rock with stone or tile!
 an
an
Step 7: Restore your island
Once you have all six rocks, it’s time to undo all of that terraforming. Change your land tiles back to whatever you want. Once again, this will probably take you around six hours of dedicated play to undo everything.
Beware the downsides
Now that you know how to move rocks in Animal Crossing: New Horizons, you should be aware of the downsides. Rocks can only spawn on “dirt” tiles and not “stone” tiles, but that’s not the only thing.
You will have lower or no access to the following things while you’re undergoing this project:
- Weeds
- Fossils
- Golden holes / Money tree holes
- Anything else that spawns on “dirt”-type tiles
And that’s it! Now that you know how to move rocks in Animal Crossing: New Horizons, you can place them wherever you like! Just beware the fact that this process will take you 12 or so hours of intense work and six days of waiting!
What do you do if the rocks aren’t spawning?
During this process, you may encounter a situation where your rocks aren’t spawning. In my case, my sixth rock wouldn’t spawn for two days in a row; weeds spawned in the only open space on my map instead.
The solution requires an understanding of how rocks spawn. Rocks need a 3×3 open area to spawn. You can open up some spaces where rocks can’t spawn but other things can. This will give you much better chances for the last rock or two to spawn where you want it to.
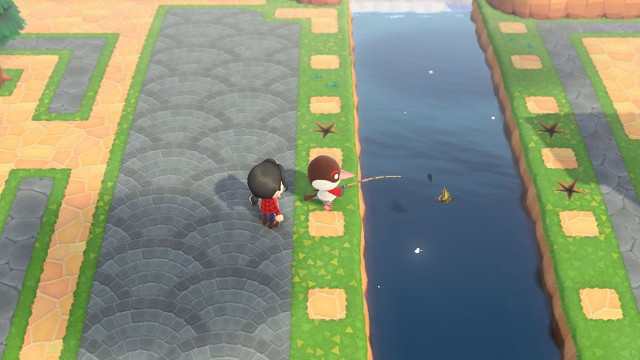
In my case, I cleared out a bunch of spaces next to a nearby river after my last rock wouldn’t spawn. The open spaces aren’t in a flat 3×3 area, so rocks could not spawn there. Fossils and weeds could spawn, freeing up the intended space for my rock to spawn. I was then able to get back to work restoring my island to its former, mostly-unpaved glory.