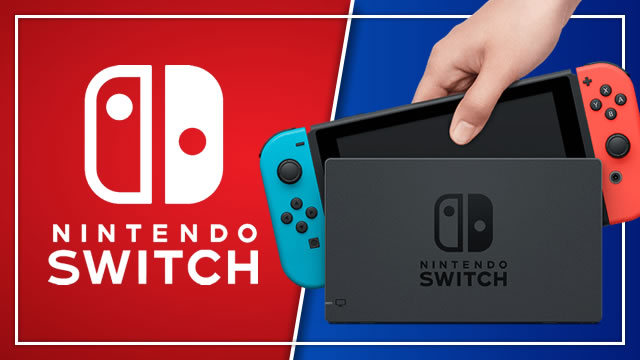
The Nintendo Switch is often referred to as a hybrid video game console. That means that while it works as a portable system, it’s also possible to connect the Switch to a TV. However, the method to hook everything up isn’t as simple as just connecting a single cable. That’s why some players may find that their Nintendo Switch is not connecting to the TV. Thankfully, this is a simple problem to fix.
Nintendo Switch not connecting to TV? Here’s the fix

There are a few reasons why your Nintendo Switch is not connecting to your TV. One of the most frequent problems involves plugging cables into the Nintendo Switch dock in the wrong order. Otherwise, it’s possible that you’re using the wrong television input, the wrong kind of cables, or the wrong type of Switch entirely.
In many cases, the cause behind a bad connection or blank screen is something simple. As long as your Switch supports TV mode, you’ve got the right cables, and all of your devices work, you’ll be able to get your Switch connected to your TV in no time.
Make sure you’re using the right cables
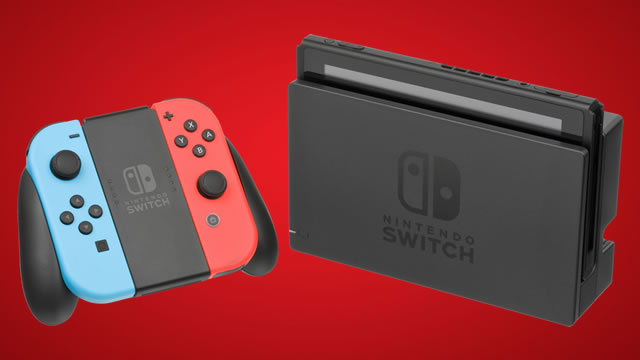
The Nintendo Switch connects to your TV through the Switch Dock. The dock itself uses two cables: The Switch AC Adapter (USB-C) and a standard HDMI type 1.4b cable. Both of these come packed-in with the system when purchased new.
If you’re using off-brand cables, be warned: You’re flirting with disaster. Third-party power cables and docks have been known to brick Switch systems. It’s in your best interest to use official Nintendo cables.
Plug the cables in using the correct order
It’s possible to be tricked into thinking your Switch won’t connect to your TV if you insert the cables in the wrong order. In fact, this peculiar sequence is the main reason why people say their Switch dock isn’t working. For whatever reason, you have to insert the power adapter into the Switch dock first, then insert HDMI before video will be displayed.
Here’s the correct order you need to follow:
- Remove the Nintendo Switch from the dock
- Plug the USB-C side of the Switch AC adapter into the dock, using the port labeled “AC Adapter”
- Next, plug the other end of the AC adapter into a wall outlet
- Plug one end of the HDMI cable into the dock port labeled “HDMI Out”
- Finally, connect the other end of the HDMI cable into your TV, taking note of the input label
After that, you can put your Switch back into the dock. If everything is plugged in correctly, the system will begin to charge and output video through HDMI.
Set your TV to the correct input

This final step is easy to miss, but forgetting it could result in a blank screen. In order to see the Switch’s video output on your TV, you need to make sure the TV input is set to the correct HDMI input.
Yeah, it may be seem obvious, but mistakes happen. Simply double-check that the TV input setting matches the HDMI port you plugged the Switch dock into. So long as the system is docked and awake, it will display its video on your TV screen.
Remember, the Switch Lite won’t connect to a TV
It should go without saying, but we’ll say it anyway: The Nintendo Switch Lite cannot connect to a TV. It is an entirely portable console, and will not connect through a Nintendo Switch dock. The system was simply not designed to connect to a TV.
So long as you’re got the right cables inserted in the right order, you should have no problem connecting your Nintendo Switch to your TV. That said, you may get a blank screen if you’re using third-party cables, docks, or the wrong TV input. Otherwise, any unexpected problems should be brought to the attention of Nintendo Support.


