It didn't take long, but World of Warcraft: Legion's 7.1 update has arrived. With it is the new Karazhan, which has a total of eleven bosses, eight of which are mandatory for a completion. Although some are familiar, several are new.
Note that this is a general guide with a mixture of notes on DPS, healing, and tanking. We will focus on the major elements of each battle that you need to know about to succeed in a Normal or LFR run. Let's get started!
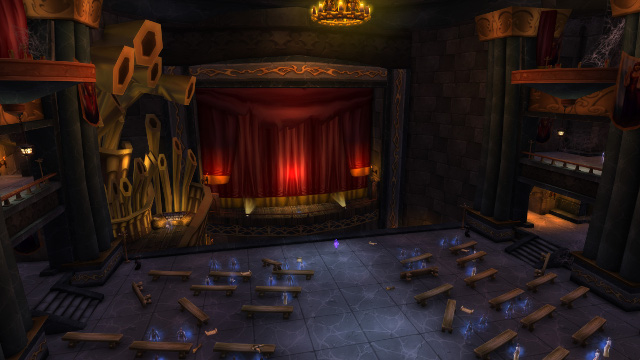
1a. Beautiful Beast [Opera]
Description: Cursed to take the form of a beastly monster, Brute must find true love before he loses his life to the dark magic that transformed him. Will he learn proper table manners in time to win the heart of the fair Bella?
General Information: This fight includes four main enemies, and when one is killed, the others are healed to full health in addition to receiving increased damage. The battle is won when Caggleston is defeated.
Strategy:
- The recommended kill order is Babblet -> Luminore -> Mrs. Cauldrons.
- You can't attack Caggleston until the other three enemies are dead.
- Babblet and Mrs. Cauldrons can't be tanked, so be careful.
- A tank should pick up Luminore while all DPS focus on Babblet to start the fight.
- Babblet is the most dangerous of the three due to his Severe Dusting channel which locks onto a player, among other things. Killing him first is advised.
- Make sure that Luminore is pulled away from Mrs. Cauldrons to avoid a special attack from triggering.
- Interrupt Heat Wave when cast by Luminore and stay out of AoE damage.
- Once three of the enemies are dead, Caggleston will become vulnerable to damage.
- AoE should be utilized to take down the forks that Caggleston spawns.
- The second fork spawn will be much more dangerous than the first. Your group may want to pop cooldowns during this period.
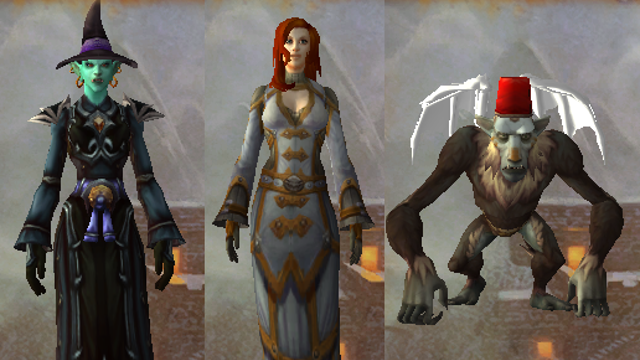
1b. Wikket [Opera]
Description: Are villains born evil, or do they fall into wickedness due to the influence of others? Perhaps considering this quandary from the ozen point of view will offer enlightenment…
General Information: Two enemies that shared health bars are featured in this fight: Galindre and Elfyra. It is considered a relatively simple fight that requires good timing.
Strategy:
- DPS must quickly target adds summoned by Elfyra.
- Players should initially avoid Defy Gravity, but jump into it when Galindre uses Magic Magnificent.
- The tank will receive a debuff that causes splash damage, so melee DPS should be cautious about positioning.
1c. Westfall Story [Opera]
Description: Amidst the carnage of rival gangs battling for the turf of Westfall, two lovers from very different worlds fight for happiness. It is said that love is blind… but does it also need a translator?
General Information: This fight features two bosses across three phases. In the third phase both bosses converge offering a mixture of phase one and phase two.
Strategy:
- During phase one players should avoid Flame Gale and Burning Leg Sweep while DPS focuses on the Gang Ruffians.
- Players should spread out during phase two while avoiding Bubble Blast.
- Phase three incorporates a combination of both previous phases. It is worth saving cooldowns for this phase to make sure it ends as quickly as possible.
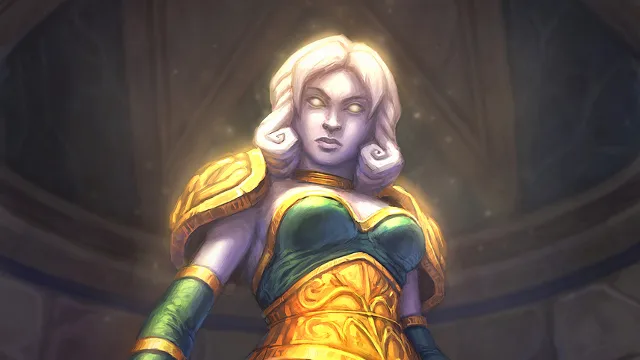
2. Maiden of Virtue
Description: Arriving in Karazhan to cleanse the tower of vice and corruption, the titan watcher was infuriated by Medivh’s infamous parties and debaucheries. As her crusade for virtue seeks converts to her cause, the Maiden remains committed to purging immorality using all the powers at her disposal.
General Information: Maiden has a dangerous AoE CC that can wipe your group. Spreading out and then converging when needed is the main mechanic of the battle
ALSO READ: Top DPS Chart For 7.1 Return to Karazhan
Strategy:
- All players should spread out during most of this battle due to the chain effects of Holy Bolt.
- Whoever is targeted with Sacred Ground should head toward a pre-designated area until it wears off.
- The AoE damage that Sacred Ground delivers will break your team members out of Mass Repentance CC if they stack on it in time. This is a crucial element of the battle.
- When Holy Wrath is being cast all DPS need to perform burst damage to break the shield before interrupting the cast. If this is unsuccessful the group will wipe. This burst phase occurs every 50 seconds.
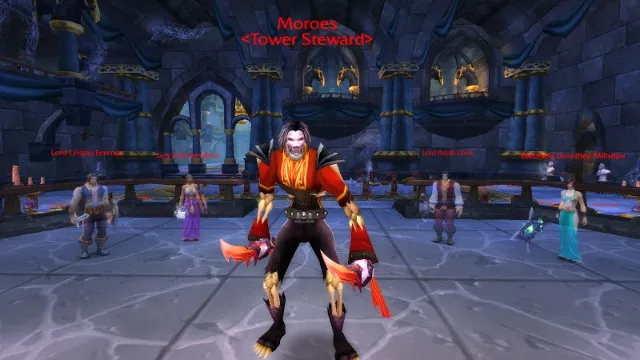
3. Moroes
Description: Moroes, the steward of Karazhan, dotes upon his master’s dinner guests within the grand Banquet Hall. Eternally devoted to care of the tower, he dispatches impolite party crashers with cruel efficiency.
General Information: Moroes will have four adds with him, two of which can be CC'd for most of the fight. He deals an increasing amount of damage during the fight, meaning that you need to take him down before your tank is overwhelmed.
Strategy:
- Use two Ghost Traps to CC two of the adds. Be careful not to break CC or you will likely wipe.
- The four adds are randomized out of a pool of six potential enemies.
- Have DPS focus on the other two while your tank holds the attention of Moroes.
- Once both non-CC'd adds are down, attack the other two before directing your attention to Moroes.
- Healers should pay attention to Moroes' Vanish -> Garrote combo on a random player, which may kill them if unmonitored.
- Healers should dispel Coat Check when it is cast on the tank. This significantly increases the damage delivered to the tank, which can wipe your group if ignored.
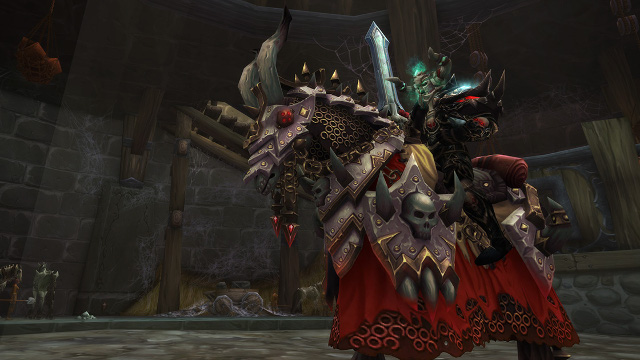
4. Attumen the Huntsman
Description: Once charged with hunting game for his master’s feasts, Attumen now sets his sights on a very different kind of quarry. Ever wary of those seeking to steal his famed steed, Midnight, Attumen unleashes his well-honed fighting skills against all intruders.
General Information: This battle features two enemies, Attumen and Midnight. The battle alternates between you fighting either or both enemies at the same time.
Strategy:
- Focus on Midnight at the start of the fight.
- Casters should be weary of Mighty Stomp, which interrupts for four seconds if they don't stop casting before it goes off.
- During phase one your group will be afflicted with Intangible Presence every 30 seconds. Although everyone is affected, only one player actually has the effects of the debuff. Dispelling the incorrect player will cause significant damage. The player with the real debuff will have a ghost-like appearance in-game, and once dispelled will remove the debuf from the rest of the group members.
- Once Midnight is at 50% health Attumen will be targetable.
- Avoid being in front of Attumen or Midnight unless you are a tank.
- Later in this phase Attumen will use Shared Suffering, and your group will need to stack on the tank. It is worth deciding before battle on where to meet up when this ability is cast.
- All players should avoid Spectral Charge when it is cast by Midnight.
- After this, continue dealing damage until Attumen reaches 0%.
- When only Midnight is left he will continue to spam Mighty Stomp, which will pressure your casters. Your melee should focus on dealing as much damage as possible to end the fight.
Page 2: Curator, Medivh, Mana Devourer & Viz'Aduum
Check Out More WoW: Legion Coverage On GameRevolution:
- 10 Tips For Legion
- WoW Streamer Hit By Earthquake
- Most Overpowered Classes In Legion
- Legion Review By a Vanilla WoW Veteran
- The Best Order Hall Advancement Choices
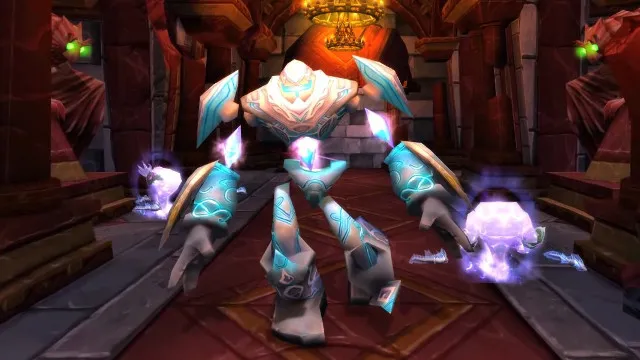
5. The Curator
Description: The Curator safeguards the Menagerie from unwelcome guests, terminating trespassers who seek to plunder the secrets of Karazhan. Though assembled by Medivh himself, the guardian construct has deteriorated over time, becoming prone to energy overloads and erratic behavior.
General Information: This battle features a cycle between a burn phase and one where DPS should be busy avoiding damage and taking down adds.
Strategy:
- The tank may want to pull The Curator to the far side of the room to create space for an AoE ability.
- All DPS should save cooldowns until The Curator is at 10% mana, at which point he will Evocate and take double damage for a short period of time.
- Once he finishes evocating to 100% mana he will cast Overload, which will do high damage to the entire group. Healers will want to save their cooldowns for when this goes off.
- When not evocating phase, DPS should focus on Volatile Energy while also spreading out when a player is afflicted with Static Charge.
- Be weary of where Power Discharge is casted, which lands on all players in your group every 12~ seconds. These will not go away and thus should be aimed at the outer rim of the battle area.

6. Shade of Medivh
Description: So great was the power of the last Guardian, Medivh, that his magic still echoes through the halls of Karazhan. Some of these echoes take the shape of visions, revealing past events to the tower’s guests. Others assume more malevolent forms, recalling a time when the Guardian’s will was not his own.
General Information: Medivh is a master of magic that has several spells your group will need to be aware of. These are cast in a random sequence, making this battle very RNG oriented.
ALSO READ: These Are The Oldest Known Screenshots of WoW
Strategy:
- A melee should interrupt Piercing Missiles every time it is cast on the tank. If not interrupted the tank will die. It is worth figuring out an interrupt rotation prior to the fight due to this.
- Frostbite can also be interrupted, but may slip through in which case one of your players will be frozen.
- The only way to reverse this is to make sure an Inferno Bolt lands on the frozen player, which should be avoided in any other circumstance.
- Ceaseless Winter will fill the room with a bilzzard, causing players to get a stacking debuff that can be broken by moving every few seconds. This places a lot of pressure on casters who may not be able to cast many spells while moving.
- Frame Wreath will be cast on two players who should avoid moving once affected or the group will wipe.
- Guardian's Image will create three images of Medivh. They deal damage with no threat table. When all three images are defeated, the Shade of Medivh will re-appear.
7. Mana Devourer
Description: Rarely does the sight of a mana wyrm cause a seasoned adventurer concern. These small, simple creatures float about, consuming stray pockets of arcane energy. But in Karazhan, tables are often turned, and what at first glance appears harmless may be revealed as an enormous threat.
General Information: This fight entails keeping Mana Devourer from reaching 100% mana. If he succeeds at refilling his mana bar, your group will wipe.
Strategy:
- There is a lot of AoE damage during this fight, which makes it challenging for healers. Bring potions to help with sustainability.
- When Coalesce Power is cast every 30 seconds pick up an Unstable Mana to gain a damage buff that causes DoT damage to the player. If these Unstable Mana aren't touched they will reach Mana Devourer and replenish his mana bar.
- Head to an Energy Void when the Unstable Mana damage becomes dangerous. Energy Voids are created every 20 seconds.
- Avoid Arcane Bombs and Arcane Void pools.
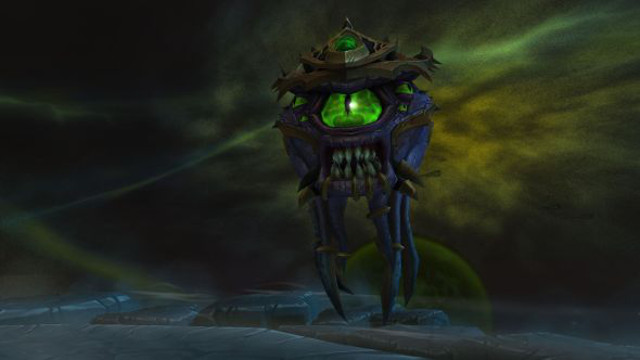
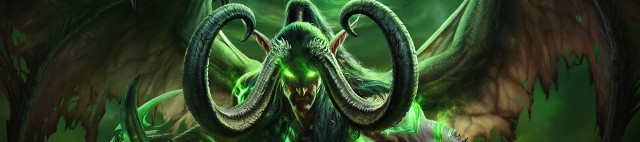
8. Viz'aduum the Watcher
Description: The all-seeing Viz’aduum was commanded by Kil’jaeden to capture Karazhan and tap into the tendrils of ley energy woven through the tower. Should he succeed in anchoring the structure to the myriad of worlds held by the Legion, the Dark Titan’s army will overrun Azeroth and leave little more than a smoldering husk.
General Information: This battle includes three phases that take place in outer space. It is the most complex and challenging encounter in the instance.
Strategy:
- Players should avoid Fel Flame and Bombardment damage.
- The player afflicted with Chaotic Shadows needs to head to a dedicated spot, and when it explodes everyone needs to be ready to dodge the orbs that emanate outward.
- Side step any Disintegrate that targets you.
- When Viz'aduum reaches 66% health phase two will begin. Follow the boss to the next ship.
- Avoid the Soul Harvest fields while running to Viz'aduum.
- Phase two is the same as phase one, although two players are selected by Chaotic Shadows instead of one.
- When Viz'aduum reaches 33% health phase three will begin. Once again, follow the boss to the next ship.
- Your group will have 30 seconds to interrupt Viz'aduum's cast. He will be guarded by a number of enemies and pylons which must be disposed of quickly. This is the part of the fight that has killed the most groups in beta.
- Chaotic Shadows will now affect three players which will make the battle incredibly overwhelming for healers.
- All players should pop cooldowns to mitigate damage and maximize outgoing DPS.
Congratulations, you completed Return to Karazhan! It's worth noting that Nightbane is all but confirmed to be a secret boss in this dungeon. We will update with his information once we know more.
<< Page 1: Opera, Maiden, Moroes, Attumen >>
Check Out More WoW: Legion Coverage On GameRevolution: