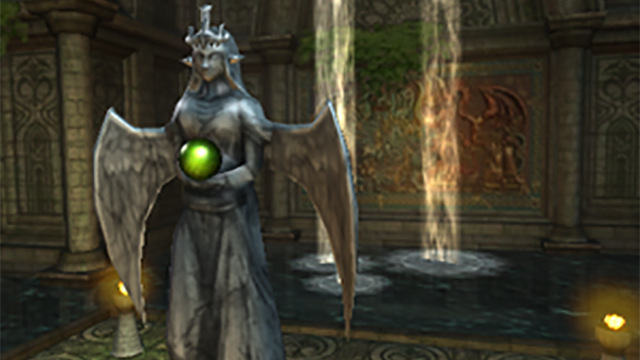
Any time you reach an area or dungeon with a Mila statue, there are very likely Sacred Springs nearby or in the next room. These springs provide boosts to specific stats, commonly two separate ones, and you'll need to decide how to assign these boosts to your existing army.
Generally speaking there are two main ways to go here. You can boost the obvious strengths of your best units further: for example, give "waters of defense" to your Knight and render his defenses even more impenetrable. The same goes for Speed with Mercenaries, Attack with Alm and Celica, and the like.
You can also get creative. For example, if you were to give waters of defense to a Pegasus Knight, and also equip that unit with a shield, then suddenly you've got a flying unit that can take a few shots from Archers and move quite freely around most maps in the game. Also keep in mind: the amount you can drink from the Sacred Springs is an odd not at even number (three drinks generally speaking), so don't expect to split the spoils two and two. Think about your strategy and assign your stat points with purpose, and it should work out well.
Hidden Springs
Some Sacred Springs, such as those at the Seabound Shrine interior, are hidden from view and must be discovered within dungeons. For example, upon reaching the Mila statue and the usual room of two Sacred Springs at the Seabound Shrine interior, there is a wall Celica can break with her sword toward the back of the room.
Upon progressing, individual rooms containing Sacred Springs can be found. Unlike the rooms with two Springs where a total of three stat boosts can be applied, each of these individual Spring rooms allow for two "drinks" each. The stat enhancements are often rare or generous as well – in the case of the Seabound Shrine, waters of Resistance (to magic) and Experience (awards 100 XP) spring forth.


