
Strikes Guide
Strikes are larger cooperative missions that pit fireteams of three against numerous enemies and bosses. The mode does include matchmaking, so players don't need to be in a party of three beforehand.
There are six main strikes throughout the game, though a strike playlist unlocks later on and allows players to tackle those same strikes with increased difficulty for better rewards (Vaguard Marks, Reputation, etc). Listed below are the six strikes and some strategies and tips for each one.
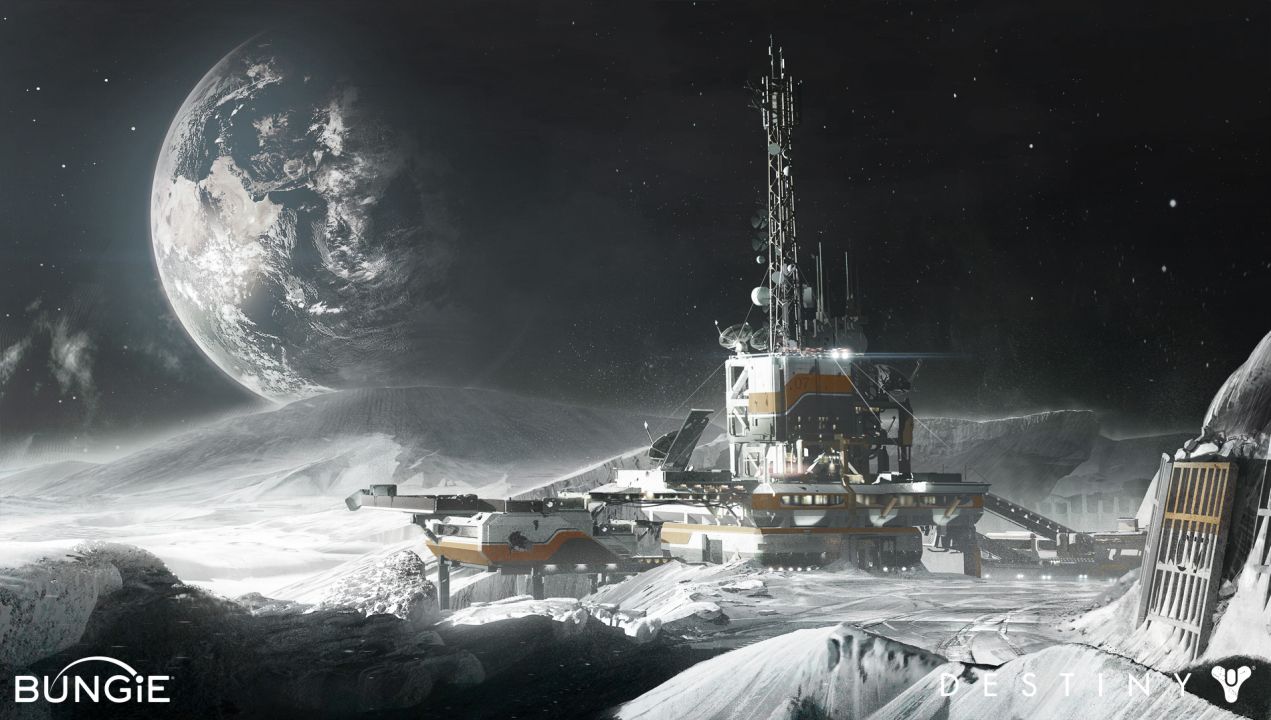
Earth
The Devils' Lair
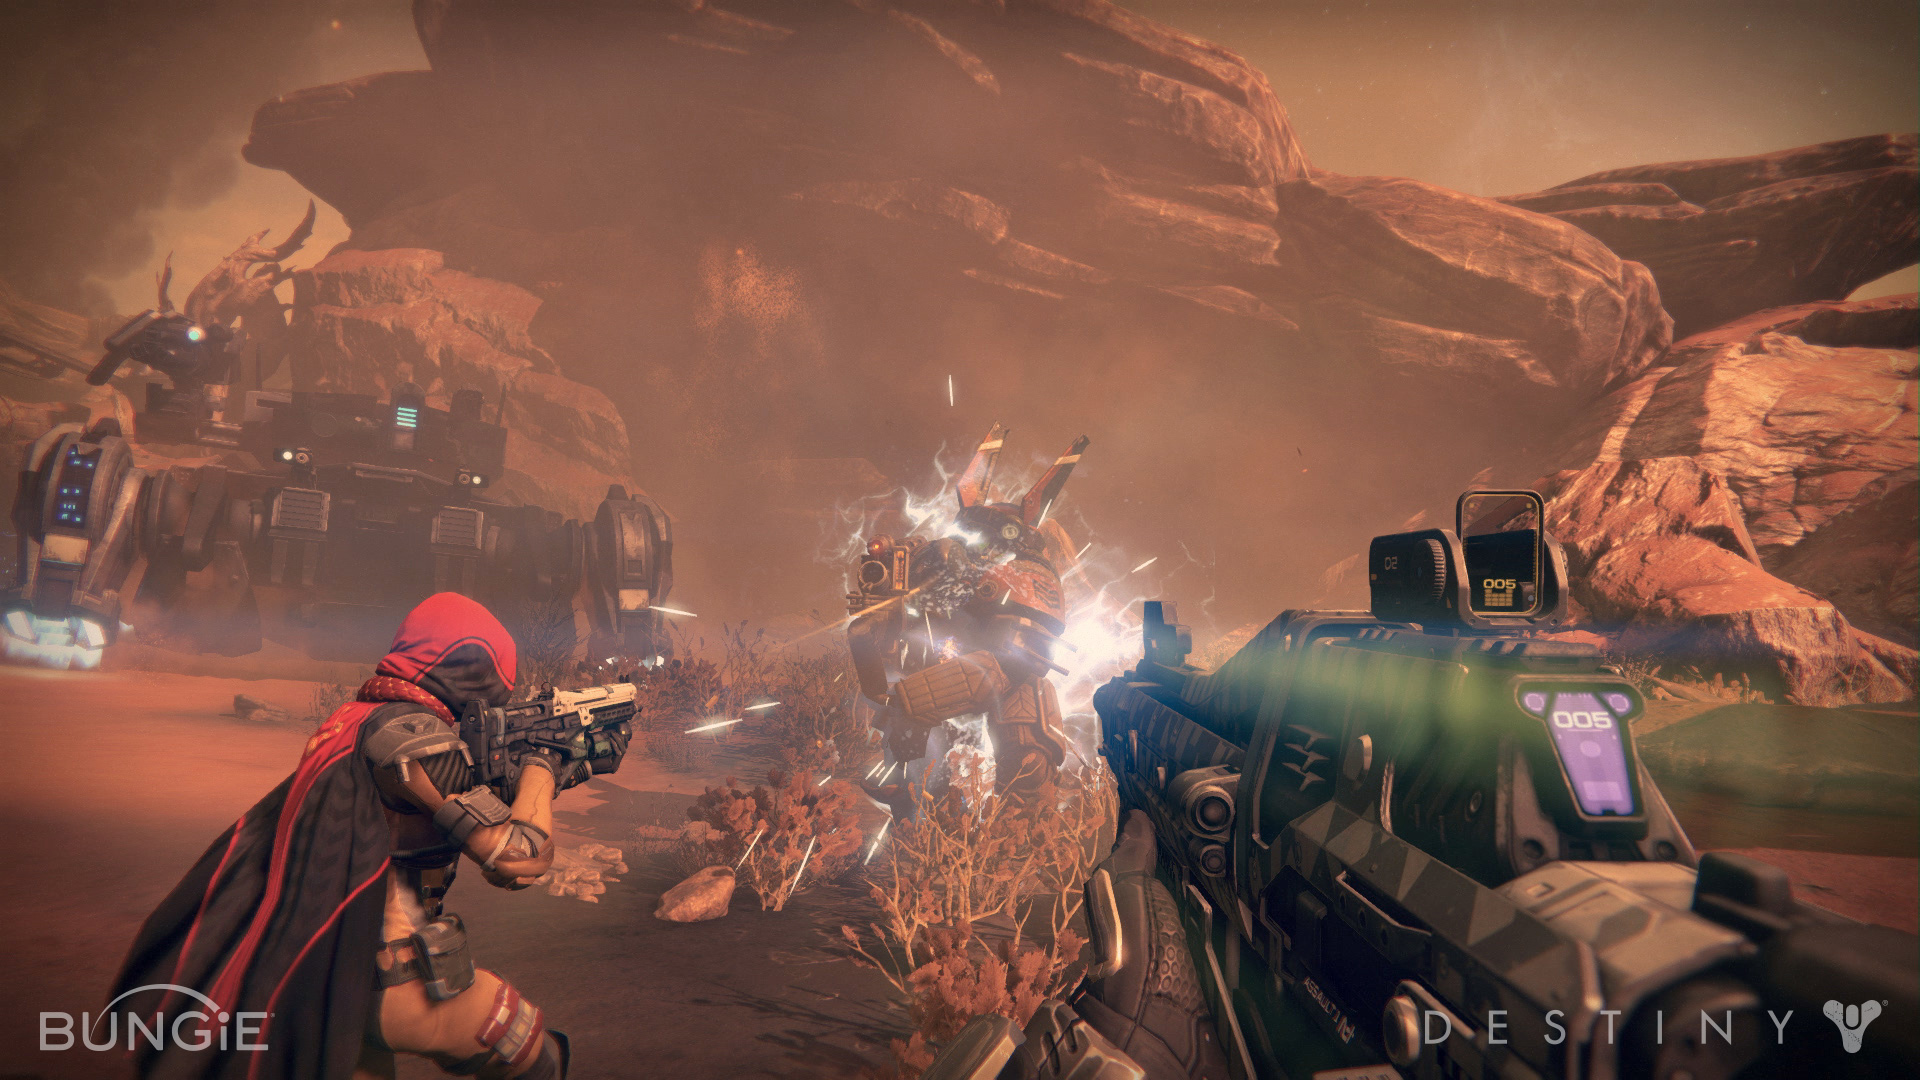
- The first real challenge in this strike comes when players must hold off waves of enemies while the Ghost hacks the Mesh Generator. Take out the Vandal snipers first, as they pose the biggest immediate threat. The large metal crate in the corner is a great hiding spot, though be careful of the invisible enemies with swords. The shotgun works wonders on them, and rockets are a great way to take out the wizards quickly.
- The Devil Walker is large and packs quite a punch, but it also has a lot of weak spots. Make sure you and your teammates all focus on one leg to take him down quickly. Once he's down, he opens up his middle part, which allows for some serious damage. Use sniper or rocket shots when he opens up to deal the most damage. The sides are good spots to shoot from, though you'll have to clear out enemies occasionally. Always be wary of his laser since it indicates a large rocket shot is headed your way (which results in a one-hit kill).
- The final boss - Sepiks Prime - is relatively easy. It's a giant purple eyeball with an obvious weak spot, so shoot at the middle as much as you can. Never get close to Sepiks, as its melee attack can hit hard. Stick around the middle so you can get good shots on the eye and take out the other enemies that appear with each dropship. When the dropship unloads new enemies in the middle of the map, prepare a handy grenade toss to help take care of them. Repeat the process and Sepiks should go down in no time.
The Summoning Pits
- The end of this strike contains Phogoth, the Untamed. It is a very large enemy just begging to be attacked, but take out the enemies around the boss first. Once that is done, attack Phogoth enough until he breaks his chains. Now the fight really begins.
- Don't hang out in the room before the one with Phogoth in it. Enemies follow you in there and a Screecher constantly respawns. It would take forever to kill Phogoth because of the additional enemies.
- Phogoth moves around a lot after he breaks free from his chains, so don't let it get close. There are a ton of enemies in the arena too, so it's difficult to avoid Phogoth and take them out. Just do your best, as there isn't an obvious path to victory. It's more about reflexes and personal skill than anything else.
- Near the end of the fight, a series of Knights and Wizards spawn, making things even more complicated. Taking the higher ground may prove useful for some players, but again, it's all about reacting in the moment and doing your best to juggle the reinforcements and Phogoth. If you can take out Phogoth first, then you won't have to worry about other enemies.
The Nexus
- When you get to the start of the strike, get ready to face a series of enemies while you destroy the three Servitors. There aren't a ton of curveballs here, just more and more enemies. Work in a group, use grenades effectively, and take the higher ground if necessary.
- When you get to the boss room, be careful. There are a ton of Minotaurs hanging out - you know, the enemies with shields and no discernible weak spots. Work with your team members to take out the Minotaurs one at a time. This is a case in which the divide and conquer strategy is not wise.
- Once the Minotaurs have been dealt with, Sekrion the Nexus Mind will appear. It has a shield that covers about half of its body, so obviously avoid it and only shoot when it's exposed. Hit the yellow eye for critical shots. Take cover behind pillars, but still be careful. Its attacks do a lot of splash damage and can hurt you even when you think you're in cover. Every now and then a lot of reinforcements will appear, so deal with them before you turn your attention to Sekrion again. If you feel the need to revive a teammate, make sure the path is clear. Sekrion loves to kill players while they run to save a buddy. Sometimes waiting for a partner to respawn is the best move.
- The entire strike is pretty difficult, but there are two spots in particular that cause a lot of trouble. The first occurs when the player's Ghost attempts to breach the hatch. Get ready to face three separate waves, with the second one being the most dangerous. The second wave contains Hobgoblin snipers that love to shoot from far away. Take them out first and then focus on the Minotaurs. The Defender subclass of Titan can be huge here, as the shield special ability provides great protection against both Hobgoblins and Minotaurs. There's also a spot up top, to the left of the hatch. It can be a great sniping spot once the Hobgoblins have been dealt with.
- The second big challenge comes at the end of the strike, when the Archon Priest is released. He has a lot of health, but the enemy reinforcements complicate things. At first players just have to worry about a bunch of shanks and other random enemies, but eventually sniper Vandals appear and then the invisible sword enemies. Always take out the reinforcements first, then focus on the boss. Try to coordinate with team members and stay on one side of the map - you'll probably need to revive each other at least a few times. In those quiet moments when it's just you and the boss, unload as many headshots into him as you can. Stick to the sides and never go in the middle of the arena, there's not enough cover to effectively protect you there.
Cerberus Vae III
- The first big challenge in this strike comes in the form of a giant tank. Don't worry though, the fight functions much like the Devil Walker fight from Devil's Lair... except the tank can move around. That means it's time for the fireteam to become mobile too - get into the nearby Interceptors and fire a series of rockets at the tank's legs. The fight goes much faster with the help of the vehicles, though it can be defeated on foot. Watch out for its rocket attack though, as it's essentially an instant kill.
- The final boss is a railgun wielding colossus who also likes to hurl rockets at the players constantly. Always stay behind cover in this fight, as the both the railgun and rockets will make quick work of the players. Pop out, get a few headshots, and get back in cover when he starts to attack you. Eventually he will move to the other side of the level, shooting rockets along the way. There will also be additional enemies joining the fight periodically, so take care of those guys first before you set your sights on the boss again. Save rockets for the additional enemies and just rely on headshots (or rockets) to defeat the boss. It's really all about playing it safe and focusing on defense.
Dust Palace
- The final encounter in Dust Palace involves a lot of enemies and three separate bosses, which operate like stronger versions of the-already troublesome Psionic Operants. Like all boss fights in the game, be sure to take care of the additional enemies before you focus on the bosses - trying to dodge a series of rockets while fighting the bosses is not a good strategy.
- The top of the stairs near the Cortex controls is a great spot to regroup and avoid enemy gunfire. There is one particular boss that will follow you up there, but aside from that you only have to worry about additional enemies getting close. Taking them out while isolated is a lot easier though.
- As for the boss Psions themselves, try to focus on one at a time. Each has its own shield of a different color, so equip weapons with different kinds of damage. It makes taking down their shield a lot easier, and at that point you can deal damage effectively. If you happen to be a Sunsinger Warlock or have that class in your fireteam, remember that the grenades deal fire damage, which is particularly effective against one of the bosses.
- Don't get close to the bosses, as they have very dangerous melee attacks. If you really want to use a shotgun, just take one shot and then retreat.


