Boss Guide
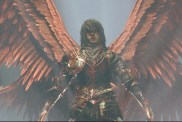
Yuga
Location: Eastern Palace/Hyrule Castle
You encounter Yuga a few times in the game, but the first fight with him is relatively easy. He'll move around the circular room, but a shot from the bow will stun him. At this point run up and slash away until he regains his composure, and repeat the process until he's defeated. Try not to fall into the huge hole in the middle of the room, and be wary as the fight goes on; he gets a lot faster over time.
The second encounter in Hyrule Castle proves far more difficult because Yuga now creates copies of himself and shoots nasty spells at Link. The key here is to hit the real Yuga, who can be identified by the glowing staff. If you happen to hit a fake Yuga, it turns into a soldier and Yuga launches one of his spells your way. Just like the first encounter, he becomes faster over time.
Moldorm
Location: Tower of Hera
The backside of Moldorm is a bright red ball for a reason. Hit that enough times and it goes down, but the difficulty comes from the layout of the level more so than the boss itself. There will be numerous gaps in the floor, and if Moldorm knocks Link off he has to travel all the way back up to the boss fight. It's especially frustrating when it happens two or three times, so focus on defense and just get hits in when you can.
Margomill
Location: House of Gales
This is another boss fight in which falling is a danger. Margomill can easily knock Link into the bottomless pit, so keep your distance. Use the Tornado Rod to get on top of the boss and attack the eye when it becomes stunned. At this point Margomill adds new layers of spinning discs and raises its eye, so now you must attack the extra layers until the eye becomes vulnerable again. Repeat this a third time (with even more layers) to defeat the boss.
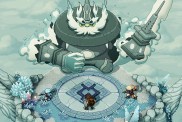
Gemesaur King
Location: Dark Palace
The appropriately named Gemesaur King is encased in gems that negate all regular damage. Throw bombs to destroy the armor (which turns into collectible rupees), but aim for the iron mask. Hitting the iron mask with a bomb is the only way to actually hurt it. Once the mask is destroyed, the room becomes dark and Gemesaur King goes in for the kill. Get out your Lantern and light the torches in the upper left and bottom right corners of the room. Gemesaur will stop moving and you can go attack the jewel on its head to kill it.
Arrghus
Location: Swamp Palace
Arrghus is one of the easier bosses in the game. Use the Hookshot to grab the eyeballs off its body and attack them until the big eye on its body appears. At this point Arrghus will try to jump on Link and also uses laser attacks that cause explosions. Attack Arrghus anywhere on its body to deal damage and avoid the lasers. It attacks more often as time goes on like most other boss fights, but you shouldn't have too much trouble defeating it.
Knucklemaster
Location: Dark Woods
Yet another boss fight in which the floor poses a threat as well. Knucklemaster will turn into a fist and attempt to hit Link. Avoid the attack by using the Tornado Rod or turning into a painting. Then Knucklemaster will hit the wall, become stunned, and you can clash at his eye. Its speed increases and it begins to smash the ground, which results in dangerous gaps in the floor. Maneuvering can be difficult at this point, but do your best and be sure to merge onto walls when given the opportunity.
Stalblind
Location: Thieves Hideout
The lack of walls negates the use of merging in this boss fight, right? Wrong. Staldbind's shield is a surface in which Link can merge, so do that and confuse the boss. Then attack him from behind and continue to do so until he gets rid of the shield. Any attack works on this phase, but he becomes far more aggressive with his own attacks. As a last resort he detaches his head from his body and the body continues to attack with the sword. Focus on defense and hit the boss when you can. Also be sure to not fall of the edges of the level.
Zaganaga
Location: Desert Palace
This boss fight requires the Sand Rod. Use it to create platforms of sand to reach Zaganaga and attack it. Occasionally it spawns other enemies - take care of them quickly. Zaganaga likes to move around, so keep using the Sand Rod to create more platforms to the appropriate stones. When its eye becomes exposed, he increases its speed and shoots sand at Link. Don't get greedy with your attacks or it will hit you with the sand blast and knock you off the platform. Repeat the process until Zaganaga goes down.
Dharkstare
Location: Ice Ruins
This boss fight is more about execution than strategy. Dharkstare is encased in ice, so equip the Fire Rod and get to work. Meanwhile, Dharkstare will shoot projectiles at Link and also has a spell in which a triangle appears on the ground. If you end up in that triangle, you become frozen. Avoid it at all costs and continue to work on the ice shield. When the shield goes away and Dharkstare falls to the ground; attack it with the sword. Then a bigger ice shield reforms and it becomes more aggressive with its attacks. Stick to the same strategy to defeat it.
Grinexx
Location: Turtle Rock
Grinexx will roam around in the lava beneath the grate platform and shoot pillars of magma through the floor. Avoid the magma and use the Ice Rod when Grinexx travels through the holes in the floor. For the next phase of the fight, Grinexx will get on the platform and attack Link directly. It tries to bite him and rolls around the room, creating fire along the way. Use the Ice Rod to freeze the fire and attack its head when you see an opening. Grinexx also likes to transform into a ball and unleash a very dangerous explosion attack, so run away when you see it begin to curl up.
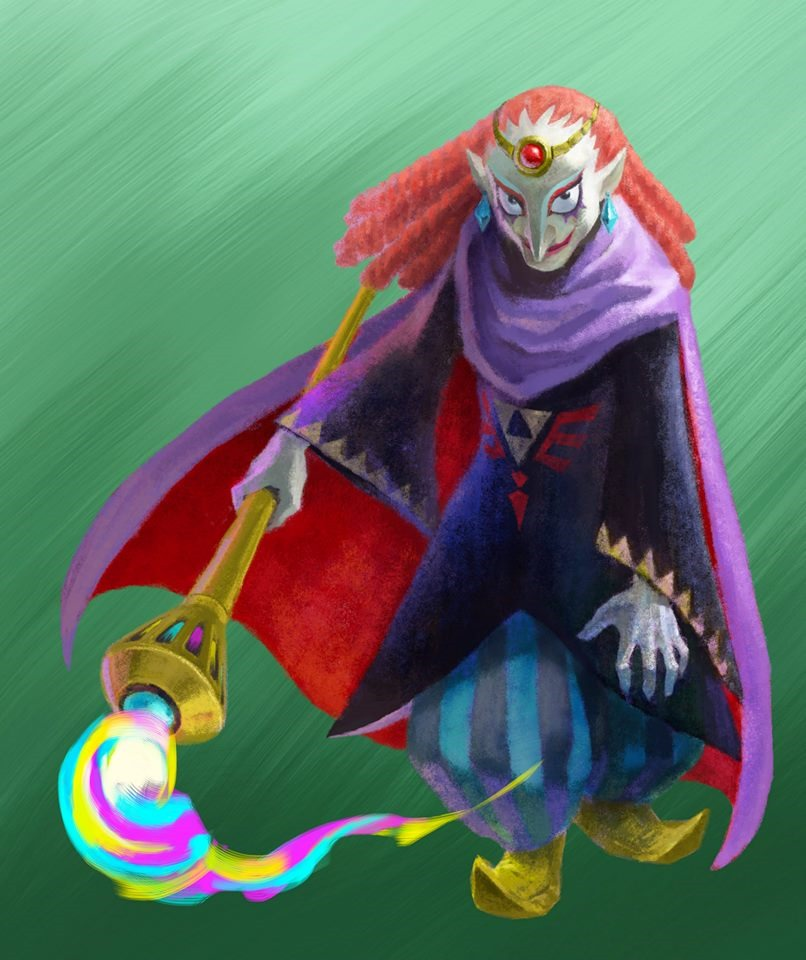
Yuga Ganon
Location: Throne Room
This is a two-part fight. The first involves a lot of running, as Yuga Ganon's attacks pose a huge threat. He likes to teleport around the room and swing at Link with the Trident, so dodge the attacks and get on his left side for a counter-attack. The running comes into play after he sustains enough damage - at that point, he will throw the trident around the room and also launch energy balls directly at Link. The only way to avoid the attacks is to run around and dodge them.
In the second part of the fight, Yuga Ganon absorbs Hilda and becomes more powerful. He will throw balls of energy at Link, so channel your inner baseball player and hit them back at Yuga Ganon. The timing can be very tricky, but just keep at it. As they say, practice makes perfect. Eventually Yuga will merge into the wall, at which point Princess Zelda will provide Link with the Bow of Light.
Players must merge into the wall and hit Yuga Ganon in the back with the Bow of Light. To do so, hit him with it head on, leave the wall, merge behind him, and attack again (otherwise you will never be able to hit Yuga Ganon in the back). Once he is hit with the arrow, he will leave the wall and you can slash away at him. Then he launches fireballs at the player which turn into bats, so avoid those. Get ready to repeat the whole process again, down to the little baseball game.
On the third and final around, Yuga Ganon blocks all arrows and you can no longer get behind him. Shoot your arrow in the opposite direction and watch it travel all the way around and hit him. He'll leave the wall and you can deliver the finishing blow.

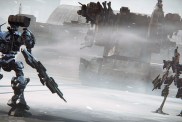
Star Citizen is an upcoming space trading and combat simulator video game for Microsoft Windows. Star Citizen will consist of two main components: first person space combat and trading in a massively multiplayer persistent universe and customizable private servers (known as Star Citizen), and a branching single-player game (known as Squadron 42). The game will also feature VR support.