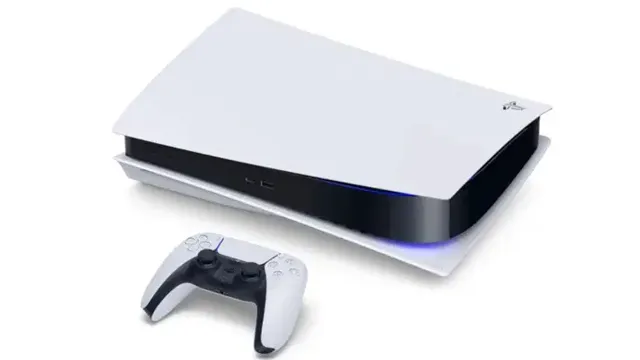
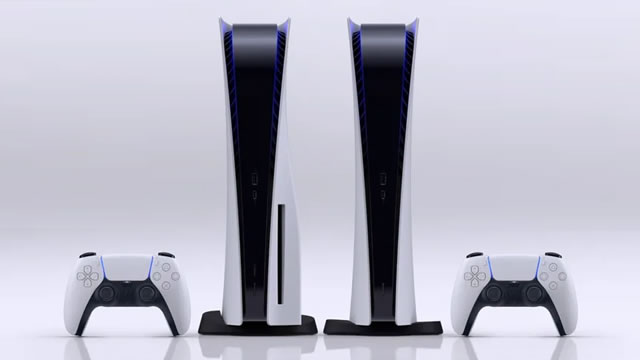
Looking to customize your PlayStation 5? Or perhaps you just want a good look at its internals? No matter the reason why, it’s very easy to remove PS5 side plates. Even better, you don’t need any tools whatsoever in order to remove the side covers. Here’s how the process works.
How to remove PlayStation 5 side plates

To remove the side plates from the PlayStation 5, you first need to peel away at the top corner. Start by grabbing near the PlayStation logo at the rear of the console, then pull the corner outward. Once it starts to lift, you can remove the entire plate by sliding it downward. Then simply repeat the process for the other side.
The process takes a little bit of finesse. The PS5 side covers are only attached by small brackets that hold them in place. The corner piece then snaps into place to hold everything in position. Once a corner has been peeled back a bit, the entire plate will slide right off. The whole job can be done entirely without tools, which can’t be said for removing the PS5 vertical mount.
This detail was first revealed with Sony’s own PlayStation 5 teardown video. You can get a better look at how things work by watching the embed featured above. The face plate removal section starts at the 1:58 mark.
Installation is the opposite of removal. After you’ve removed the side plates, you only need to slide them back into place. The hooked section of each bracket slots into specific cavities on the PS5 itself. Be sure to line them up properly. Once they’re in place, squeeze down on the corner to snap the plate back into position. Easy peasy.
Given how easy it is to remove the PS5 side plates, Sony is likely to manufacture replacement covers. We haven’t heard any official details just yet, but the idea of customizable or special-edition plates just seems like too sweet a deal to pass up.


